Coco with Chimichanga Calaveras, Dia de los S’muertos & more!

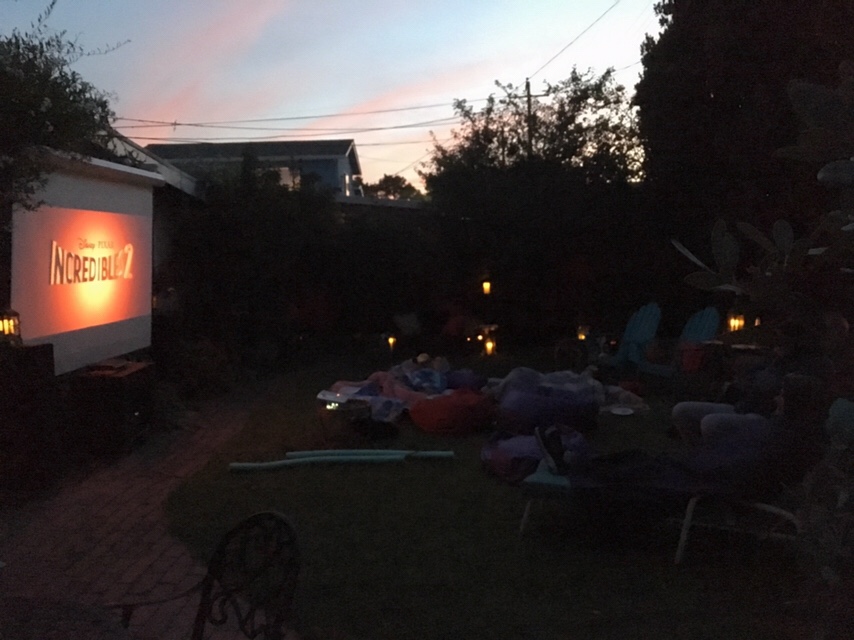
After seeing the fantastic animated movie Coco last November in the theatre, we knew we would show it for our Cinema Brittahytta summer backyard movie night series finale! 18 of us enjoyed the movie, most of us for at least the second time if not the fifth, I bought some new fun decor already spotted in stores for this Halloween, got out my custom-decorated skull sippers and other decor I had saved from our Halloween 2015 – Day of the Dead party, brought back Dia de los S’muertos and created new fun food and edible art like skull-shaped Chimichanga Calaveras for our Mexican munchies, and even made skull ice cubes for our margaritas!

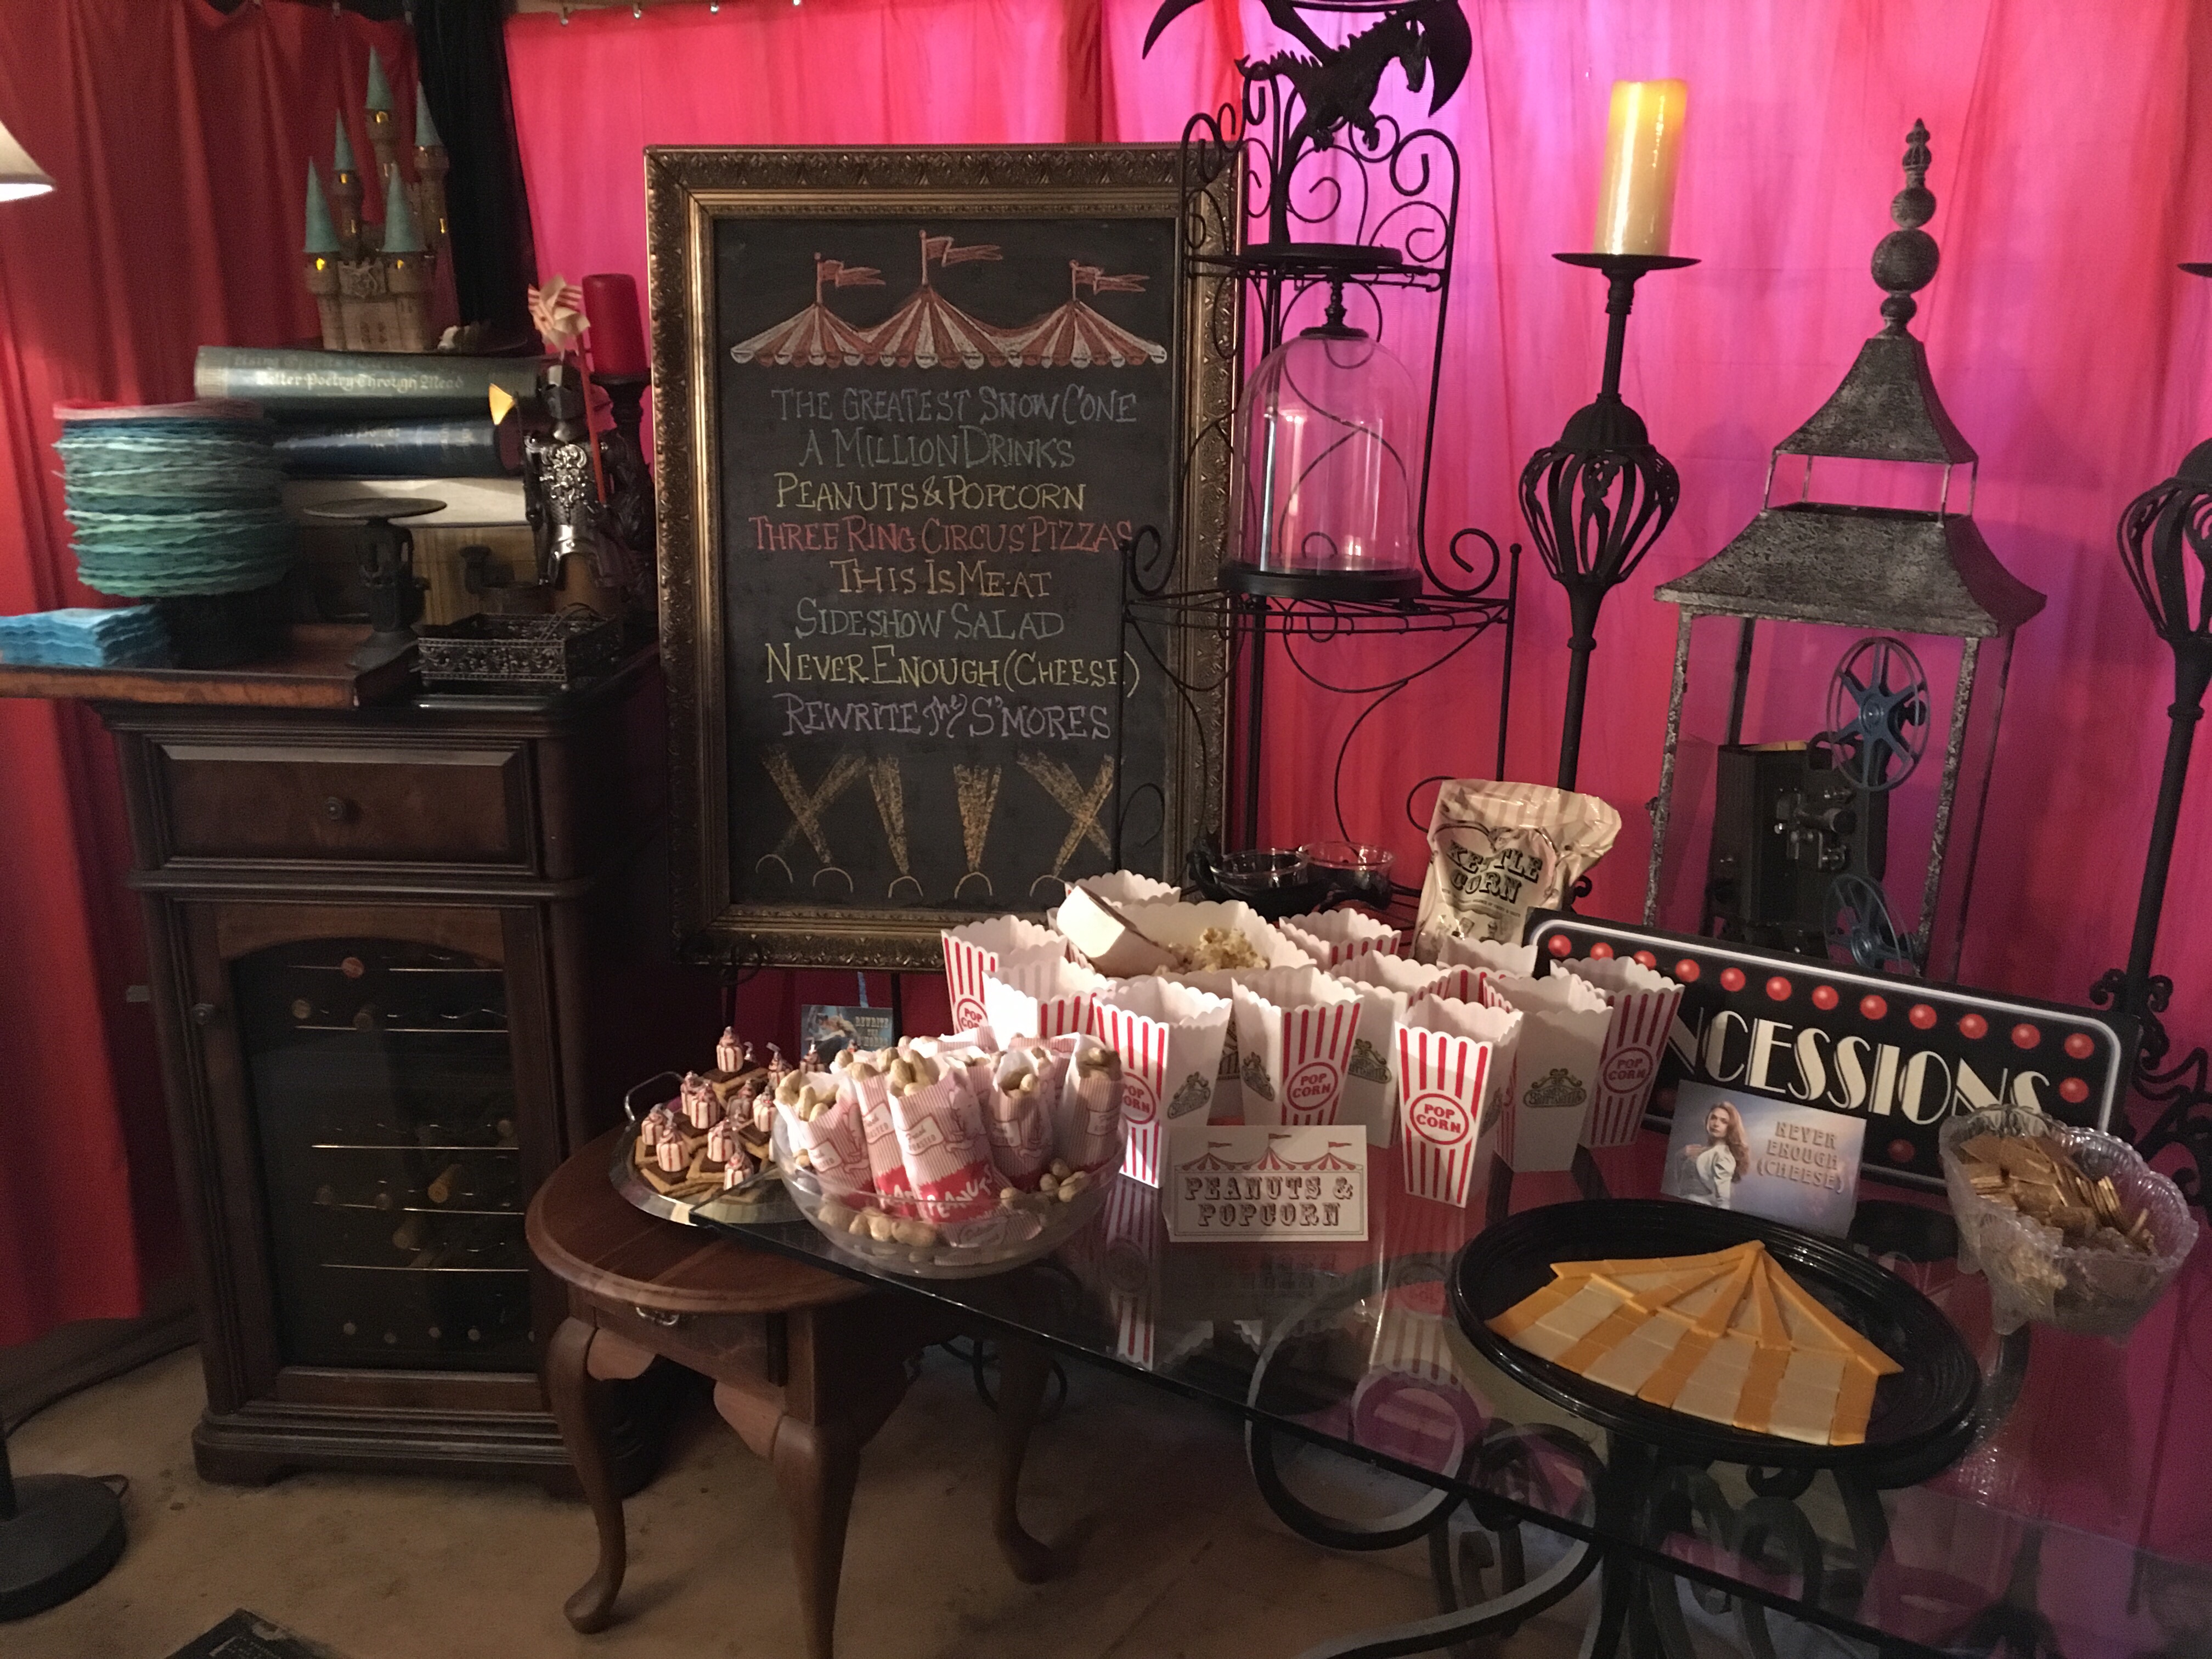
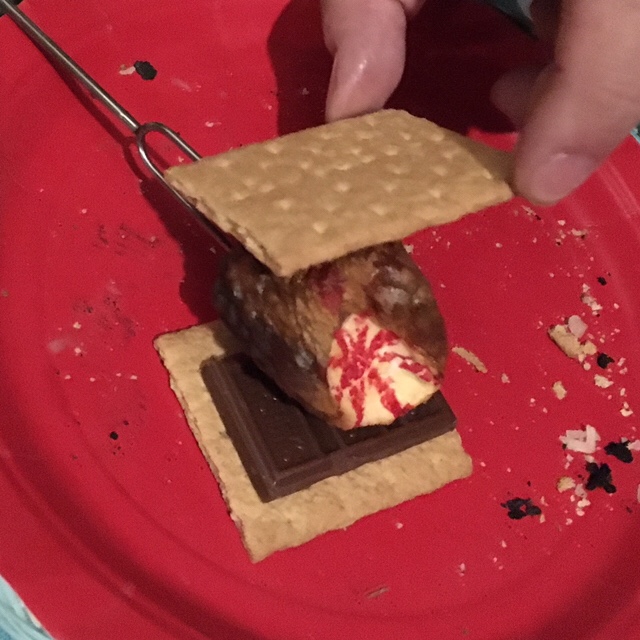
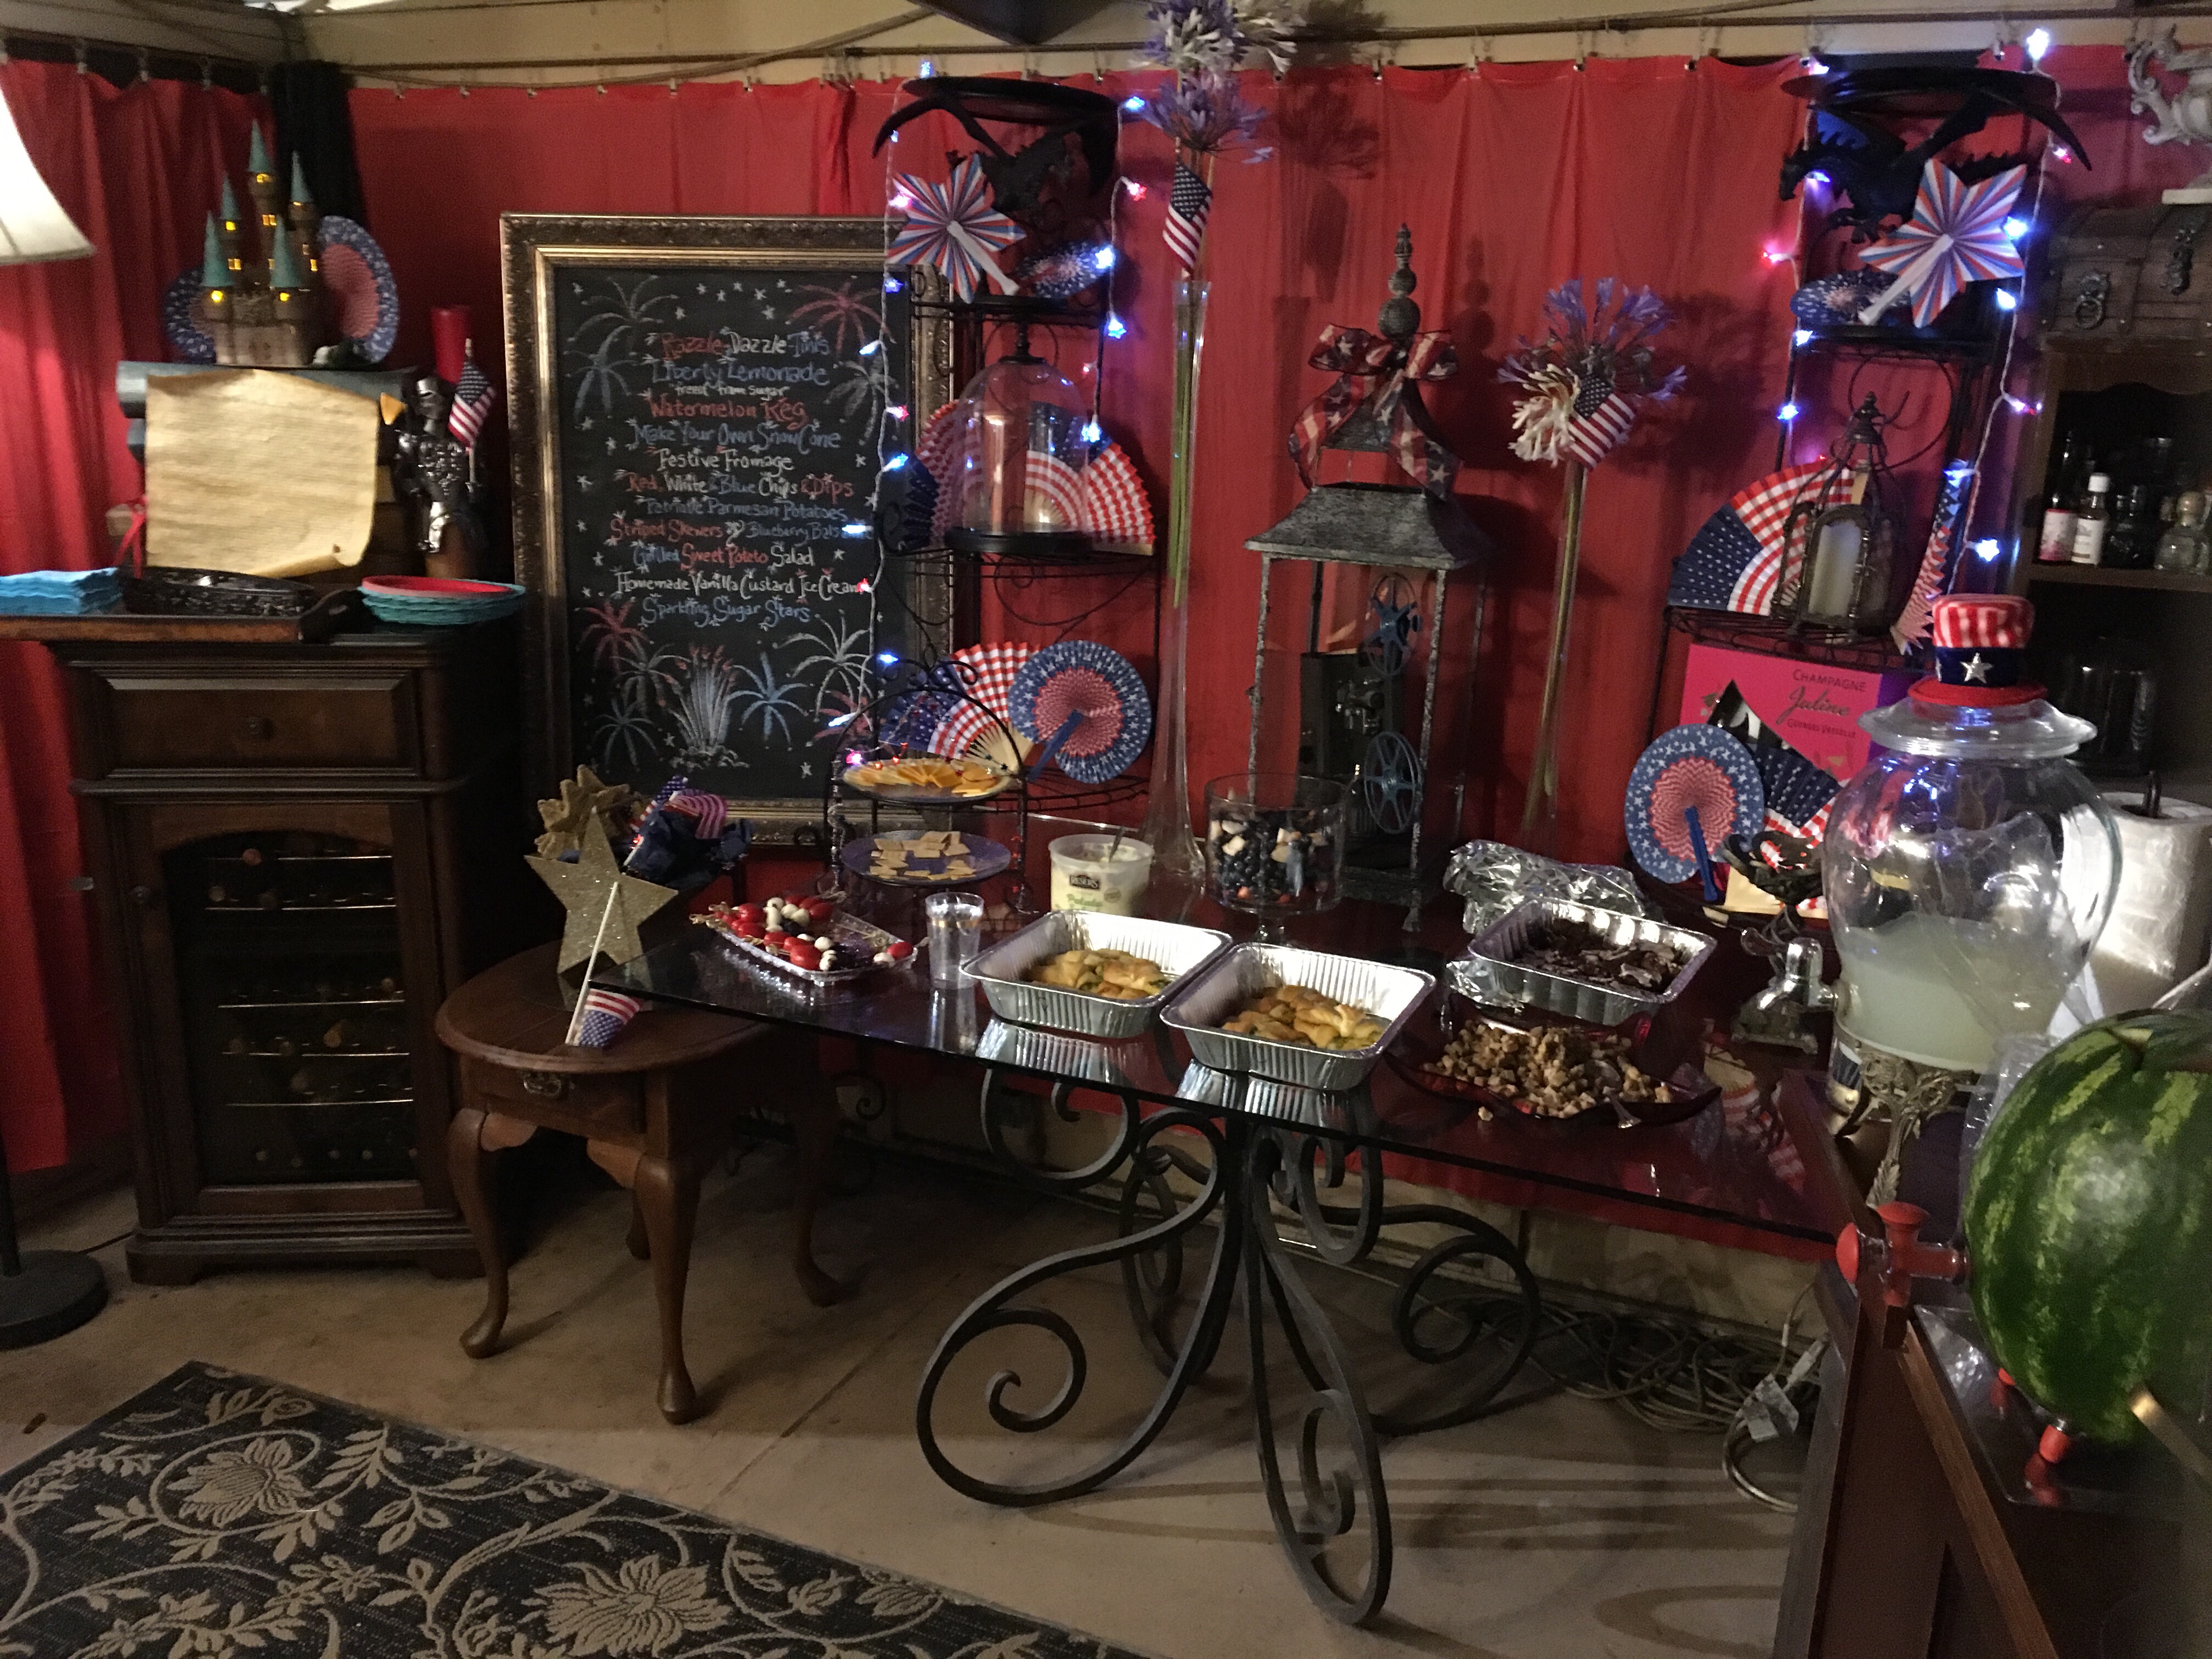
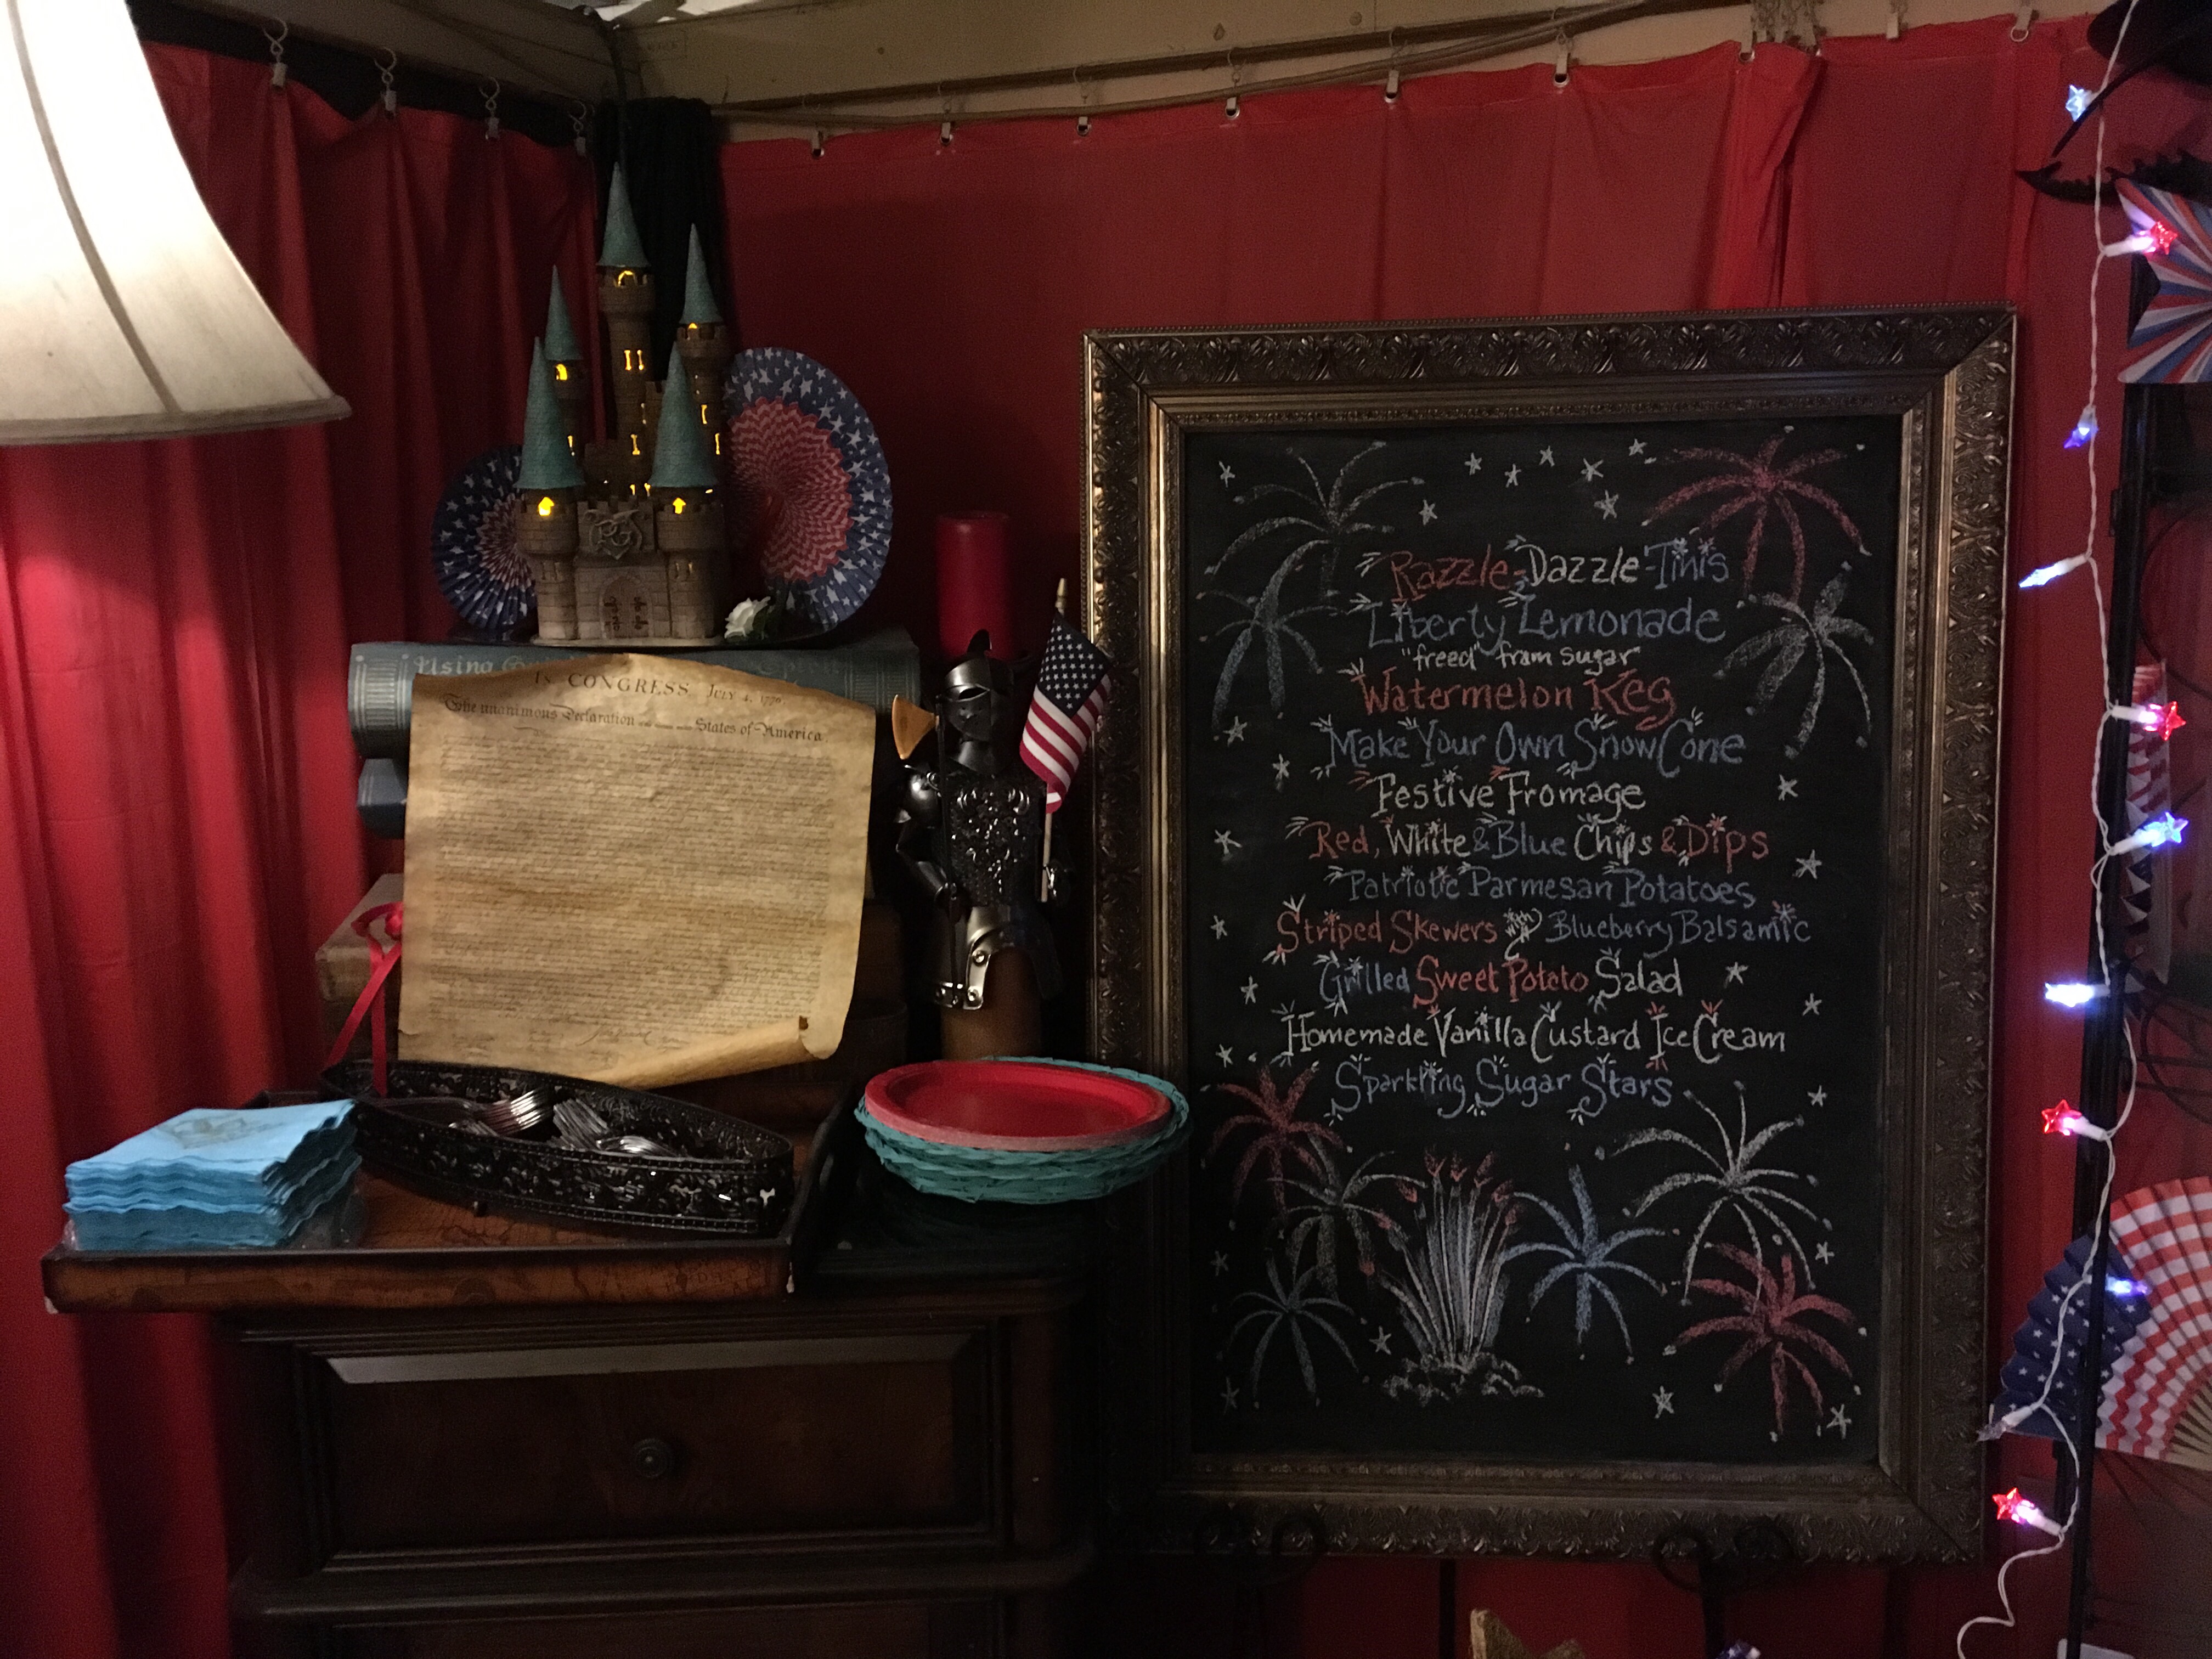
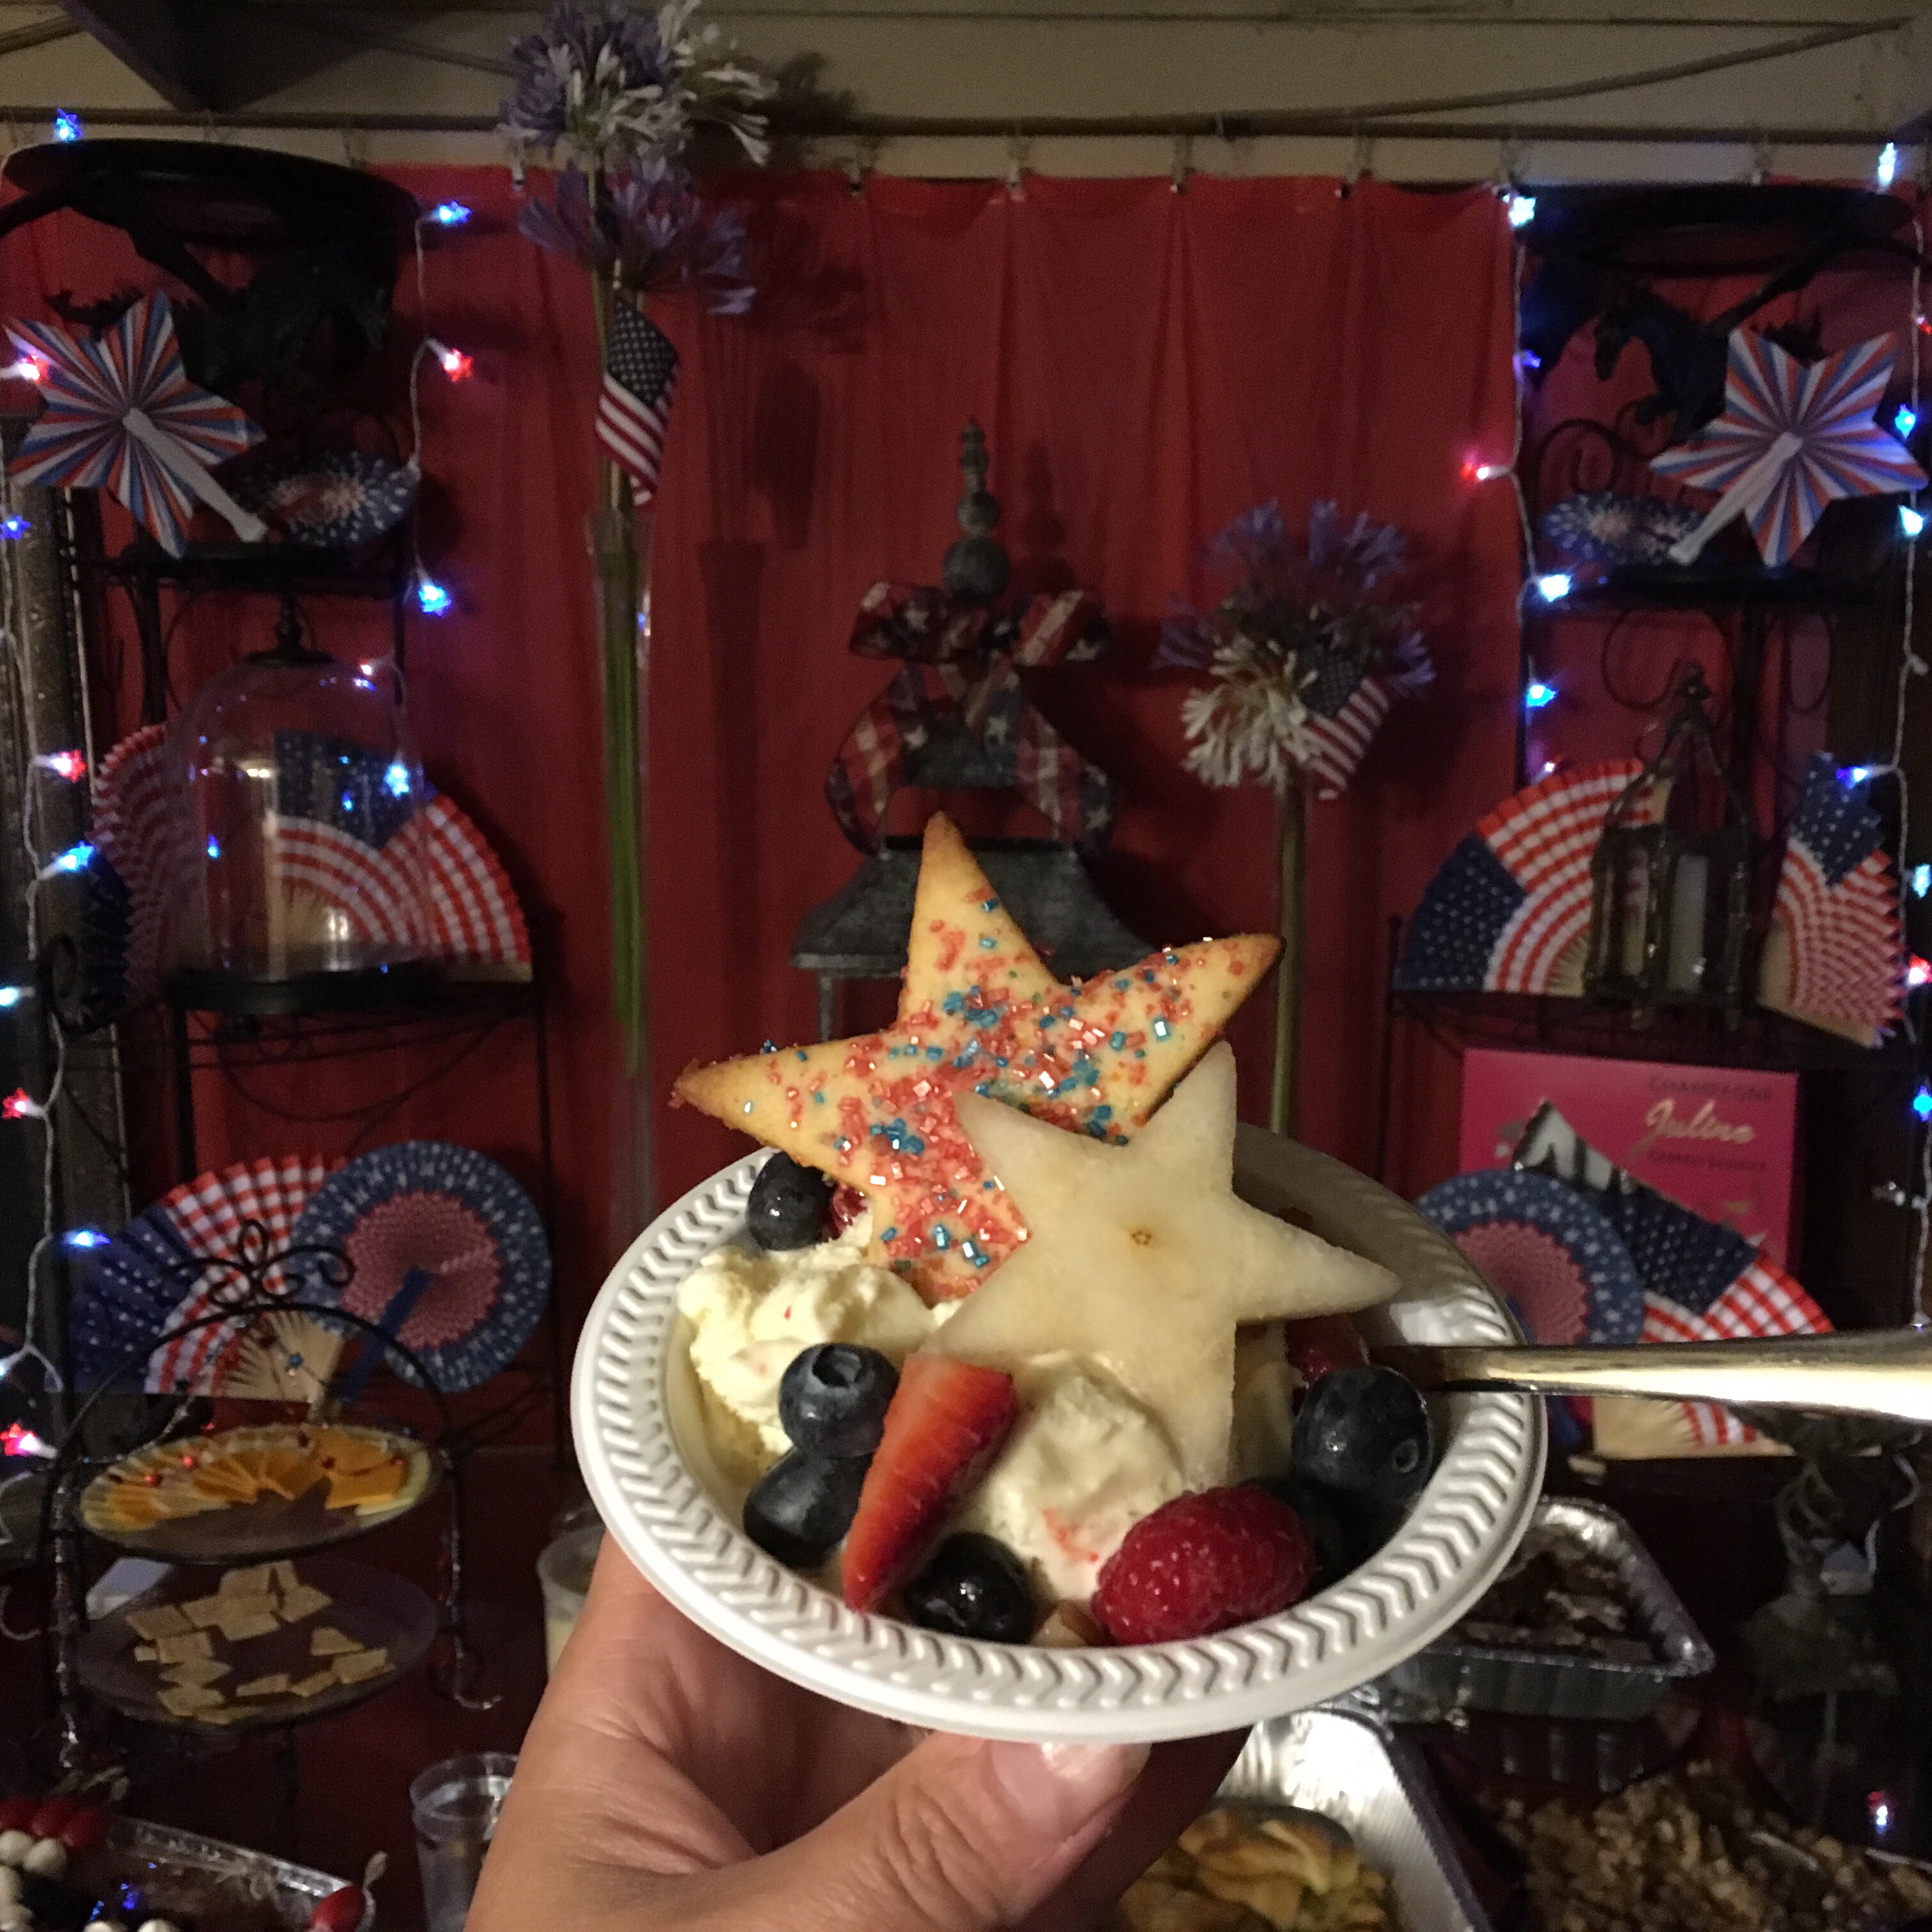
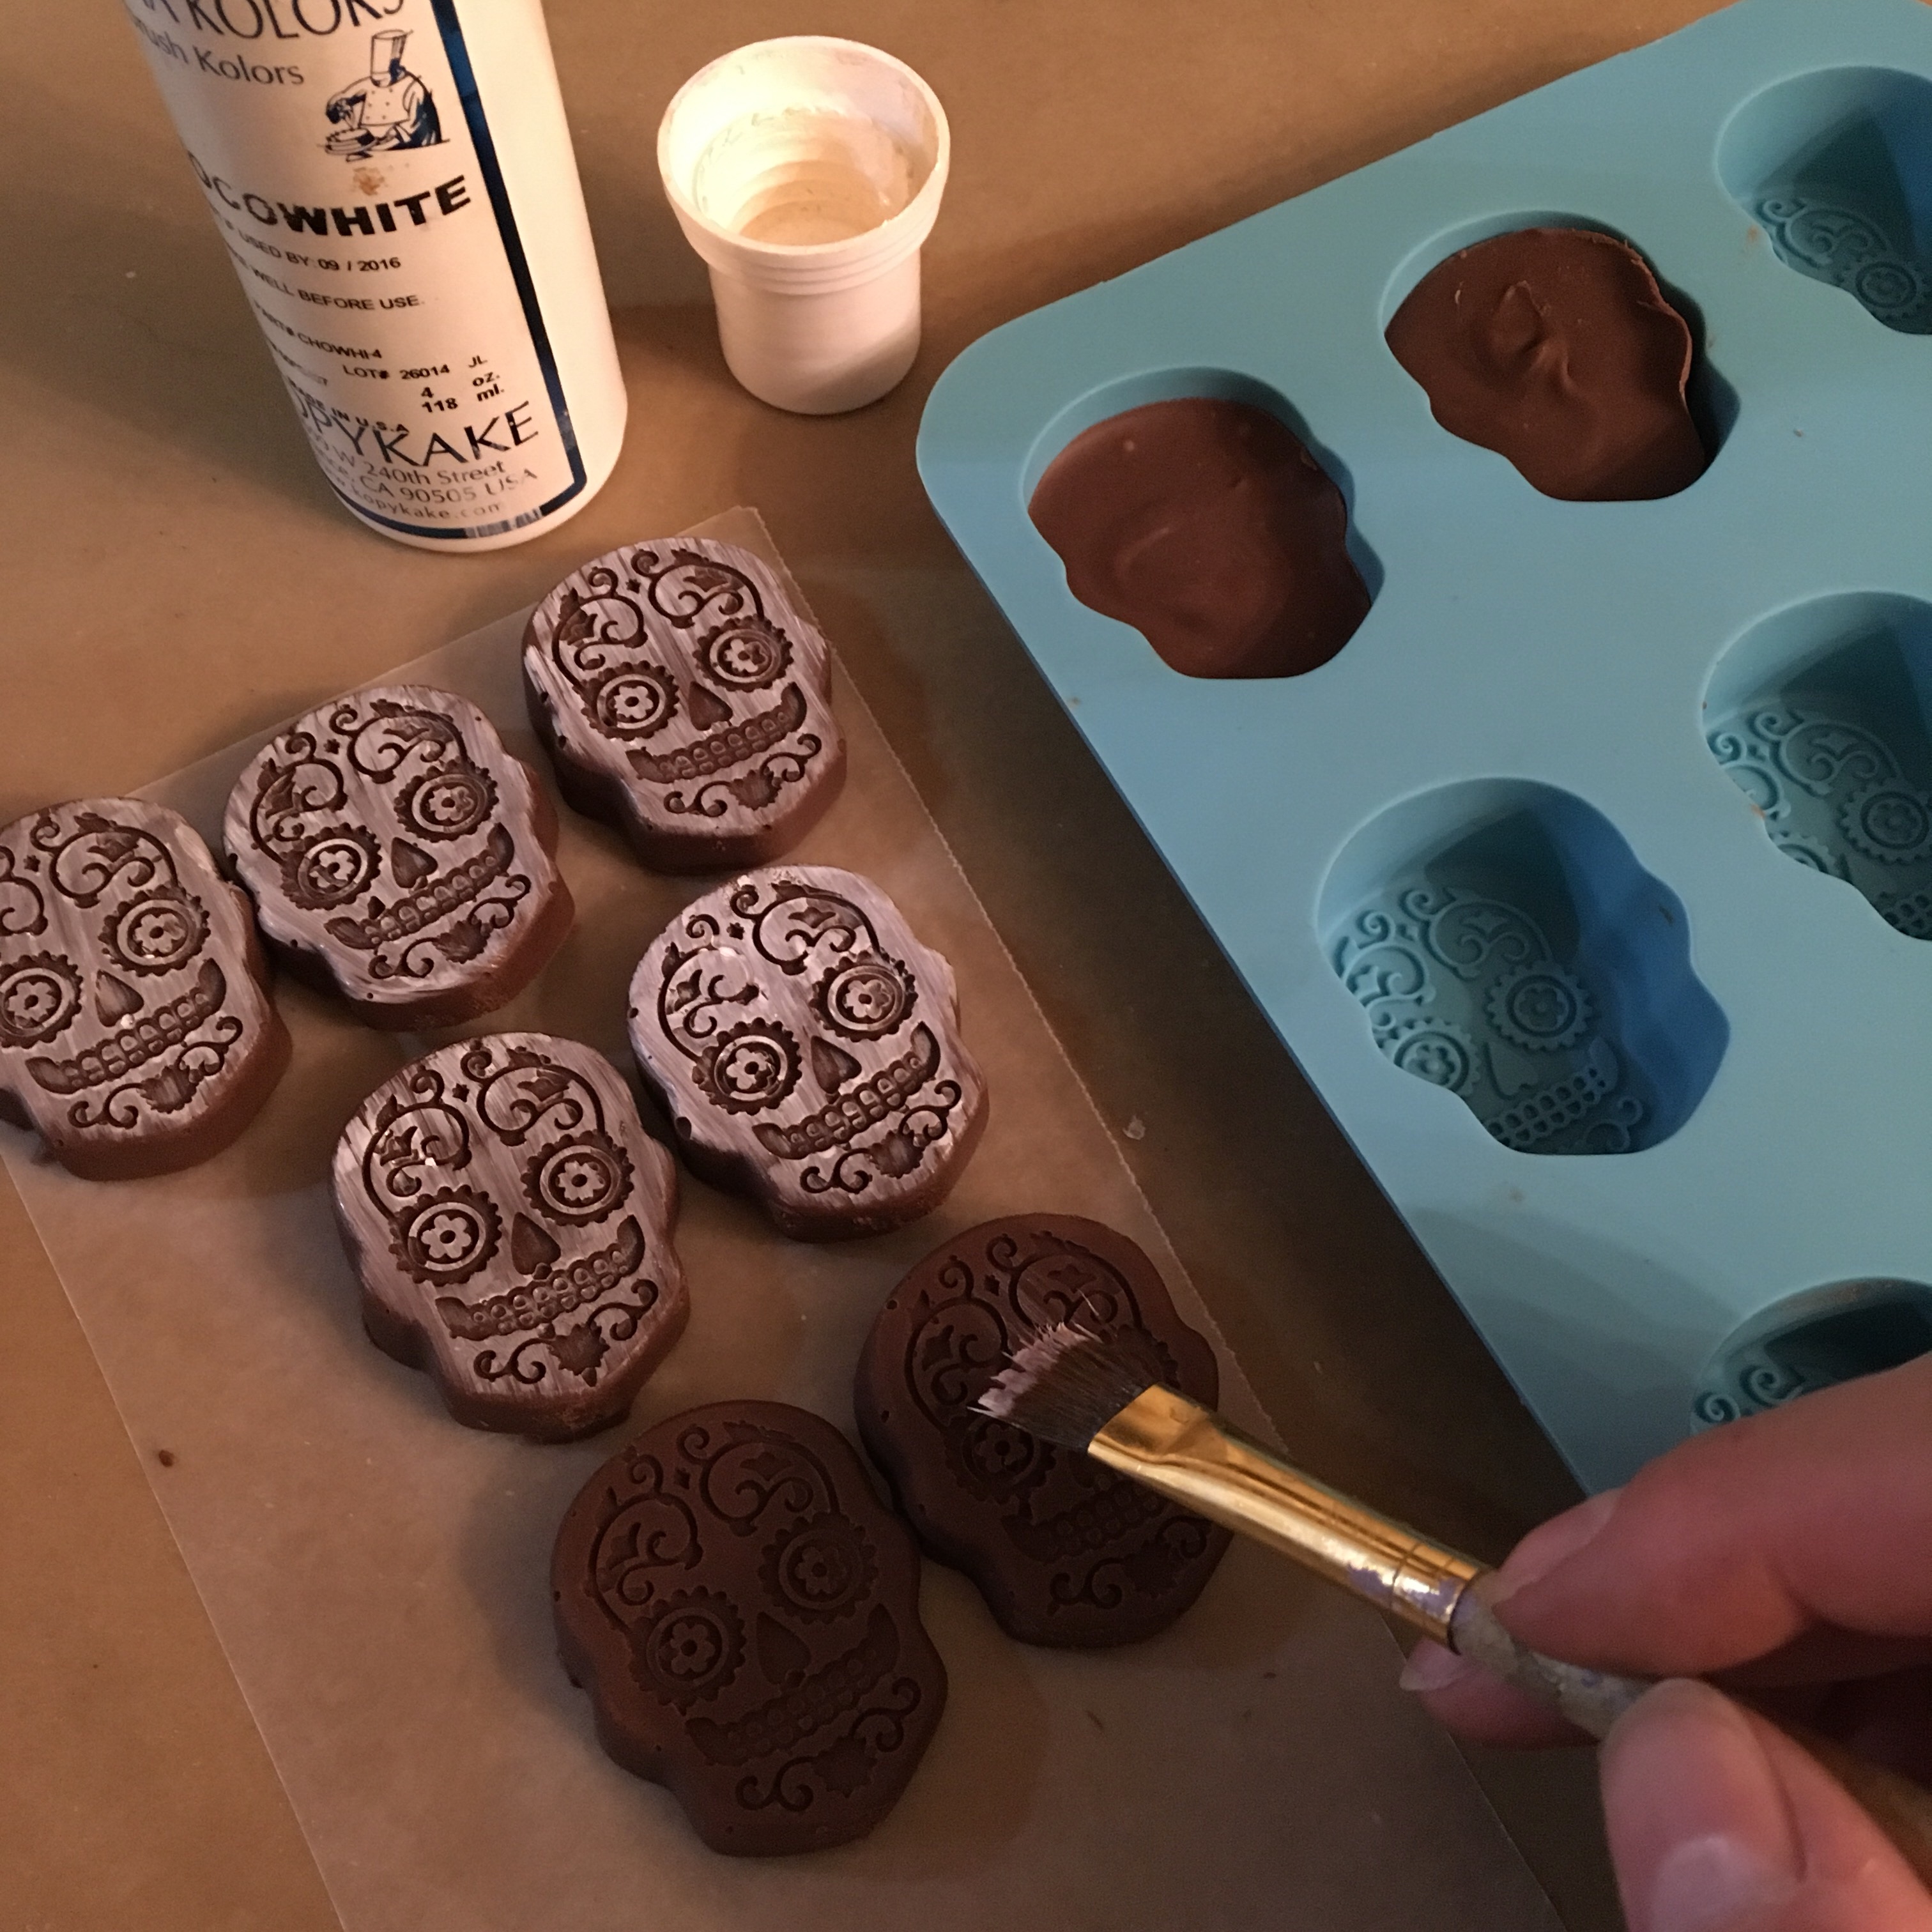
I didn’t get the menu chalkboard written this time around, so no one know it was supposed to be a Frightful Fruit Salad, Queso Fundido, or Skull Sangria, but at least I did make special Coco signs for Make Your Own Margaritas, Chimichanga Calaveras, and Dia de los S’muertos! You’ve probably already seen over the past several years how I enjoy creating special s’mores for my summer parties. I first made Dia de los S’muertos for The Book of Life movie night in 2015, but I used my skull ice cube molds and handpainted different designs on each. They looked impressive, and I included them in my book Eerie Elegance Eats, but the form factor wasn’t the best for s’mores, and I found a different silicone pan design since then that made the chocolate skulls much easier, even though they were all the same design. This year I also added 1 teaspoon of ground cinnamon to 1 cup of melted milk chocolate chips for a Mexican chocolate flavor, which filled the pan of 9 skulls about halfway like a thick chocolate bar. Once the skulls set solid in the fridge, I popped them out onto wax paper, then a quick light brushing of ChocoWhite highlighted the recessed design perfectly so that anyone can make these Dia de los S’muertos, regardless of artistic skills!

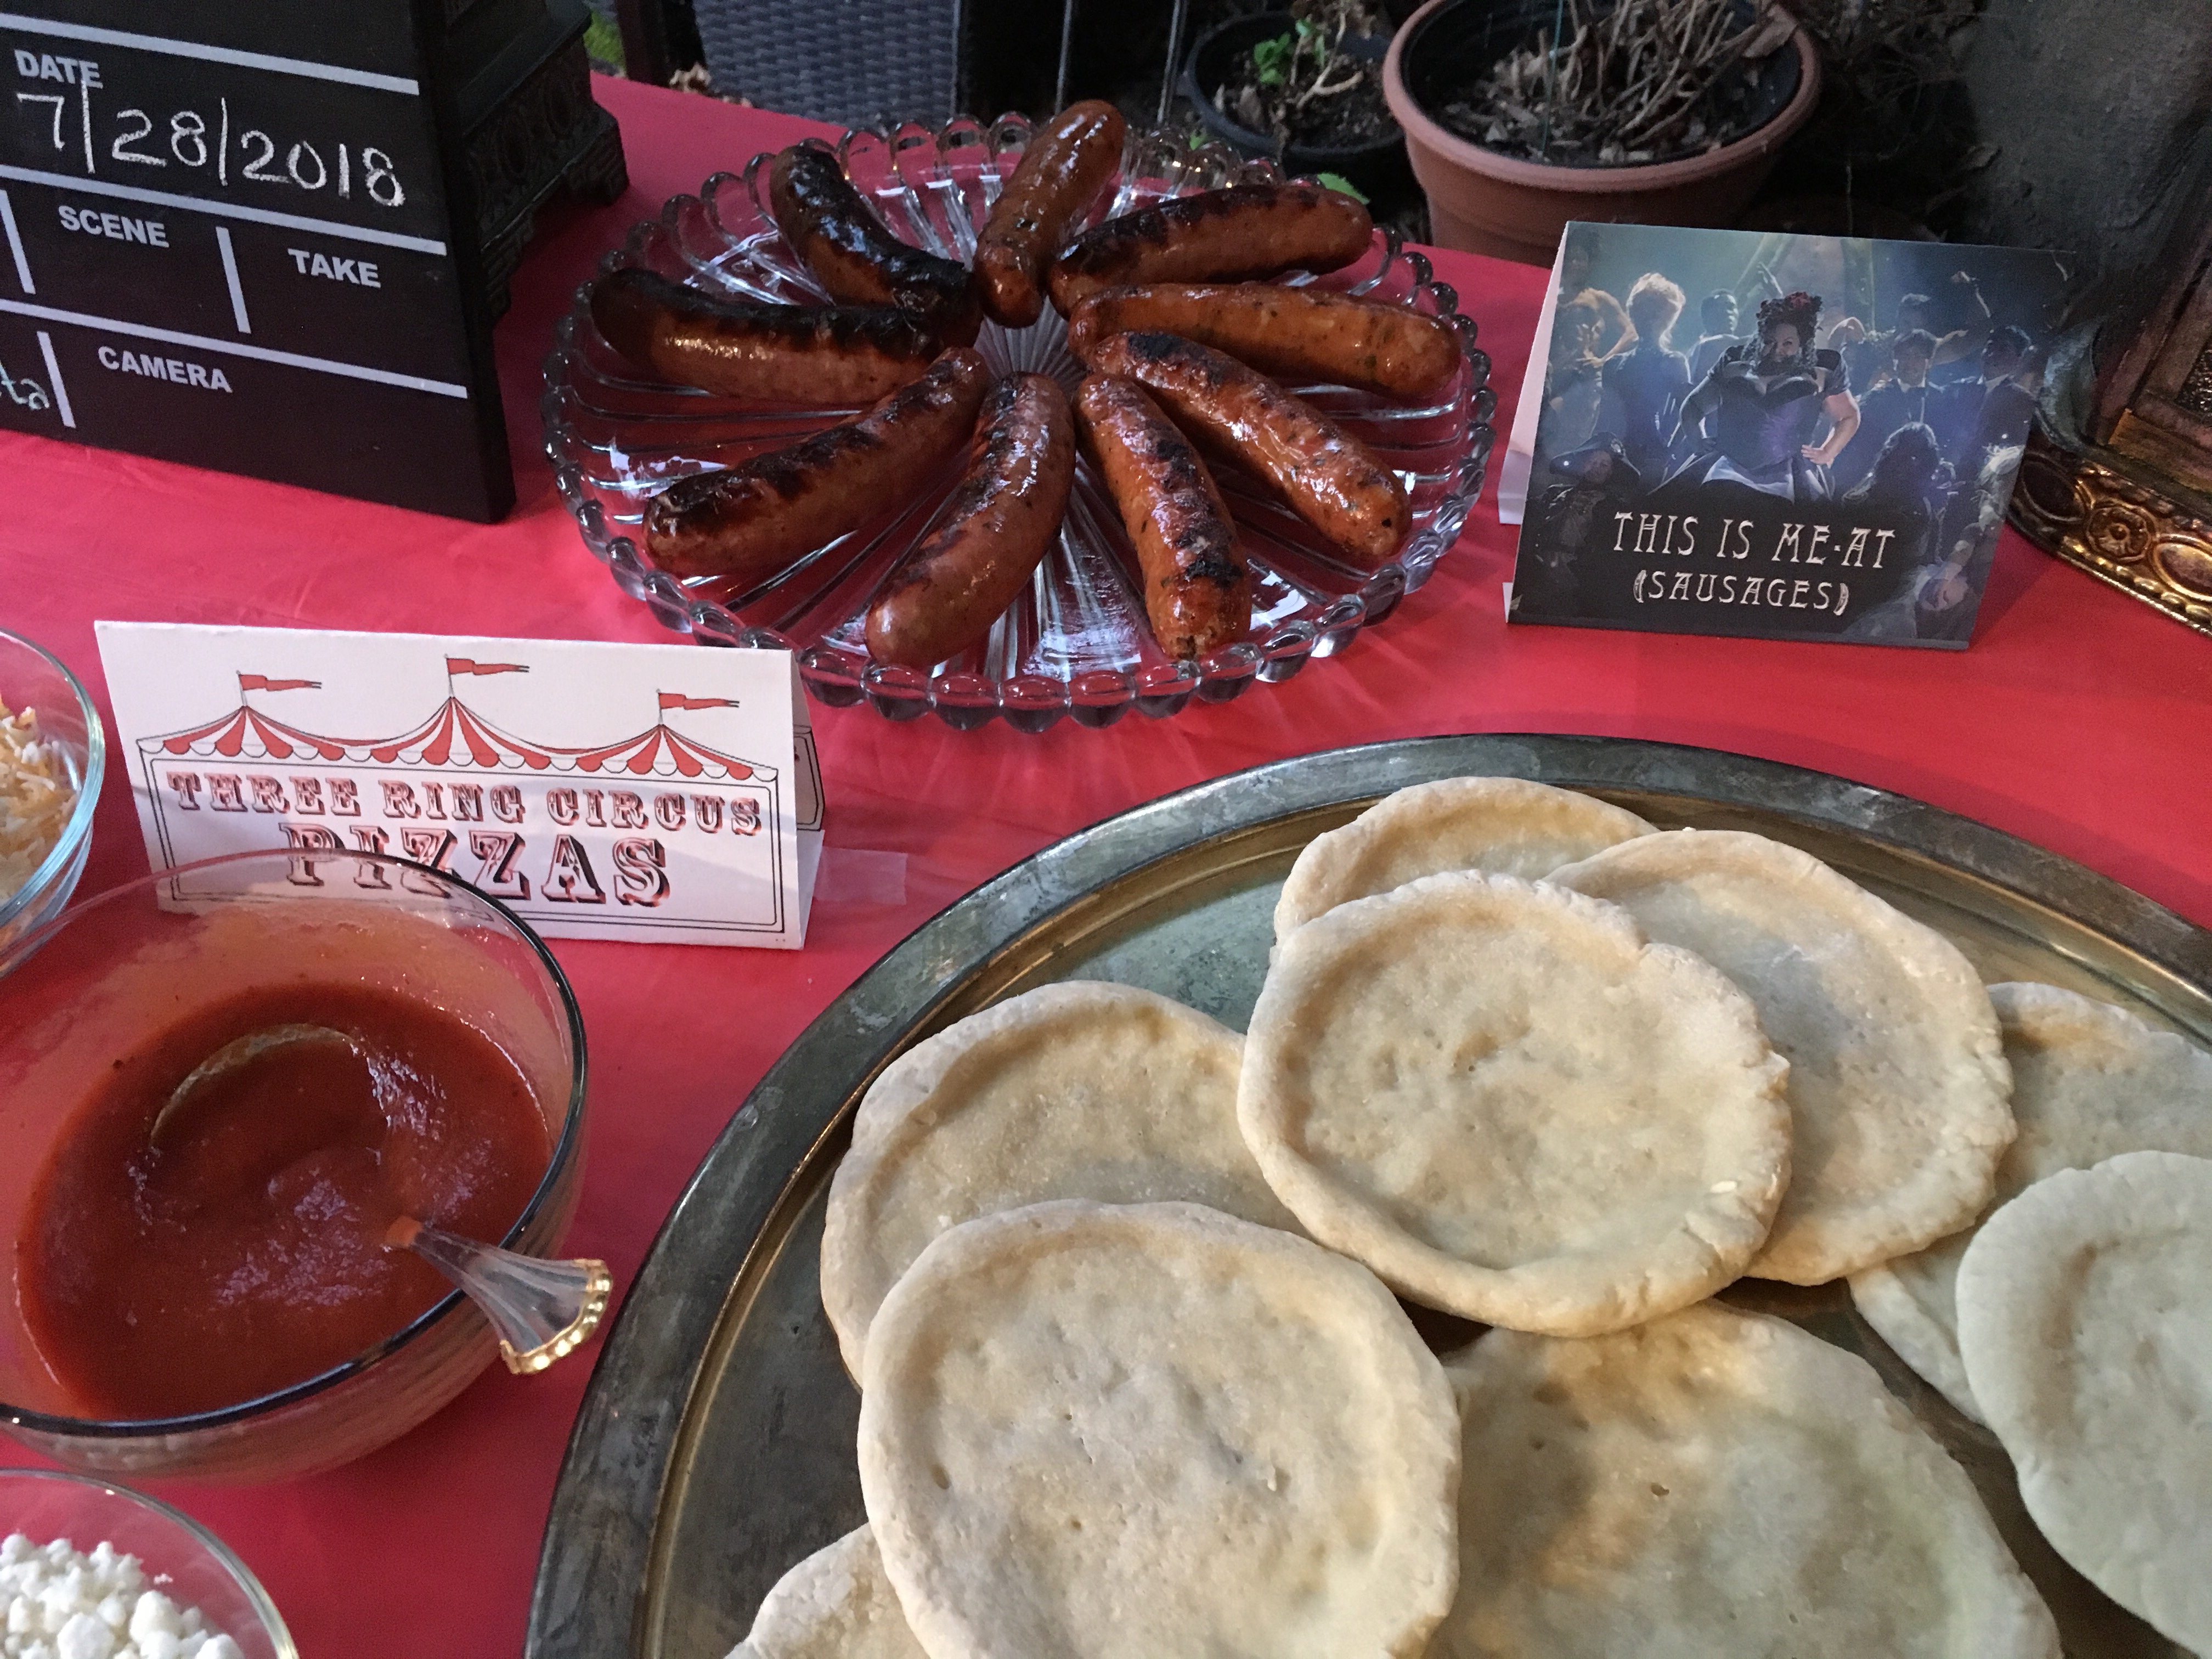
The next recipe required some proof of concept testing first. Some skull calzones have been making the rounds on the Internet for a couple years already, and I kept watching the Nordic Ware skull pans on Amazon. The video made the rounds again this summer, then I was given a set of 2 pans as a wedding gift…hooray! Since I knew I was showing Coco this summer, I wanted to try 
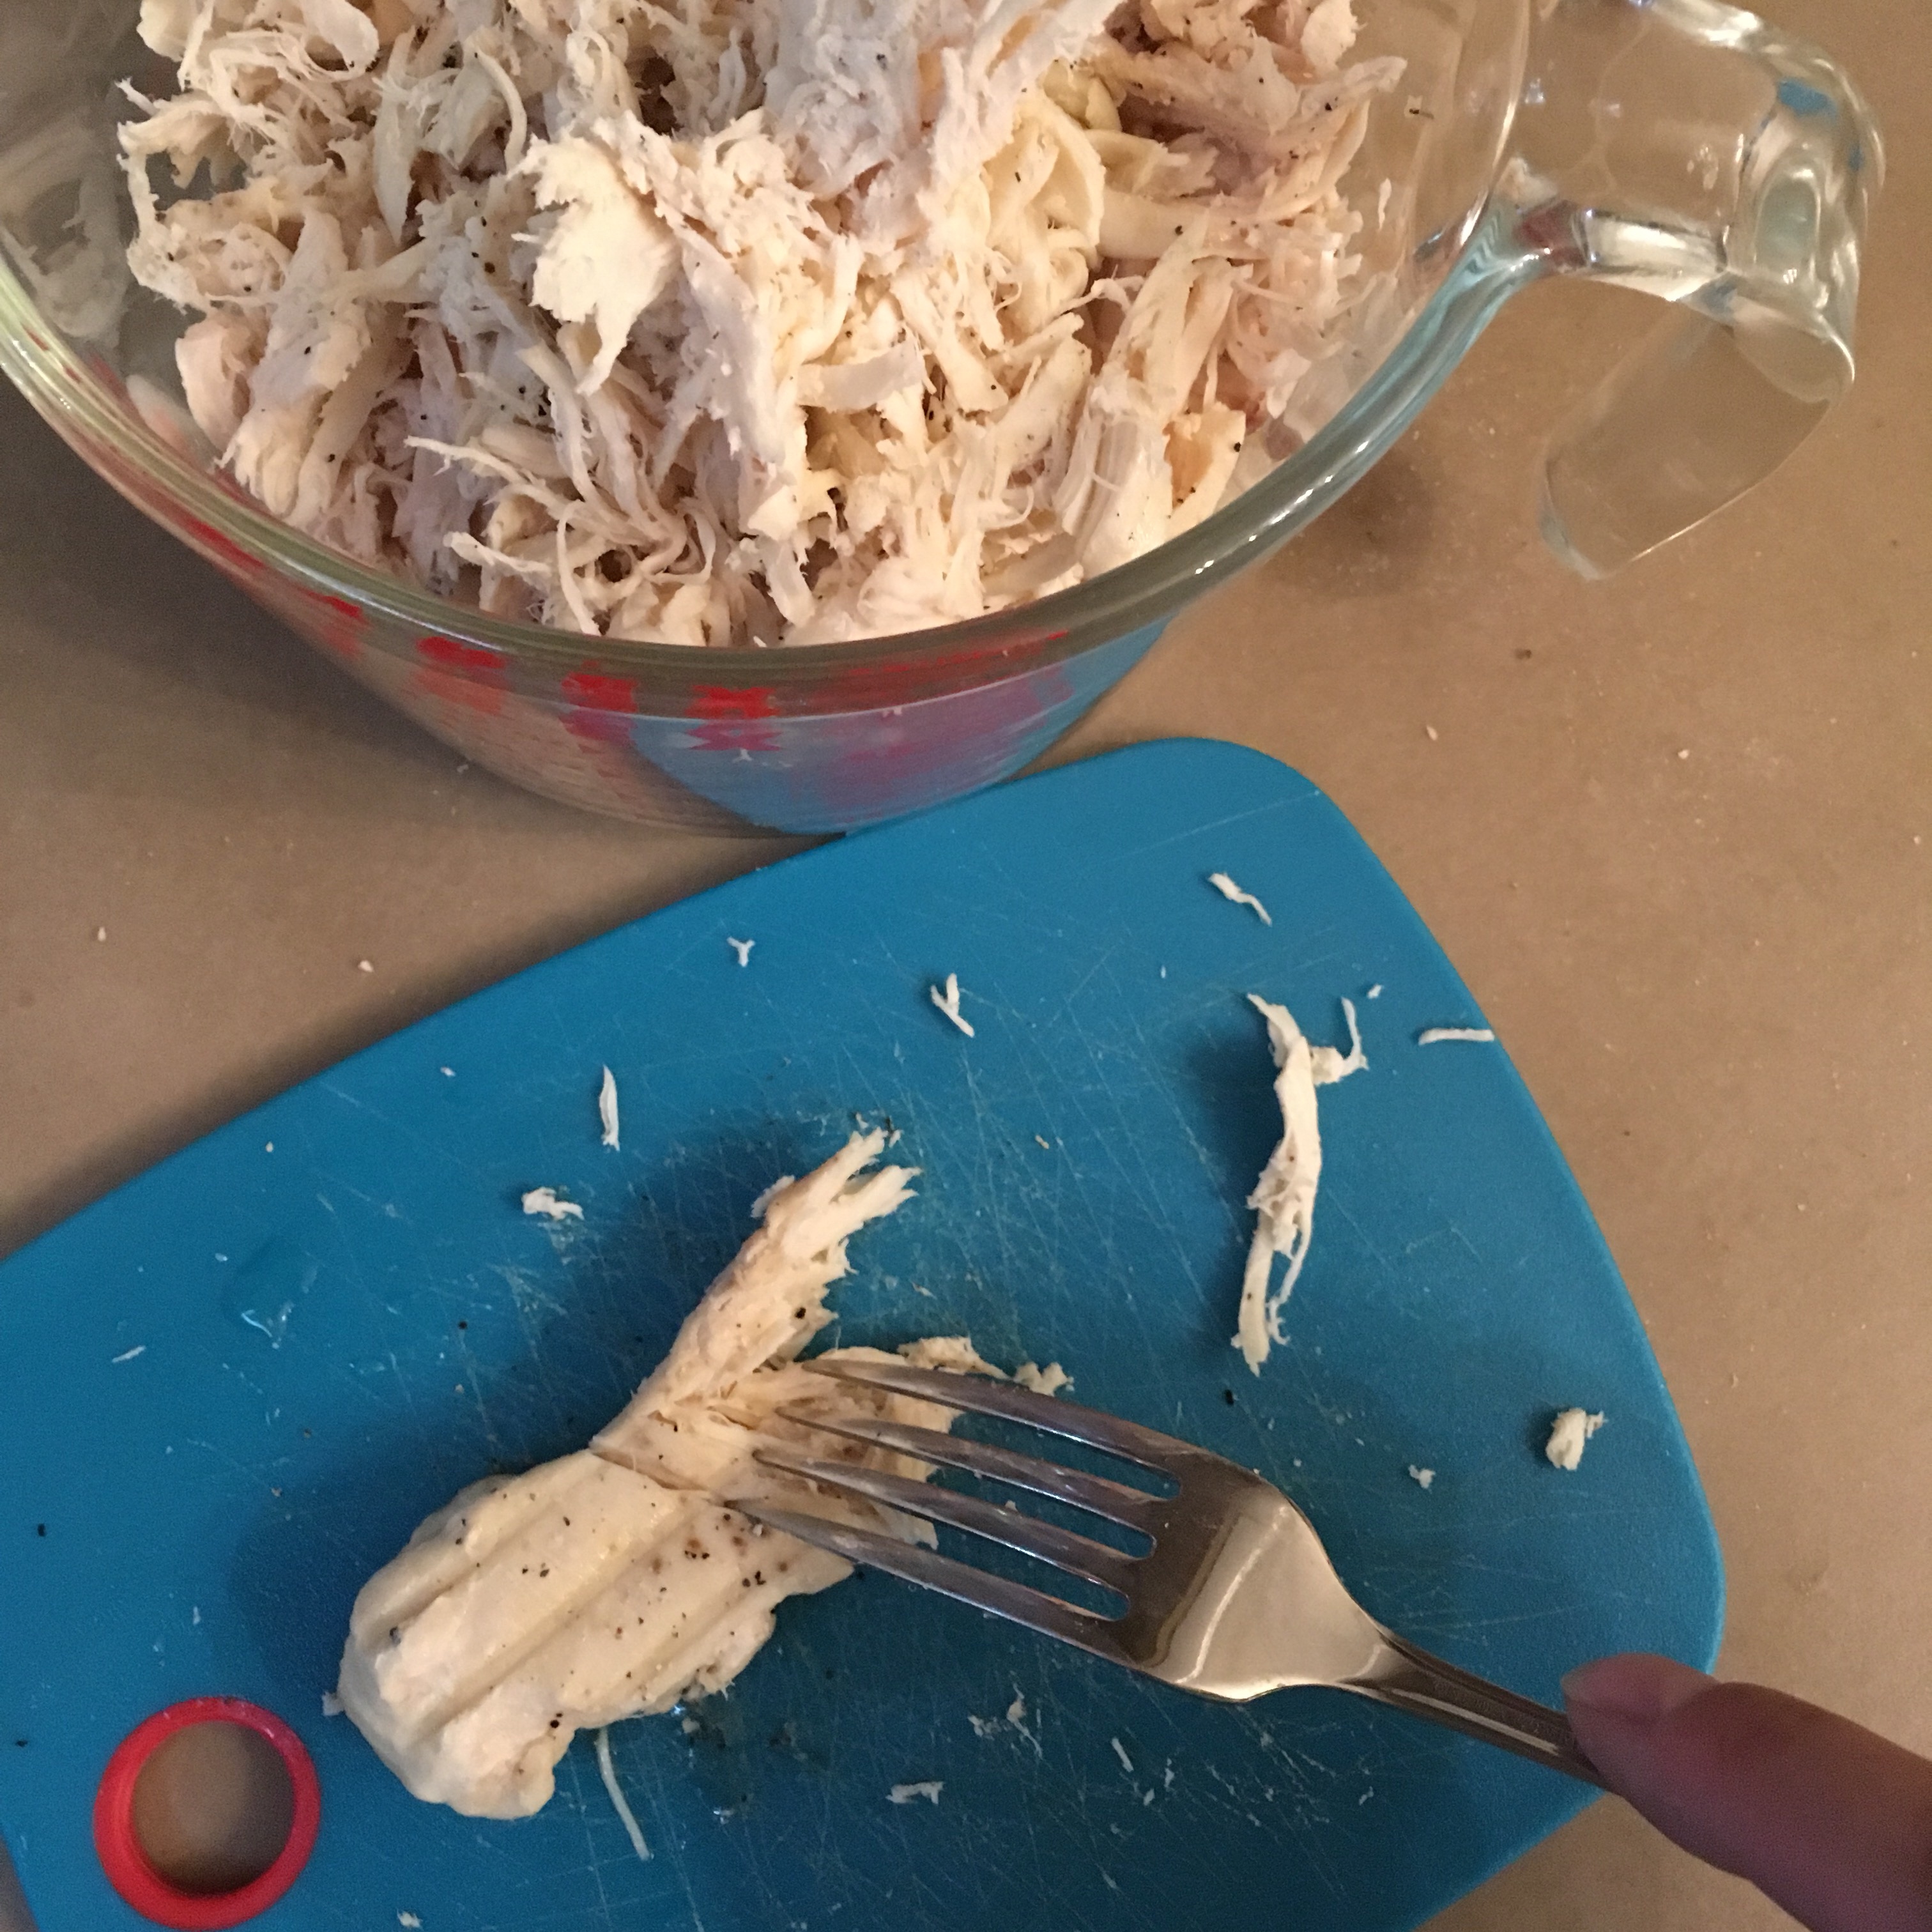
something other than pizza dough, so how about Chimichanga Calaveras? 😉 I found a recipe online that used already-cooked shredded chicken, so I used the chicken tenders I had in my freezer and shredded them until I had 5 full cups ready for the sauce. I adjusted the 
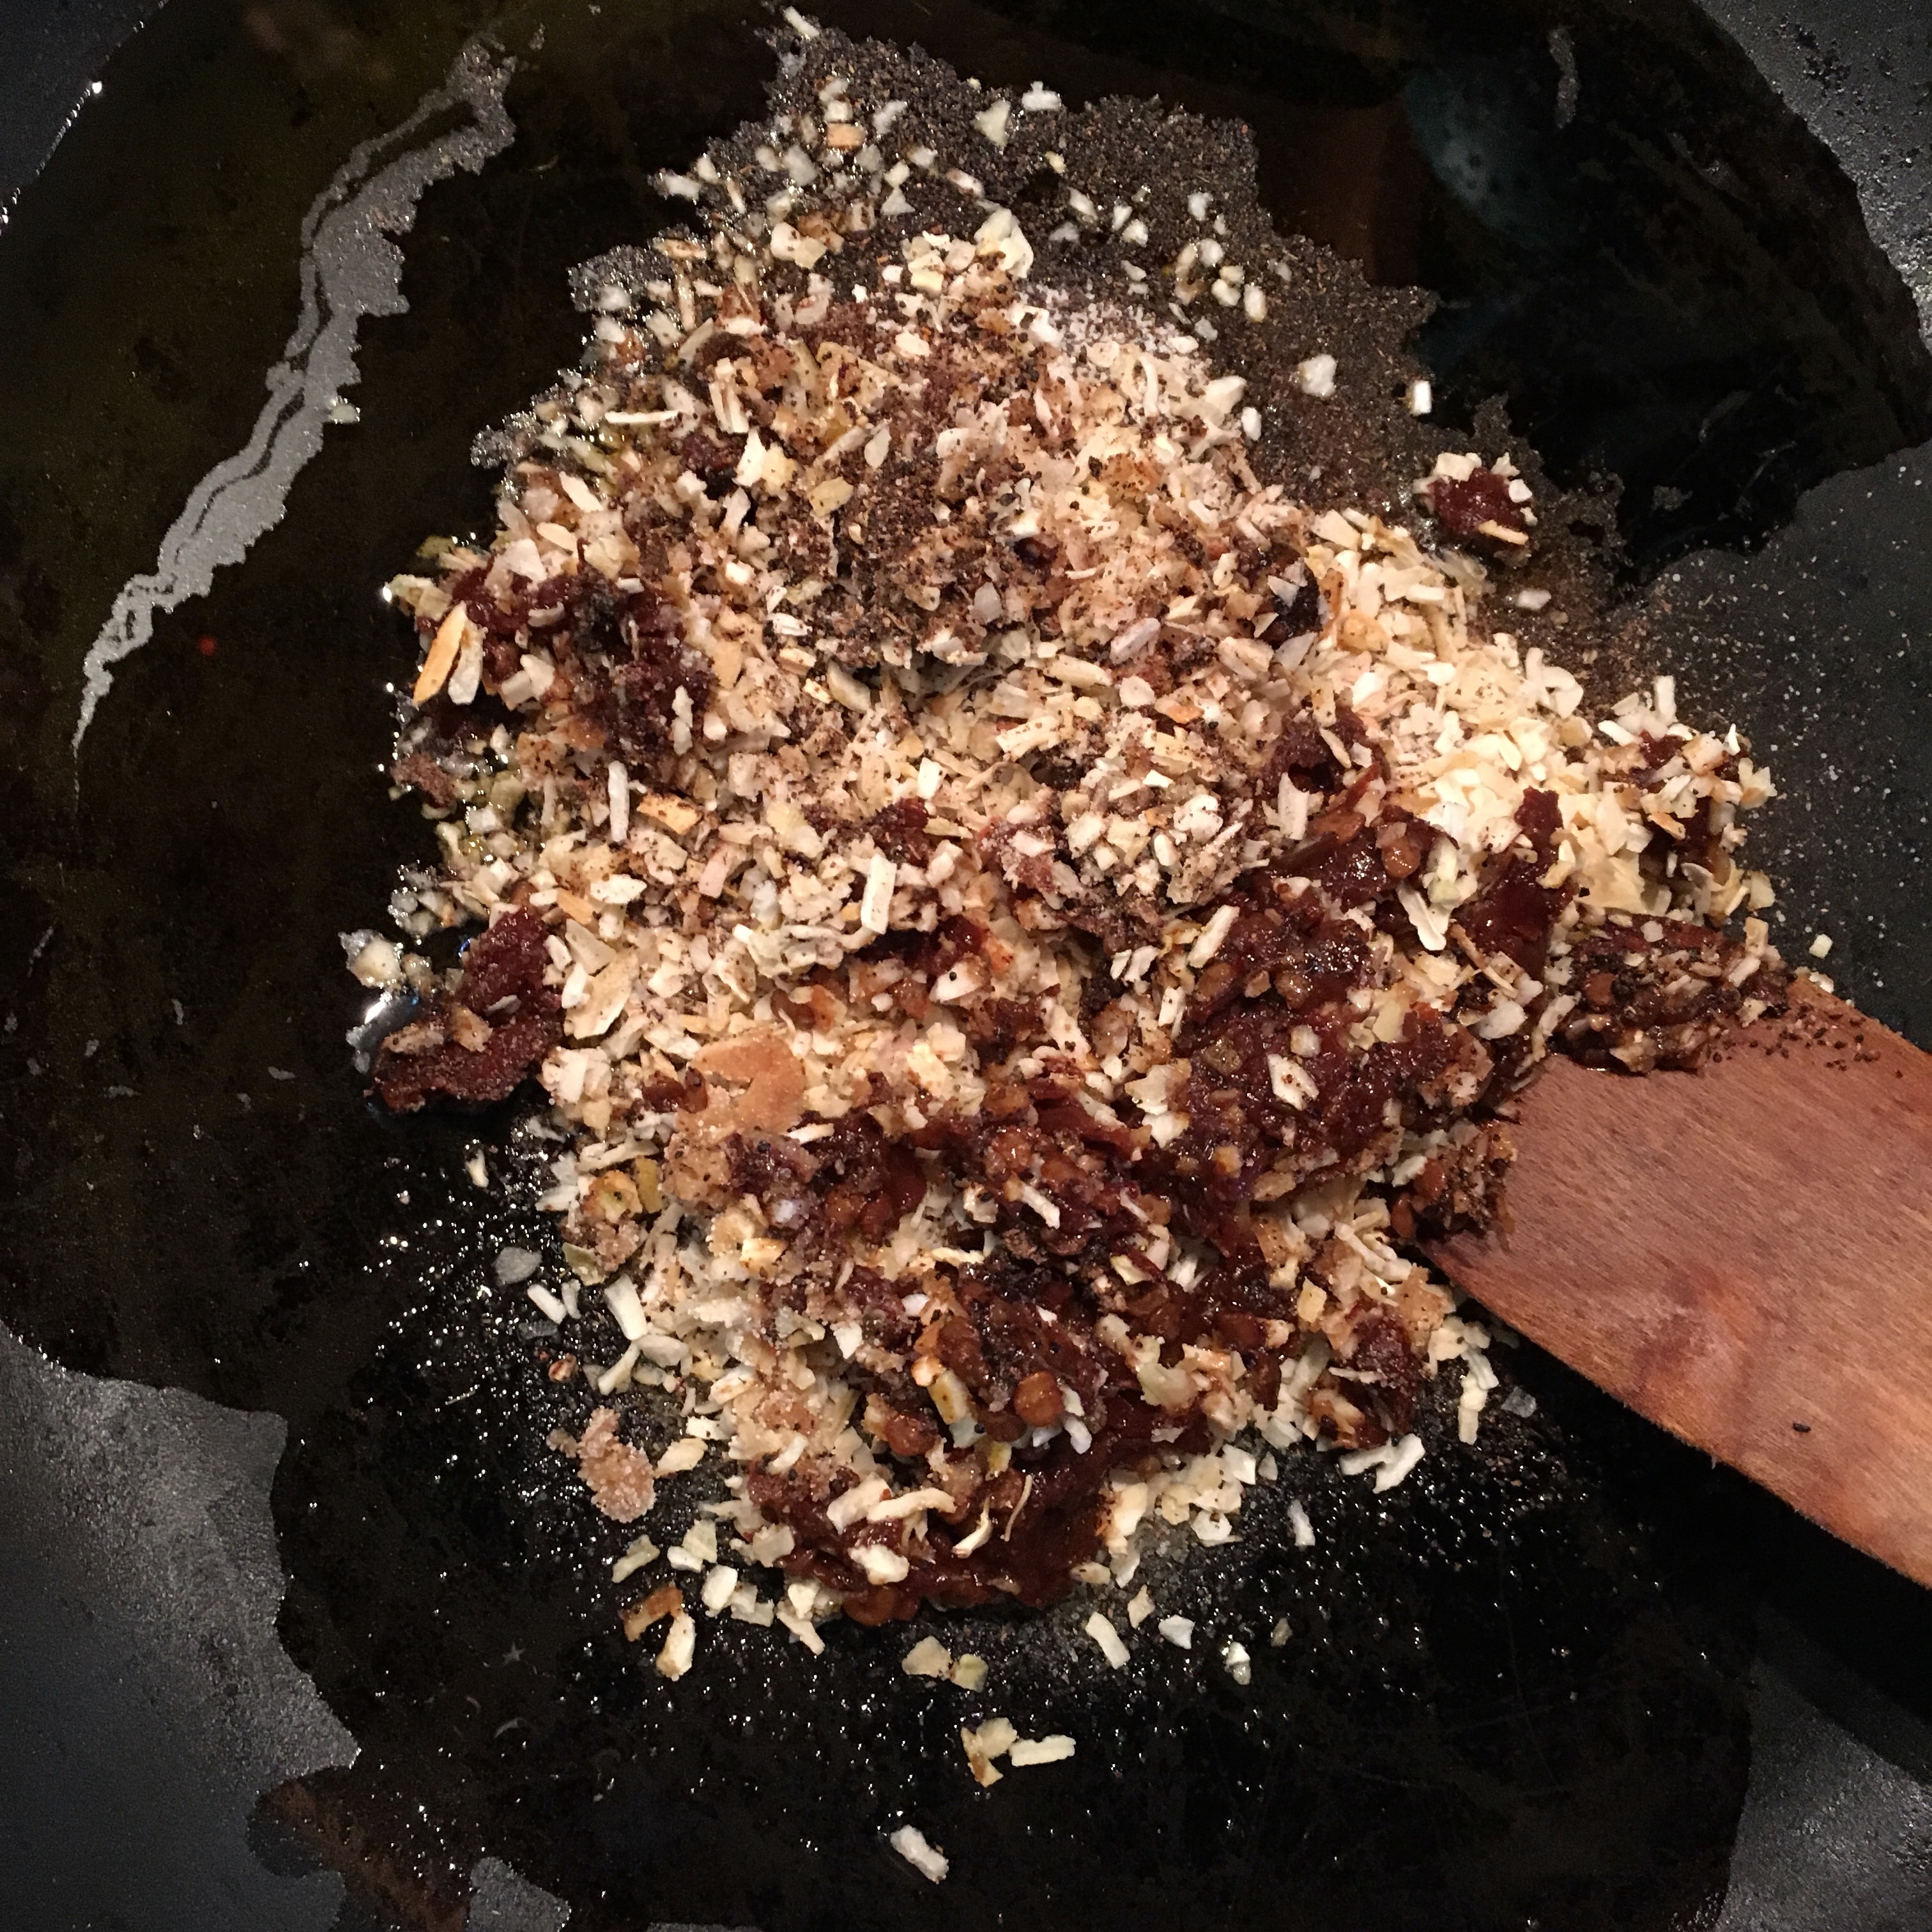
sauce recipe to use garlic salt and dried onion flakes due to other dietary preferences, and I used chipotle in adobo with the seeds instead of a raw jalapeño, so I didn’t need the first step of simmering the onions, garlic & jalapeños until they softened. I had fresh 
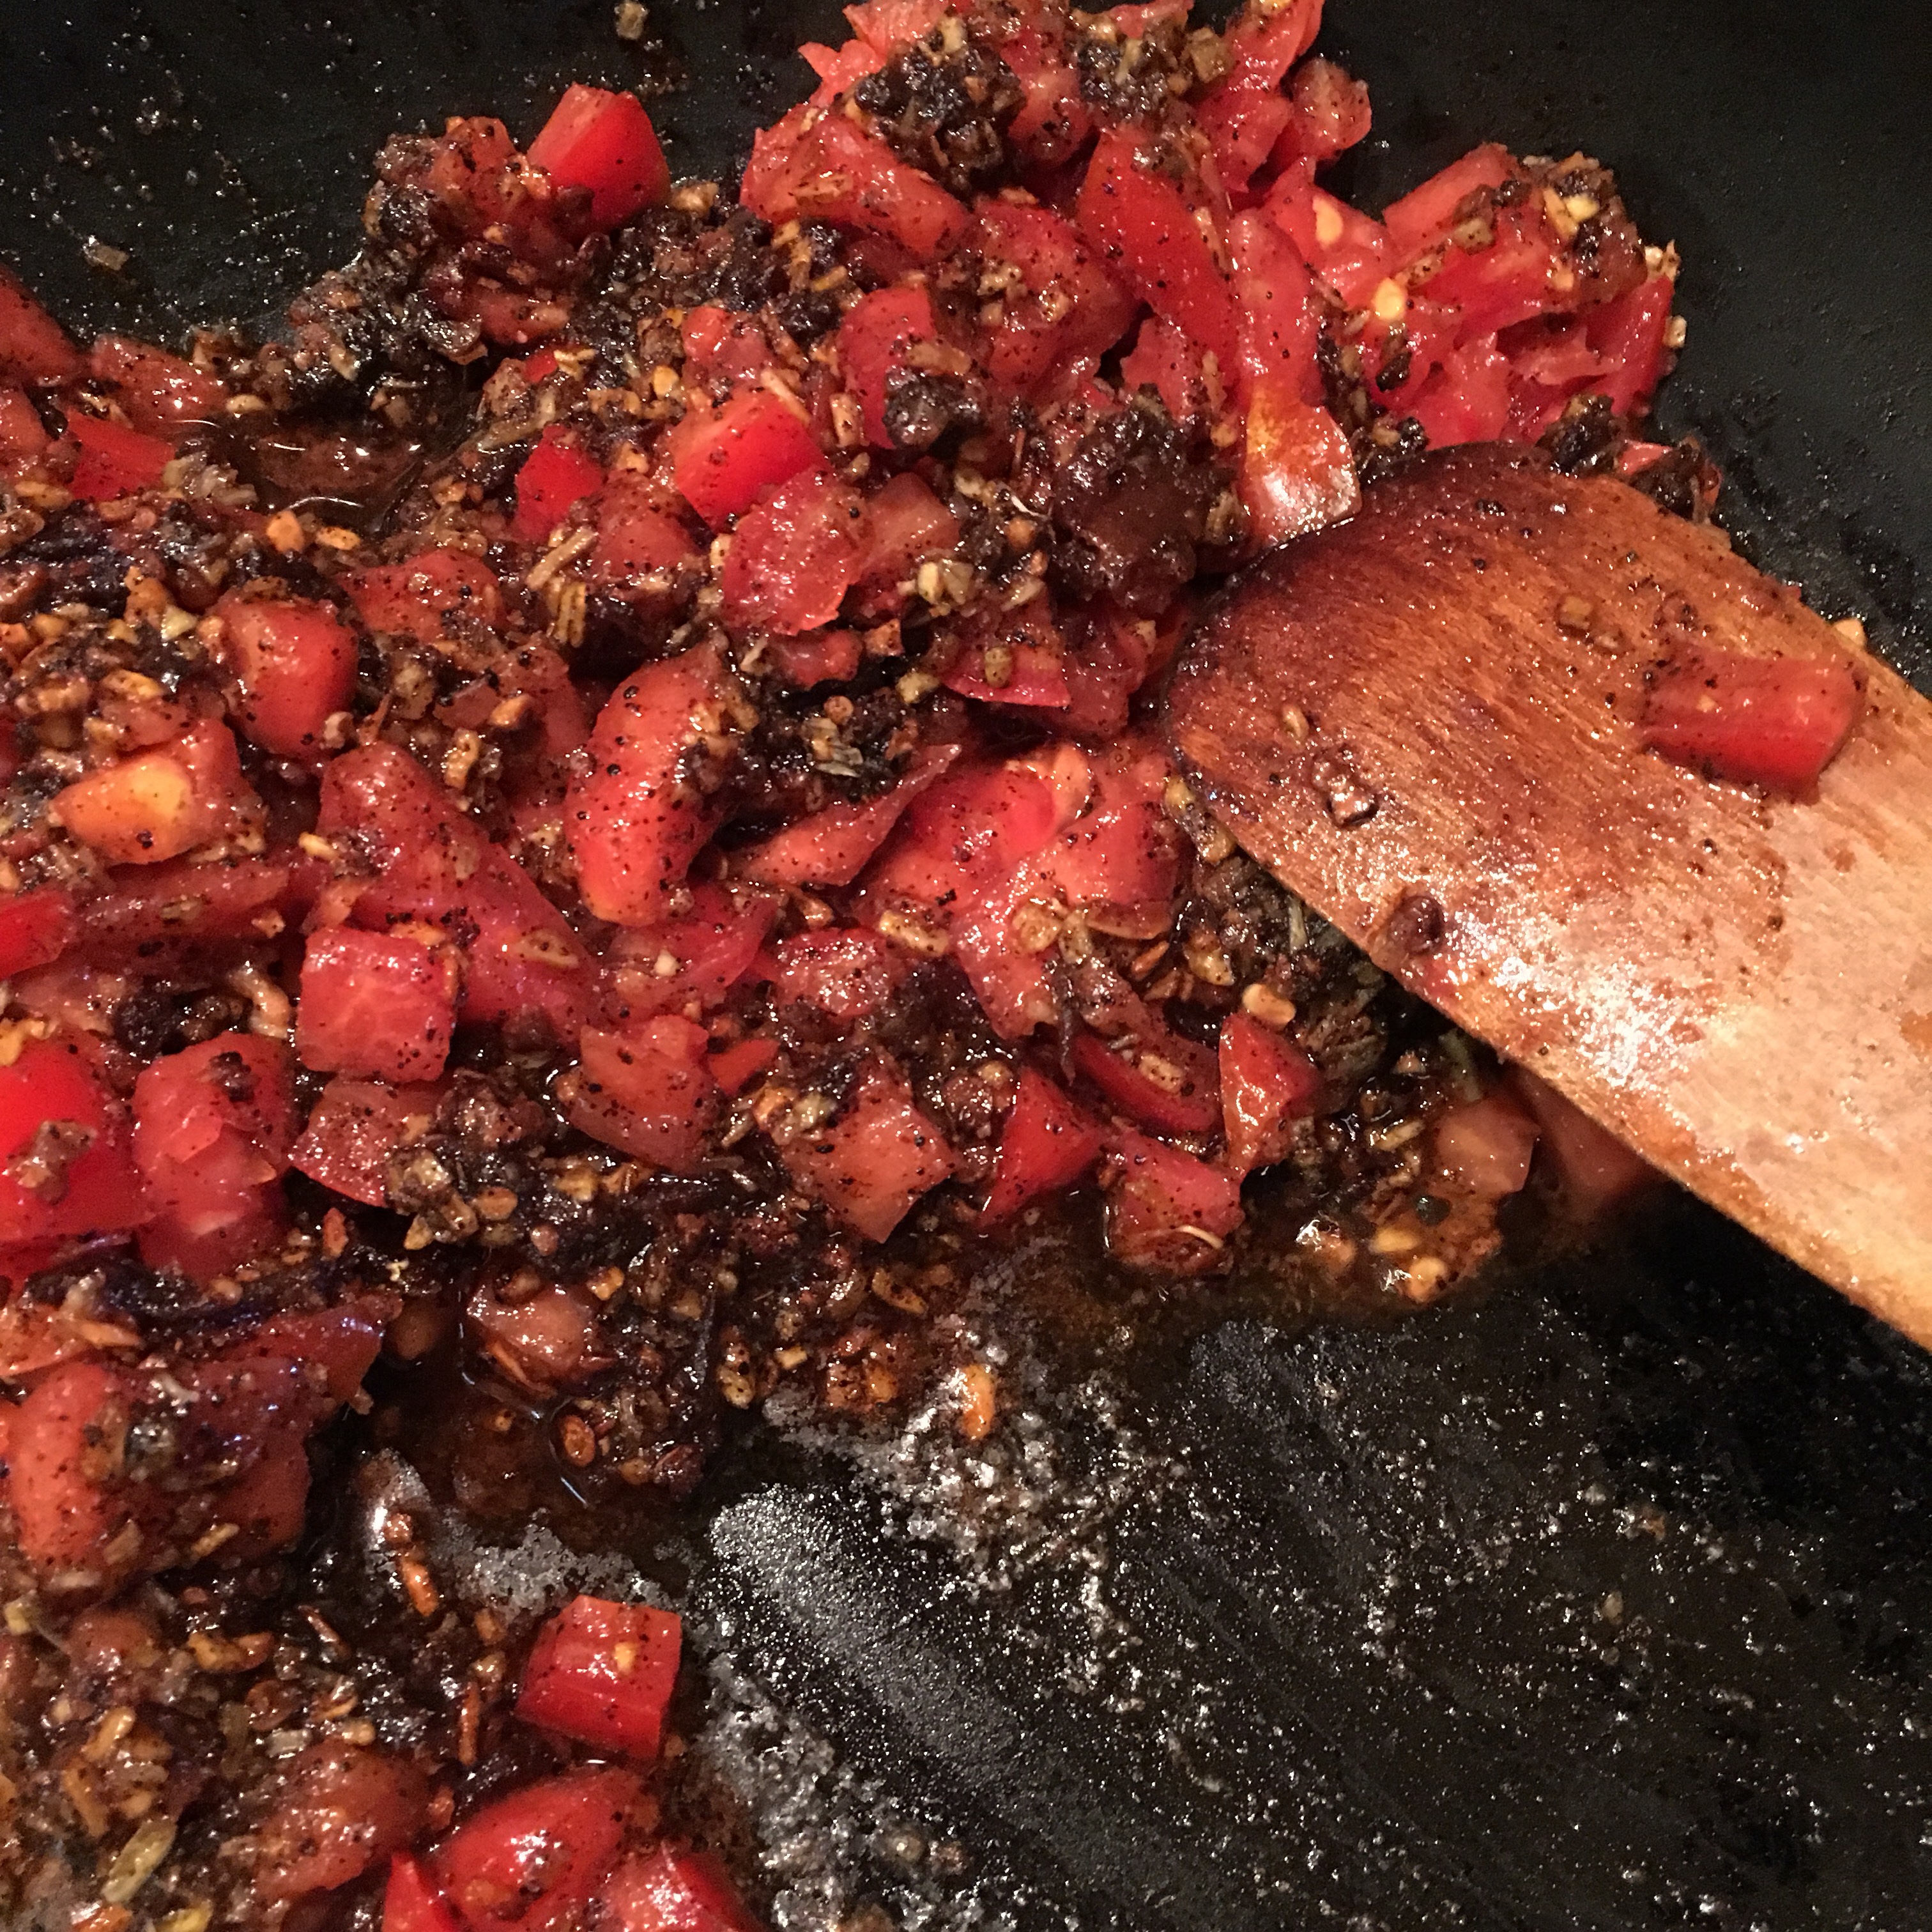
homegrown tomatoes from my dad’s garden to add, but I have at least one person who is severely allergic to dairy, so I eliminated butter from the mixture and made 4 non-dairy chimichangas before adding the sour cream to the mixture for the rest. I found shredded jack cheese with jalapeno & habanero peppers, and I used chipotle in adobo from a can instead of a fresh jalapeno. I doubled the recipe included at the bottom of this post to make 24 skulls, which was 2 full batches with each 6-skull pan. I sprayed the skull pans with olive oil spray for better browning, and a plain baking sheet set on top of the skull pan kept the ends folded together while baking.

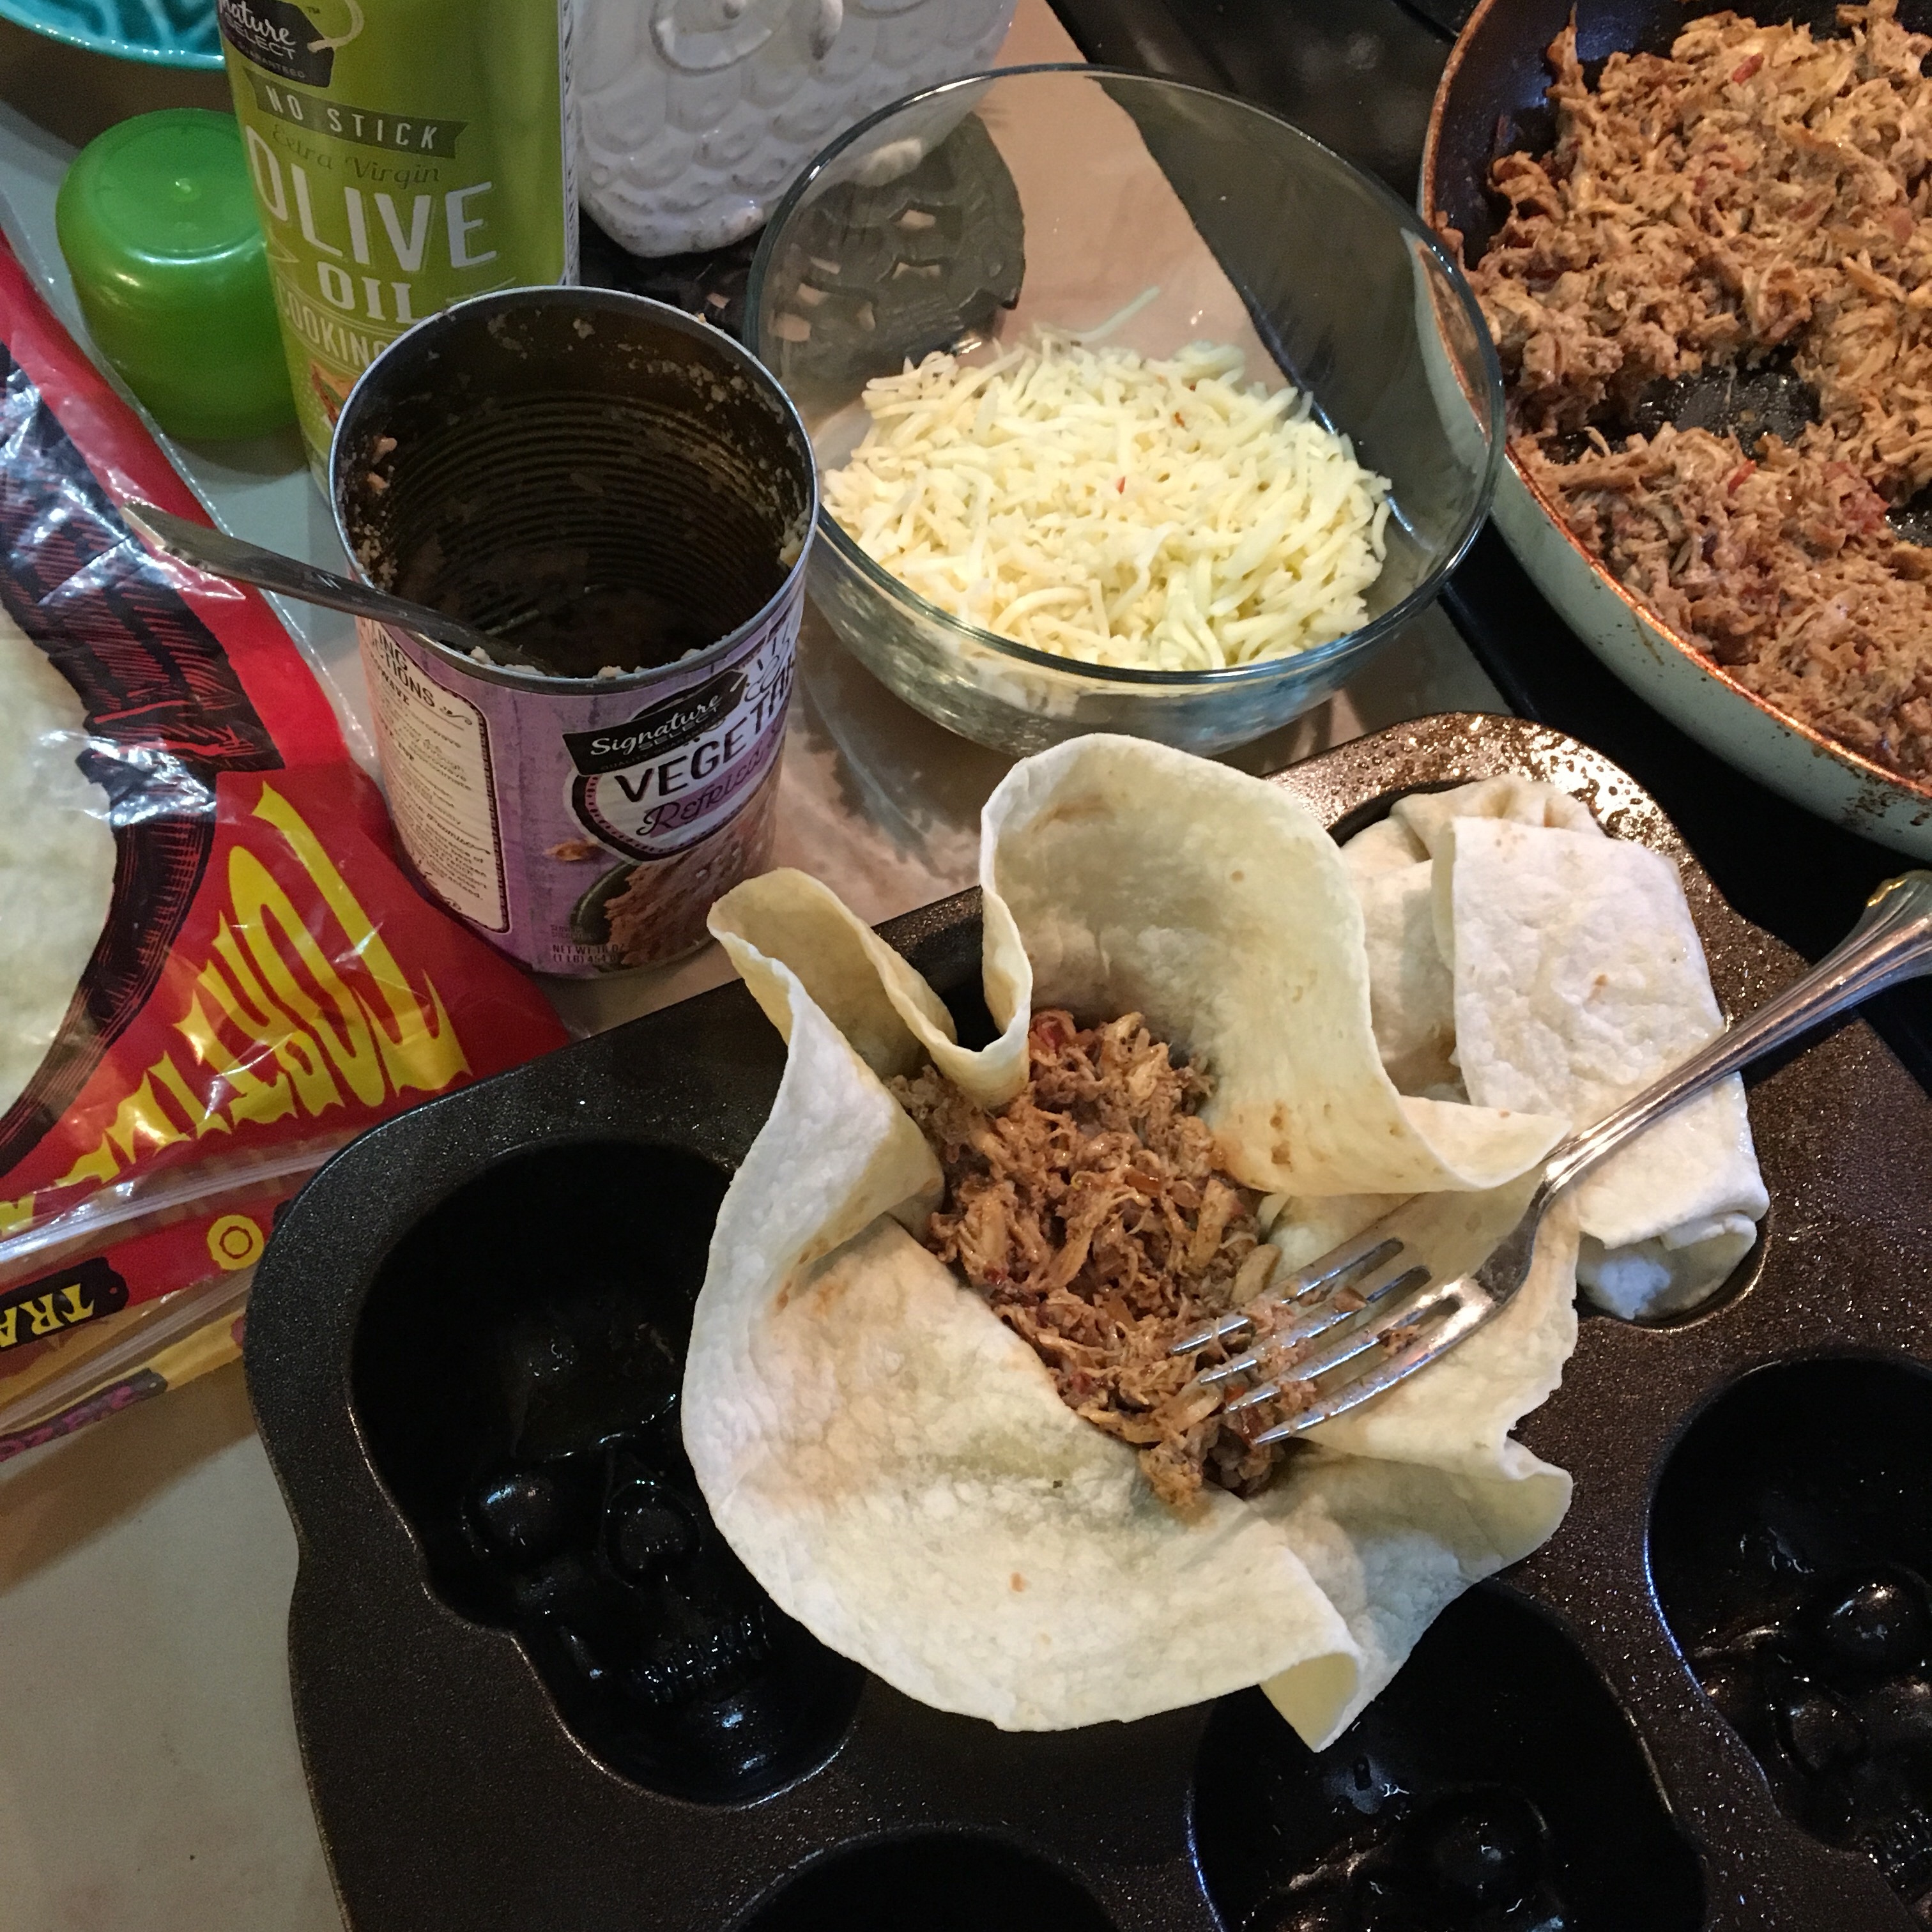
However, I tested using a different brand of flour tortilla than I bought for the party, and that made a big difference in how much skull detail baked into the chimichangas! I didn’t have enough of the Costco tortillas after testing, so I bought some at Trader Joe’s that were more “homemade” looking. I didn’t realize until I started making them the day of the party that the Trader Joe’s tortillas were not only a more varied surface texture, but they were also much thicker. This meant it was trickier to coax them into the skull shape even after 
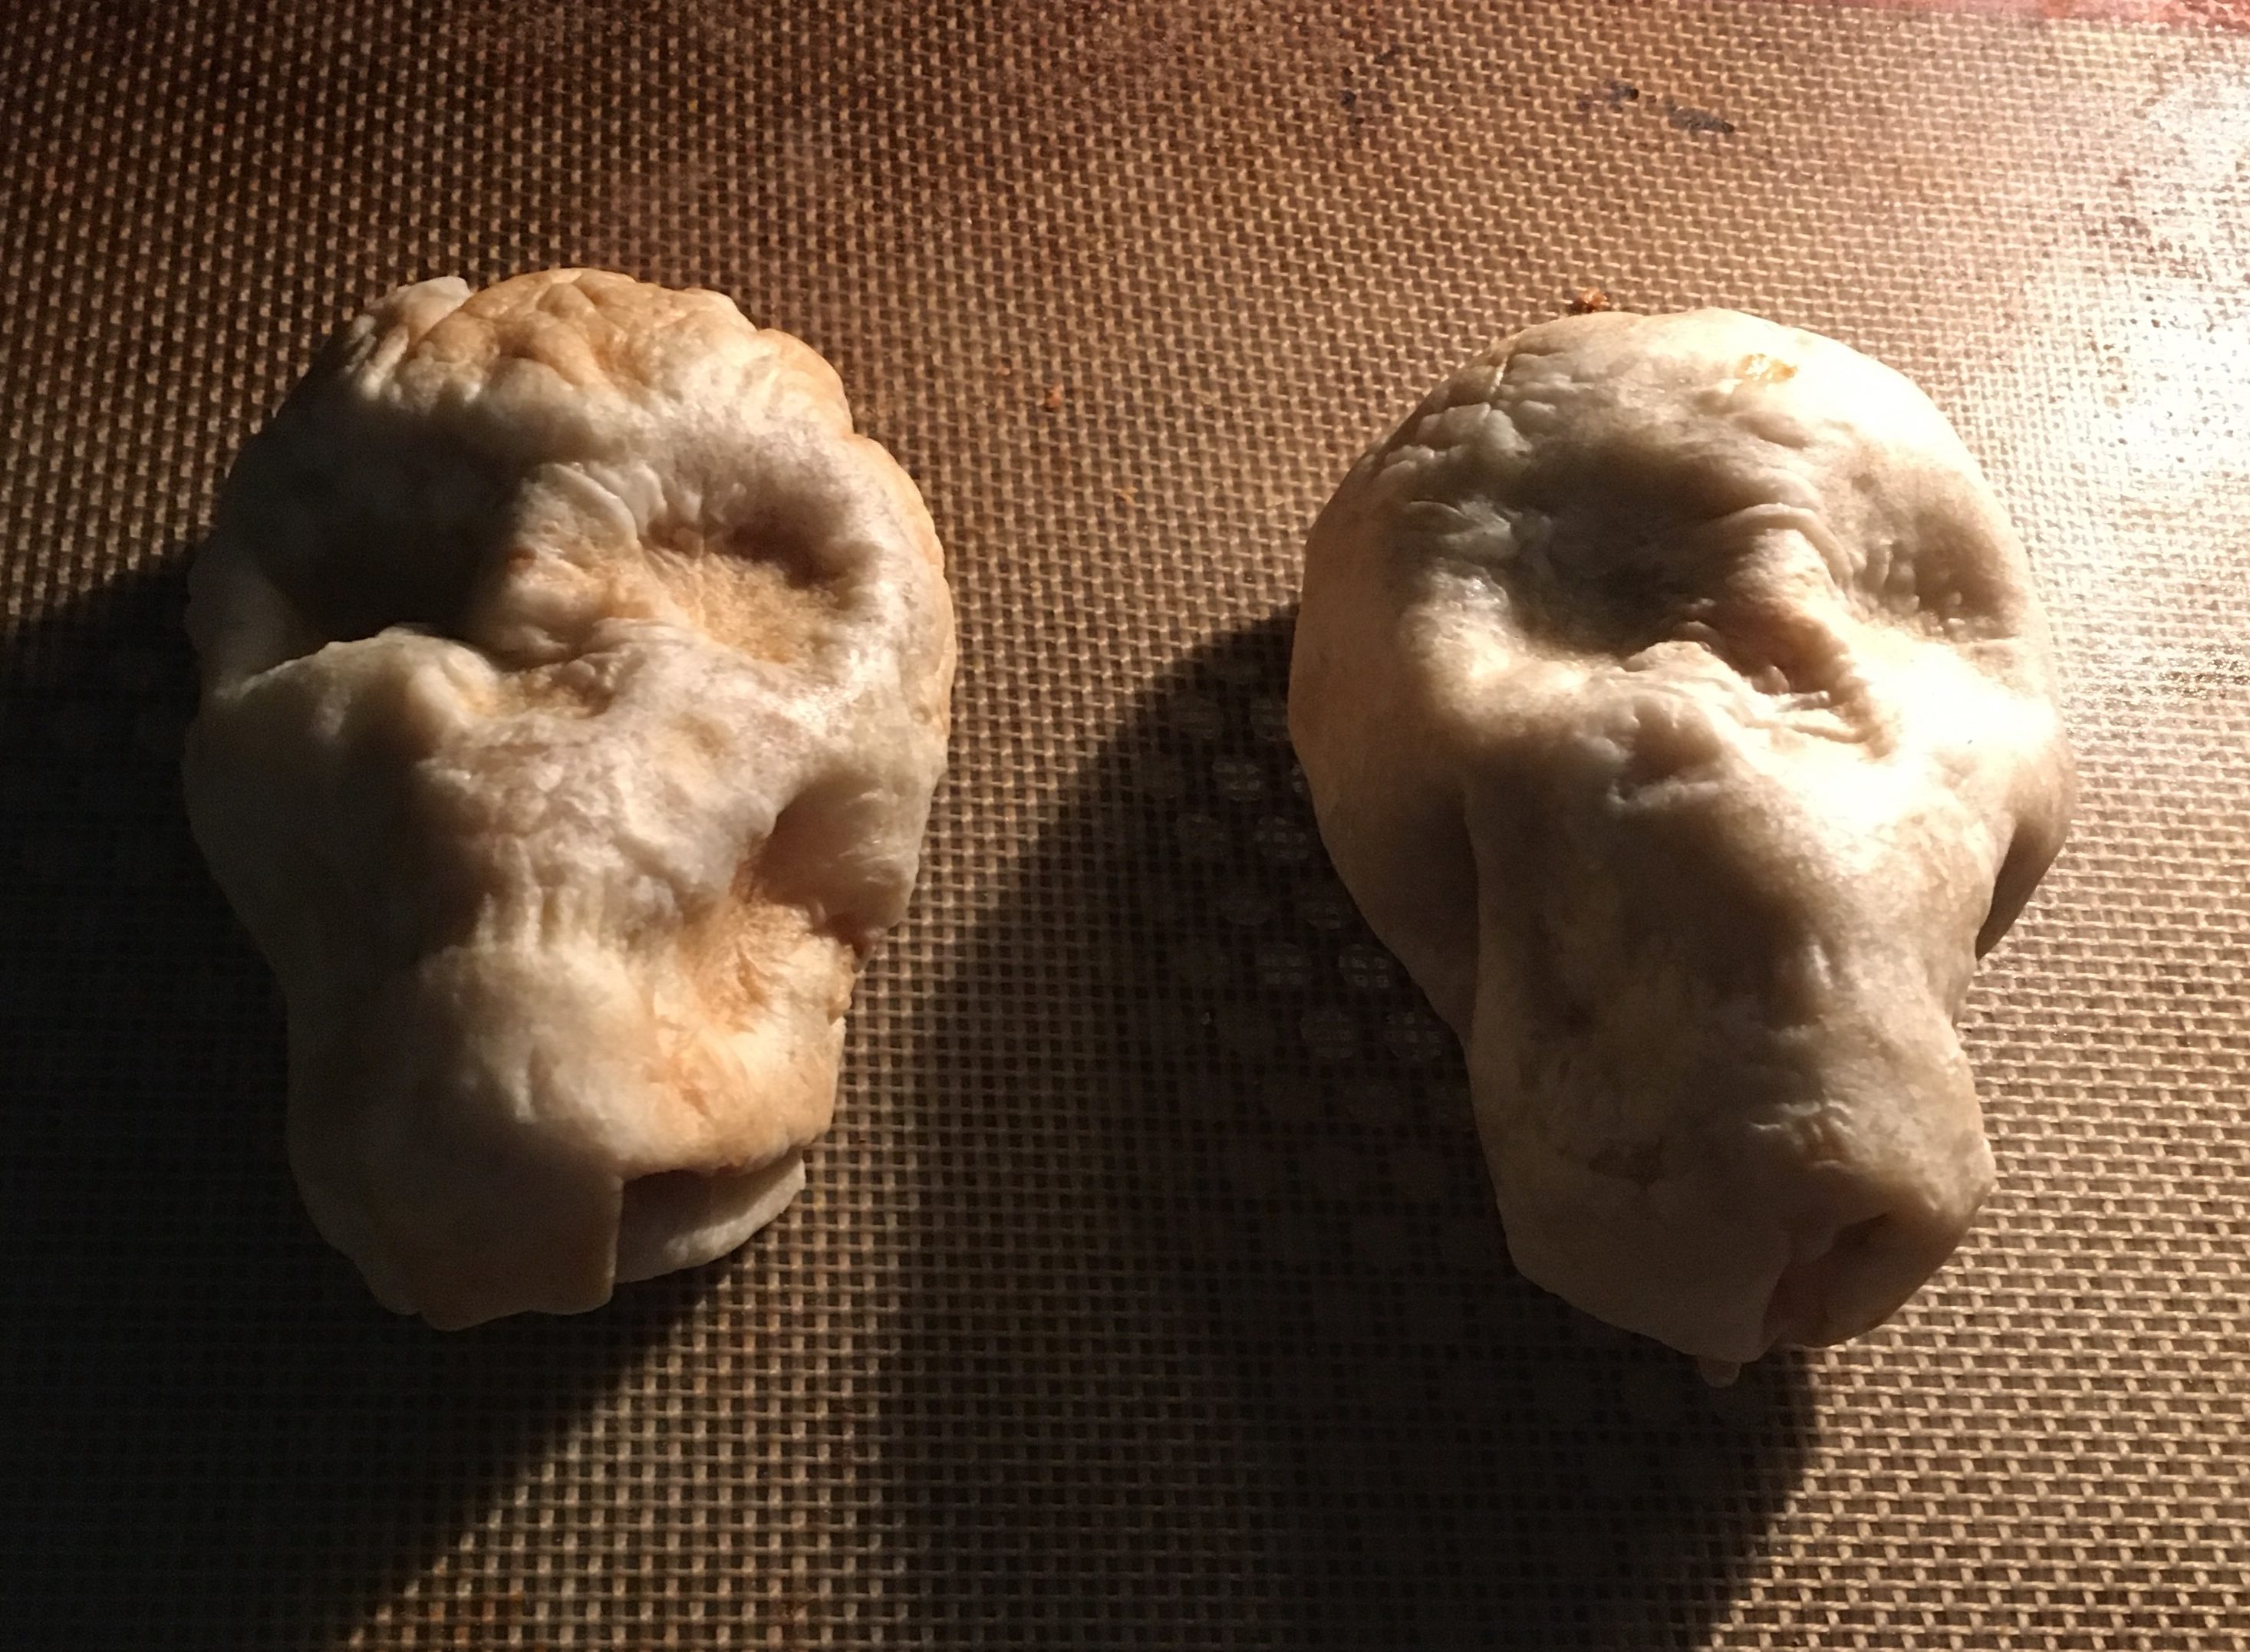
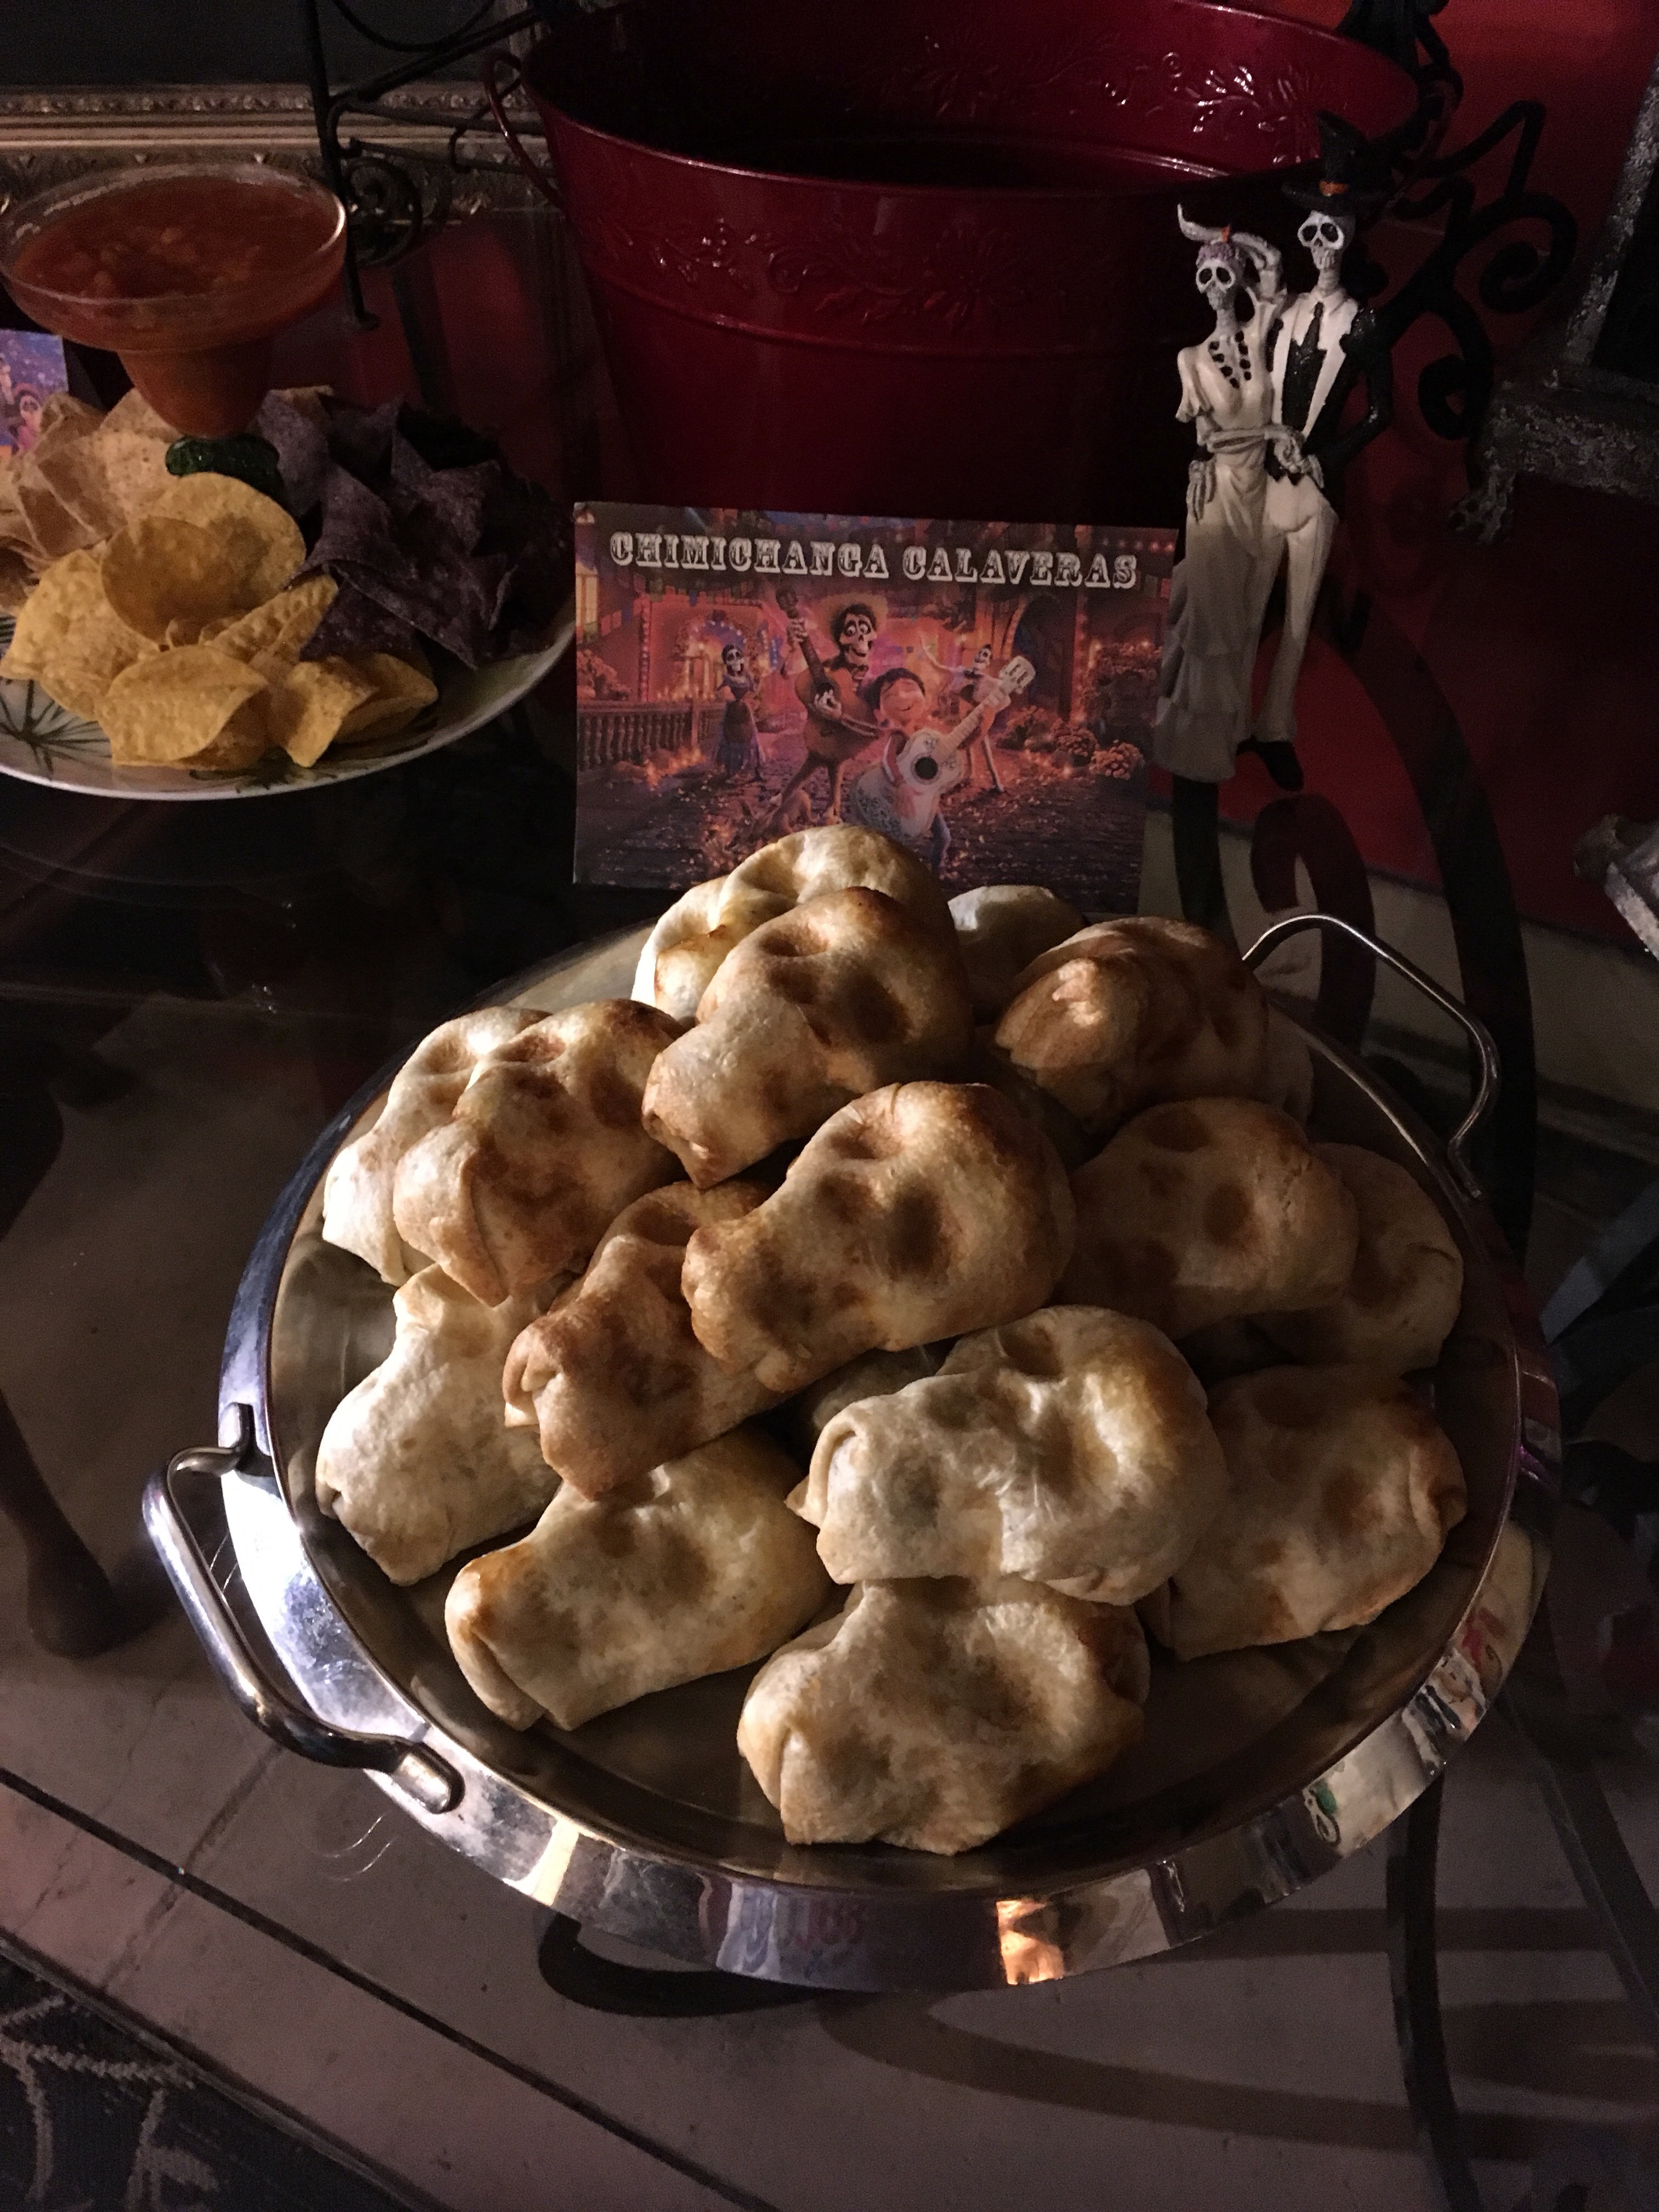
15 seconds in the microwave, and even 20 minutes in the oven with moist contents, the tortilla didn’t mold to the skull shape while baking as much as the thinner & flatter Costco tortillas did. I finished the last 6 using Costco tortillas, and you can see the difference in browning pattern, plus the first two proof of concept test skulls even showed the teeth detail. Now you know so you can look for thinner commercial tortillas for your Chimichanga Calaveras using the recipe below, and save your homemade-style tortillas for where that texture is more appreciated, like a quesadilla or fajitas!

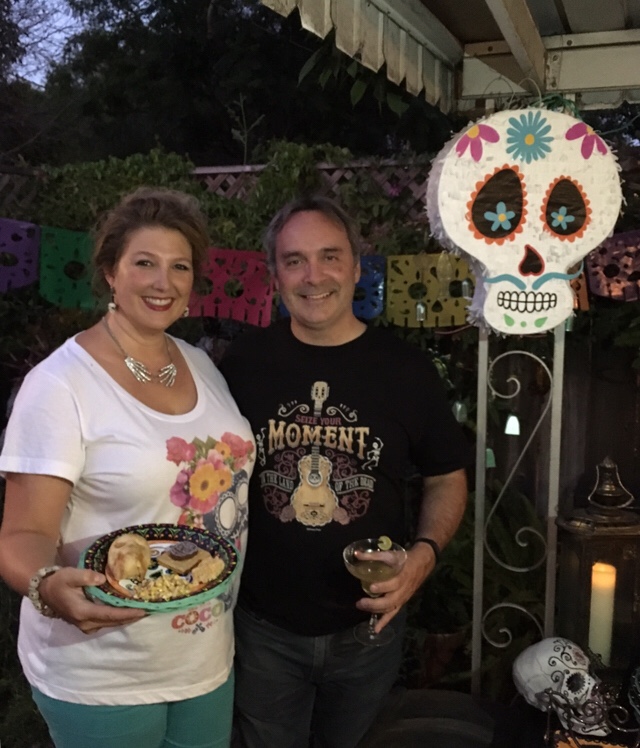
Since we have decided to bring back our homemade animatronic skeleton mariachi band show for a future Halloween, I bought Coco shirts to add to our Scream Team work shirt collections! All three of us have matching skull designs like Jerry wore, plus I bought a floral women’s cut for me, and a Seize Your Moment guitar design for Glen that we wore this time.

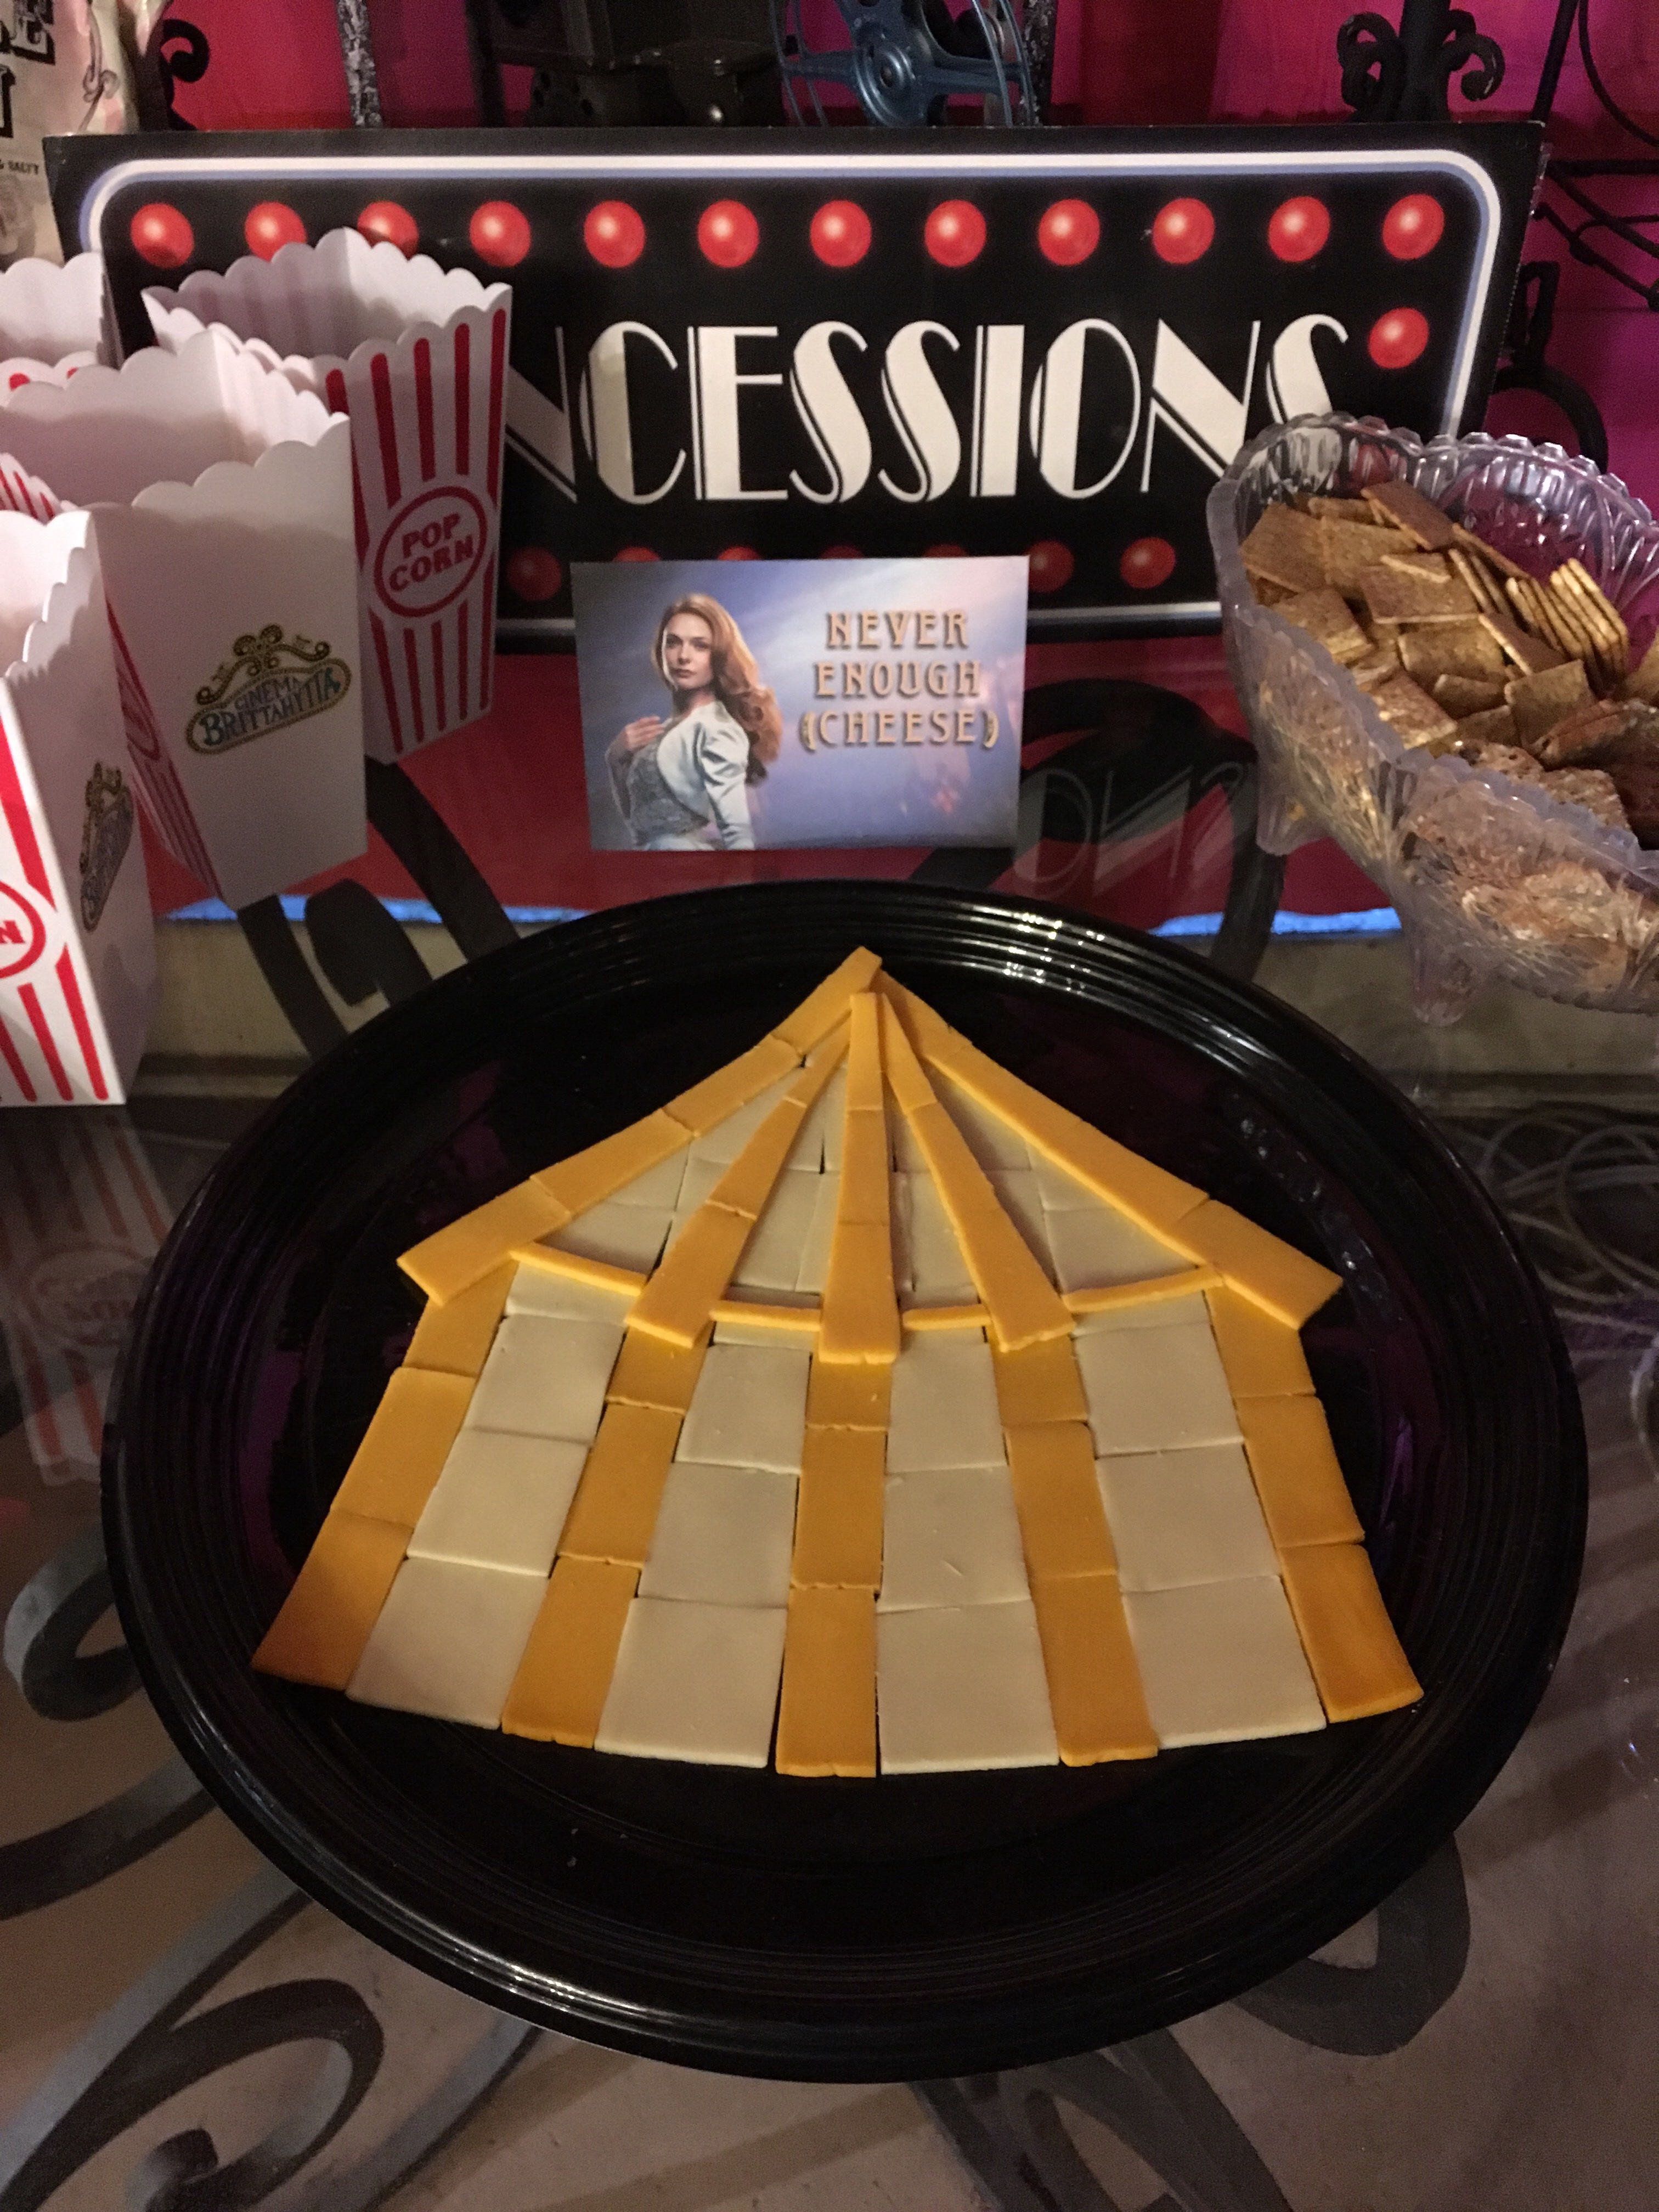
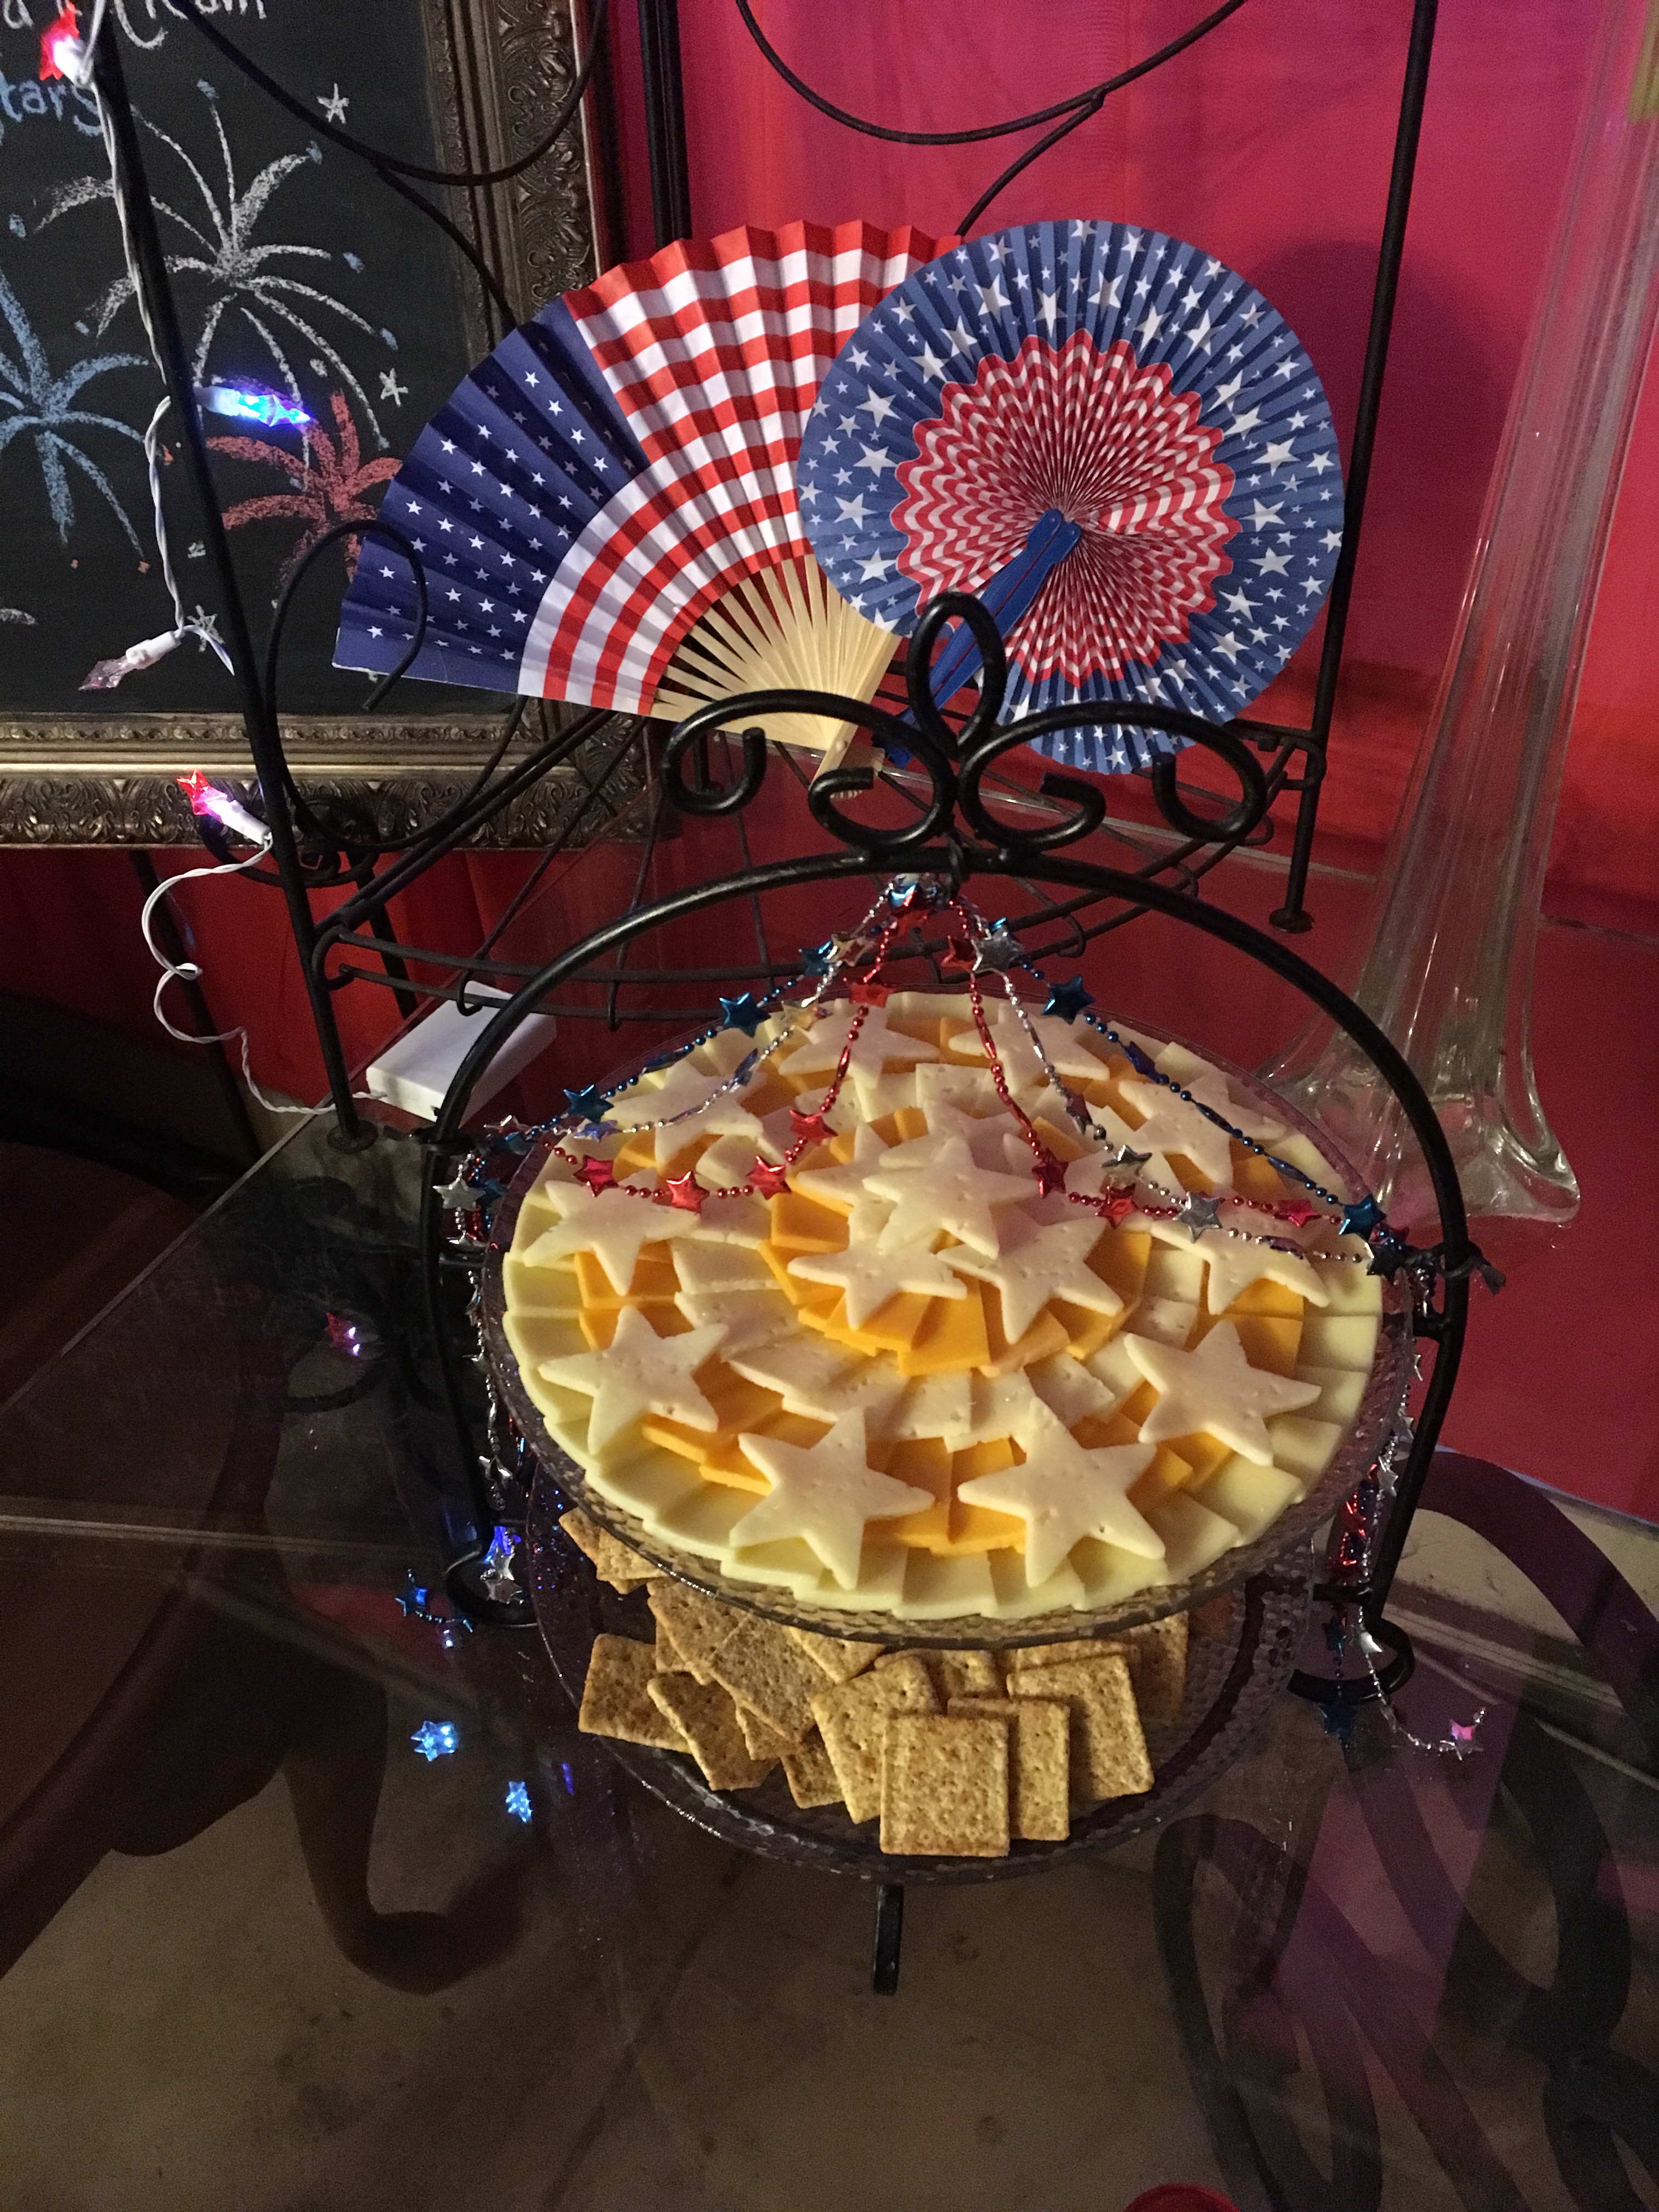
Queso Fundido is a favorite of ours at Margarita Friday, so I found a good home recipe for Halloween 2015 that I included in Eerie Elegance Eats. I knew we had less people coming to Coco, so I made only half a batch, and since I knew how it ended up clumpy by the end of the evening, I added a little olive oil and some milk to make it more liquid. It still needed stirring once in a while, but that stayed smooth from 2pm until 11pm…not a bad run! The full recipe for Queso Fundido is included below.

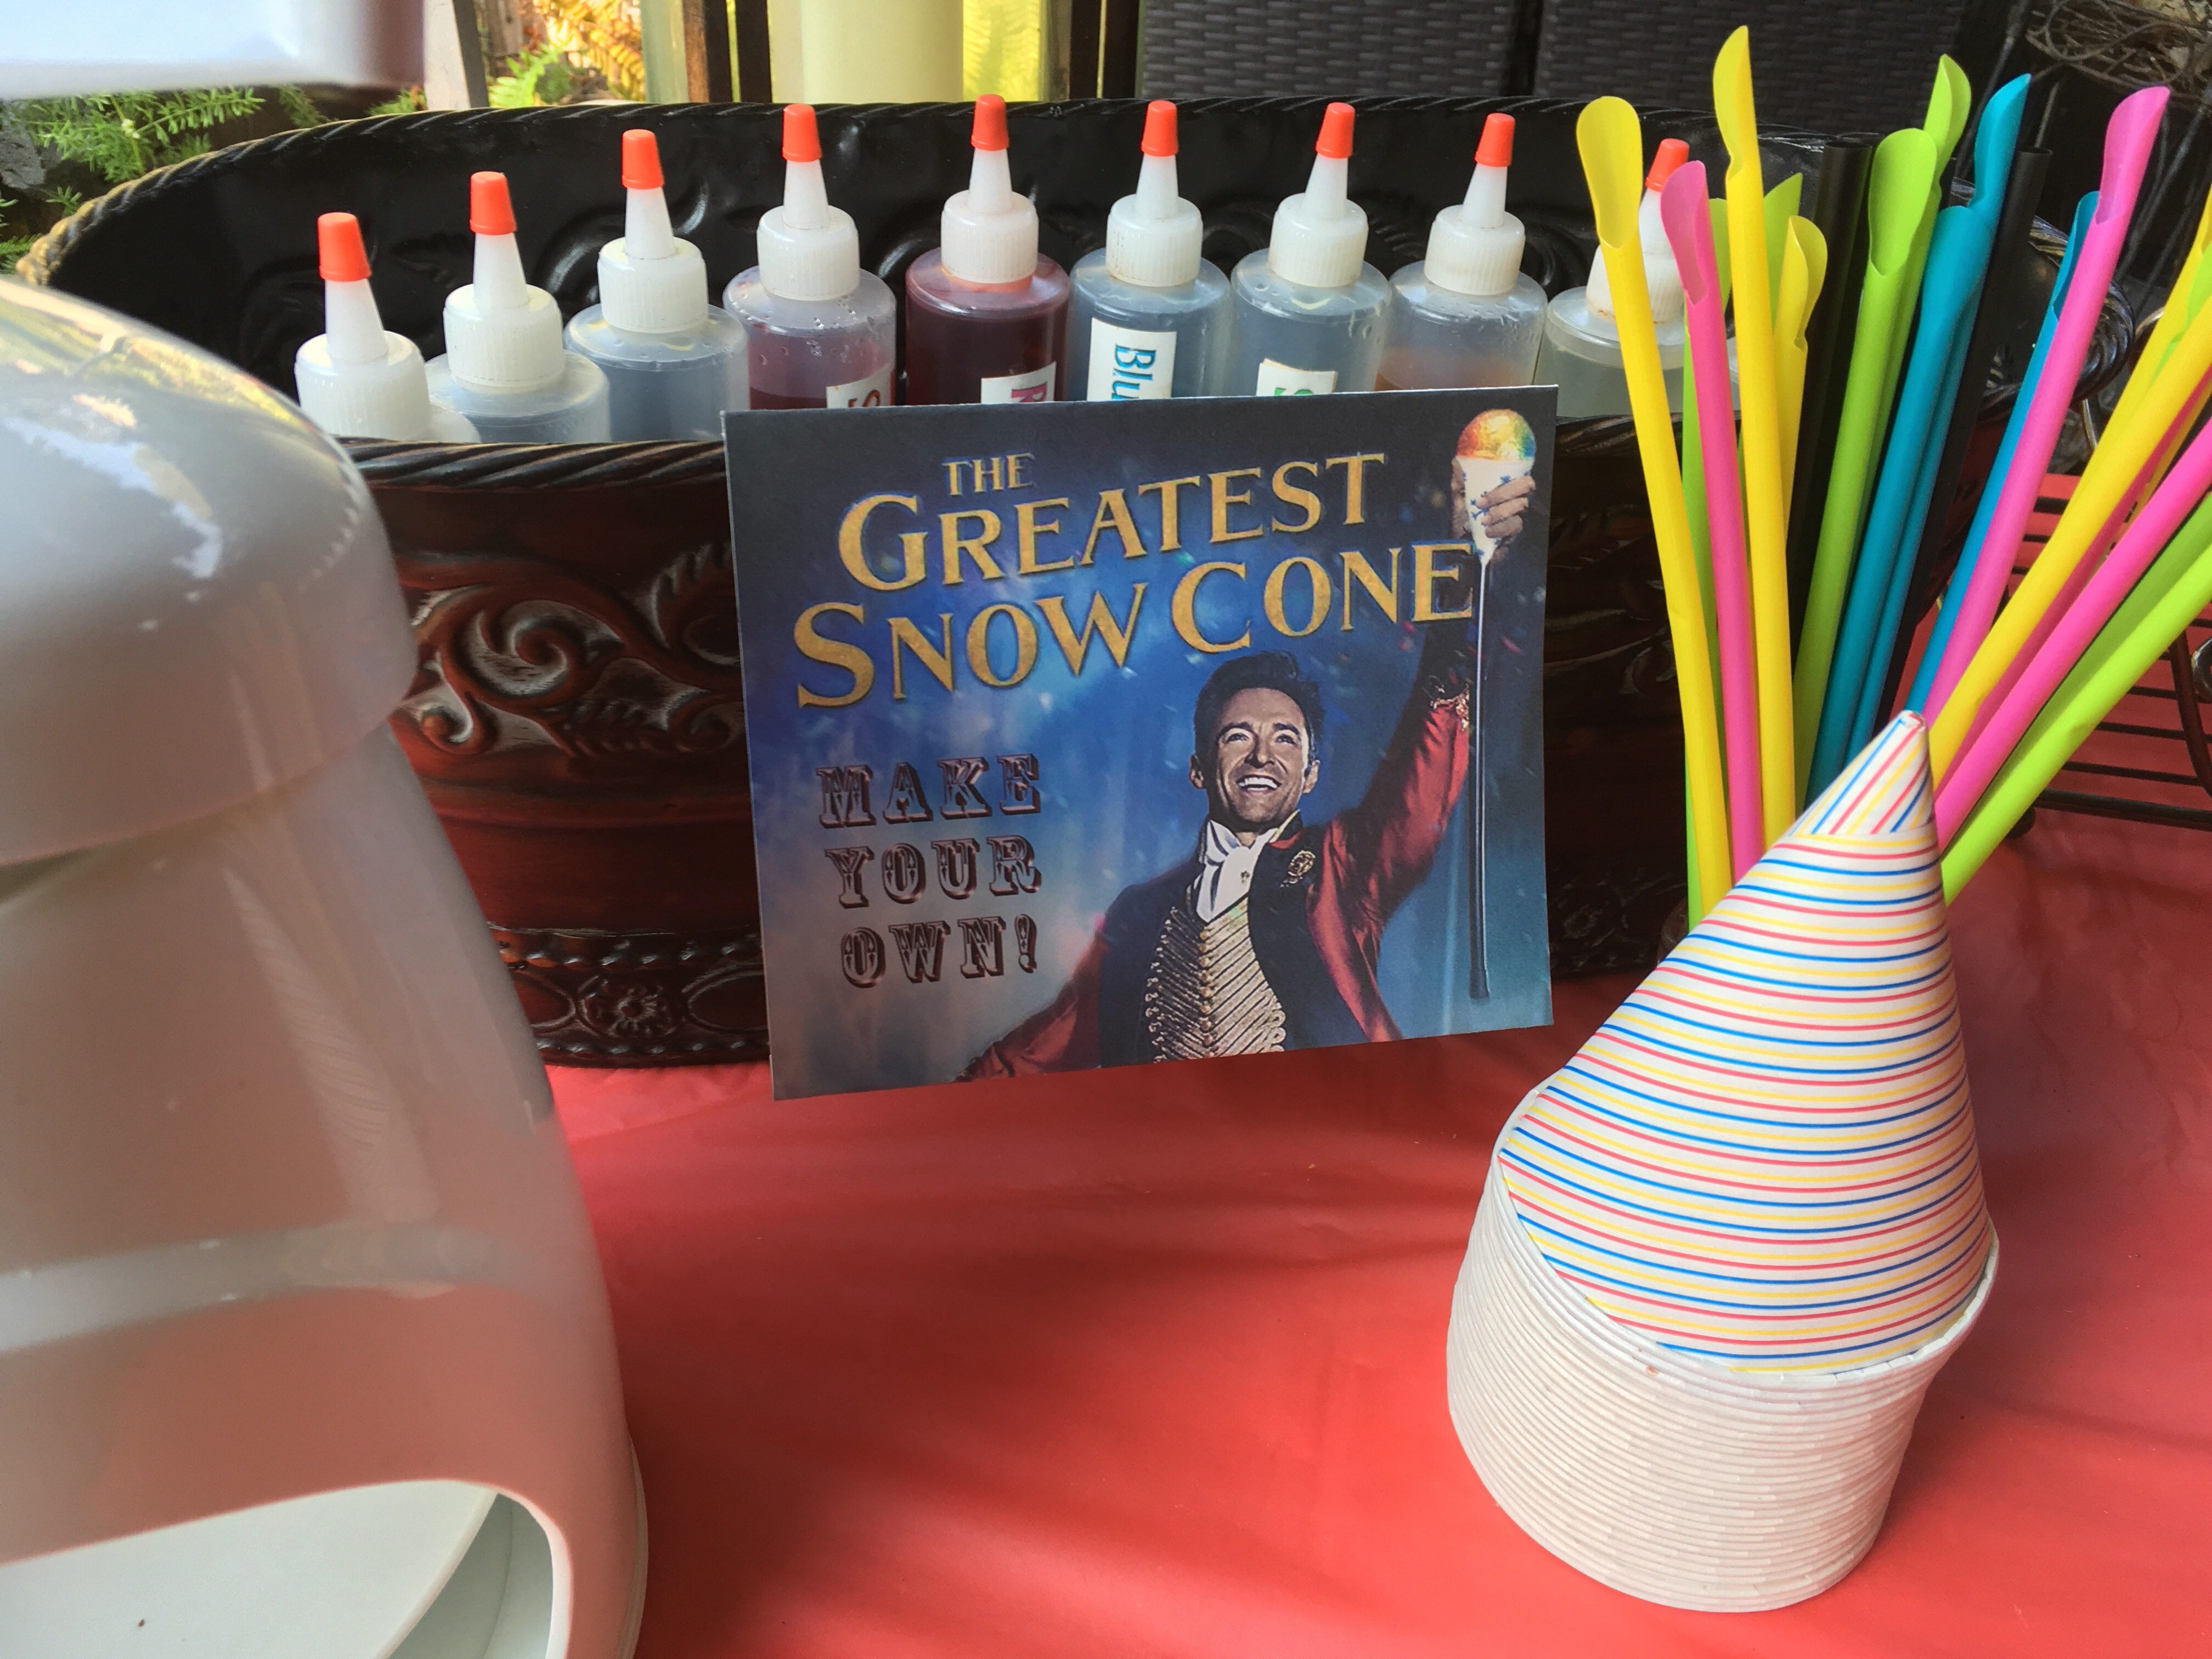
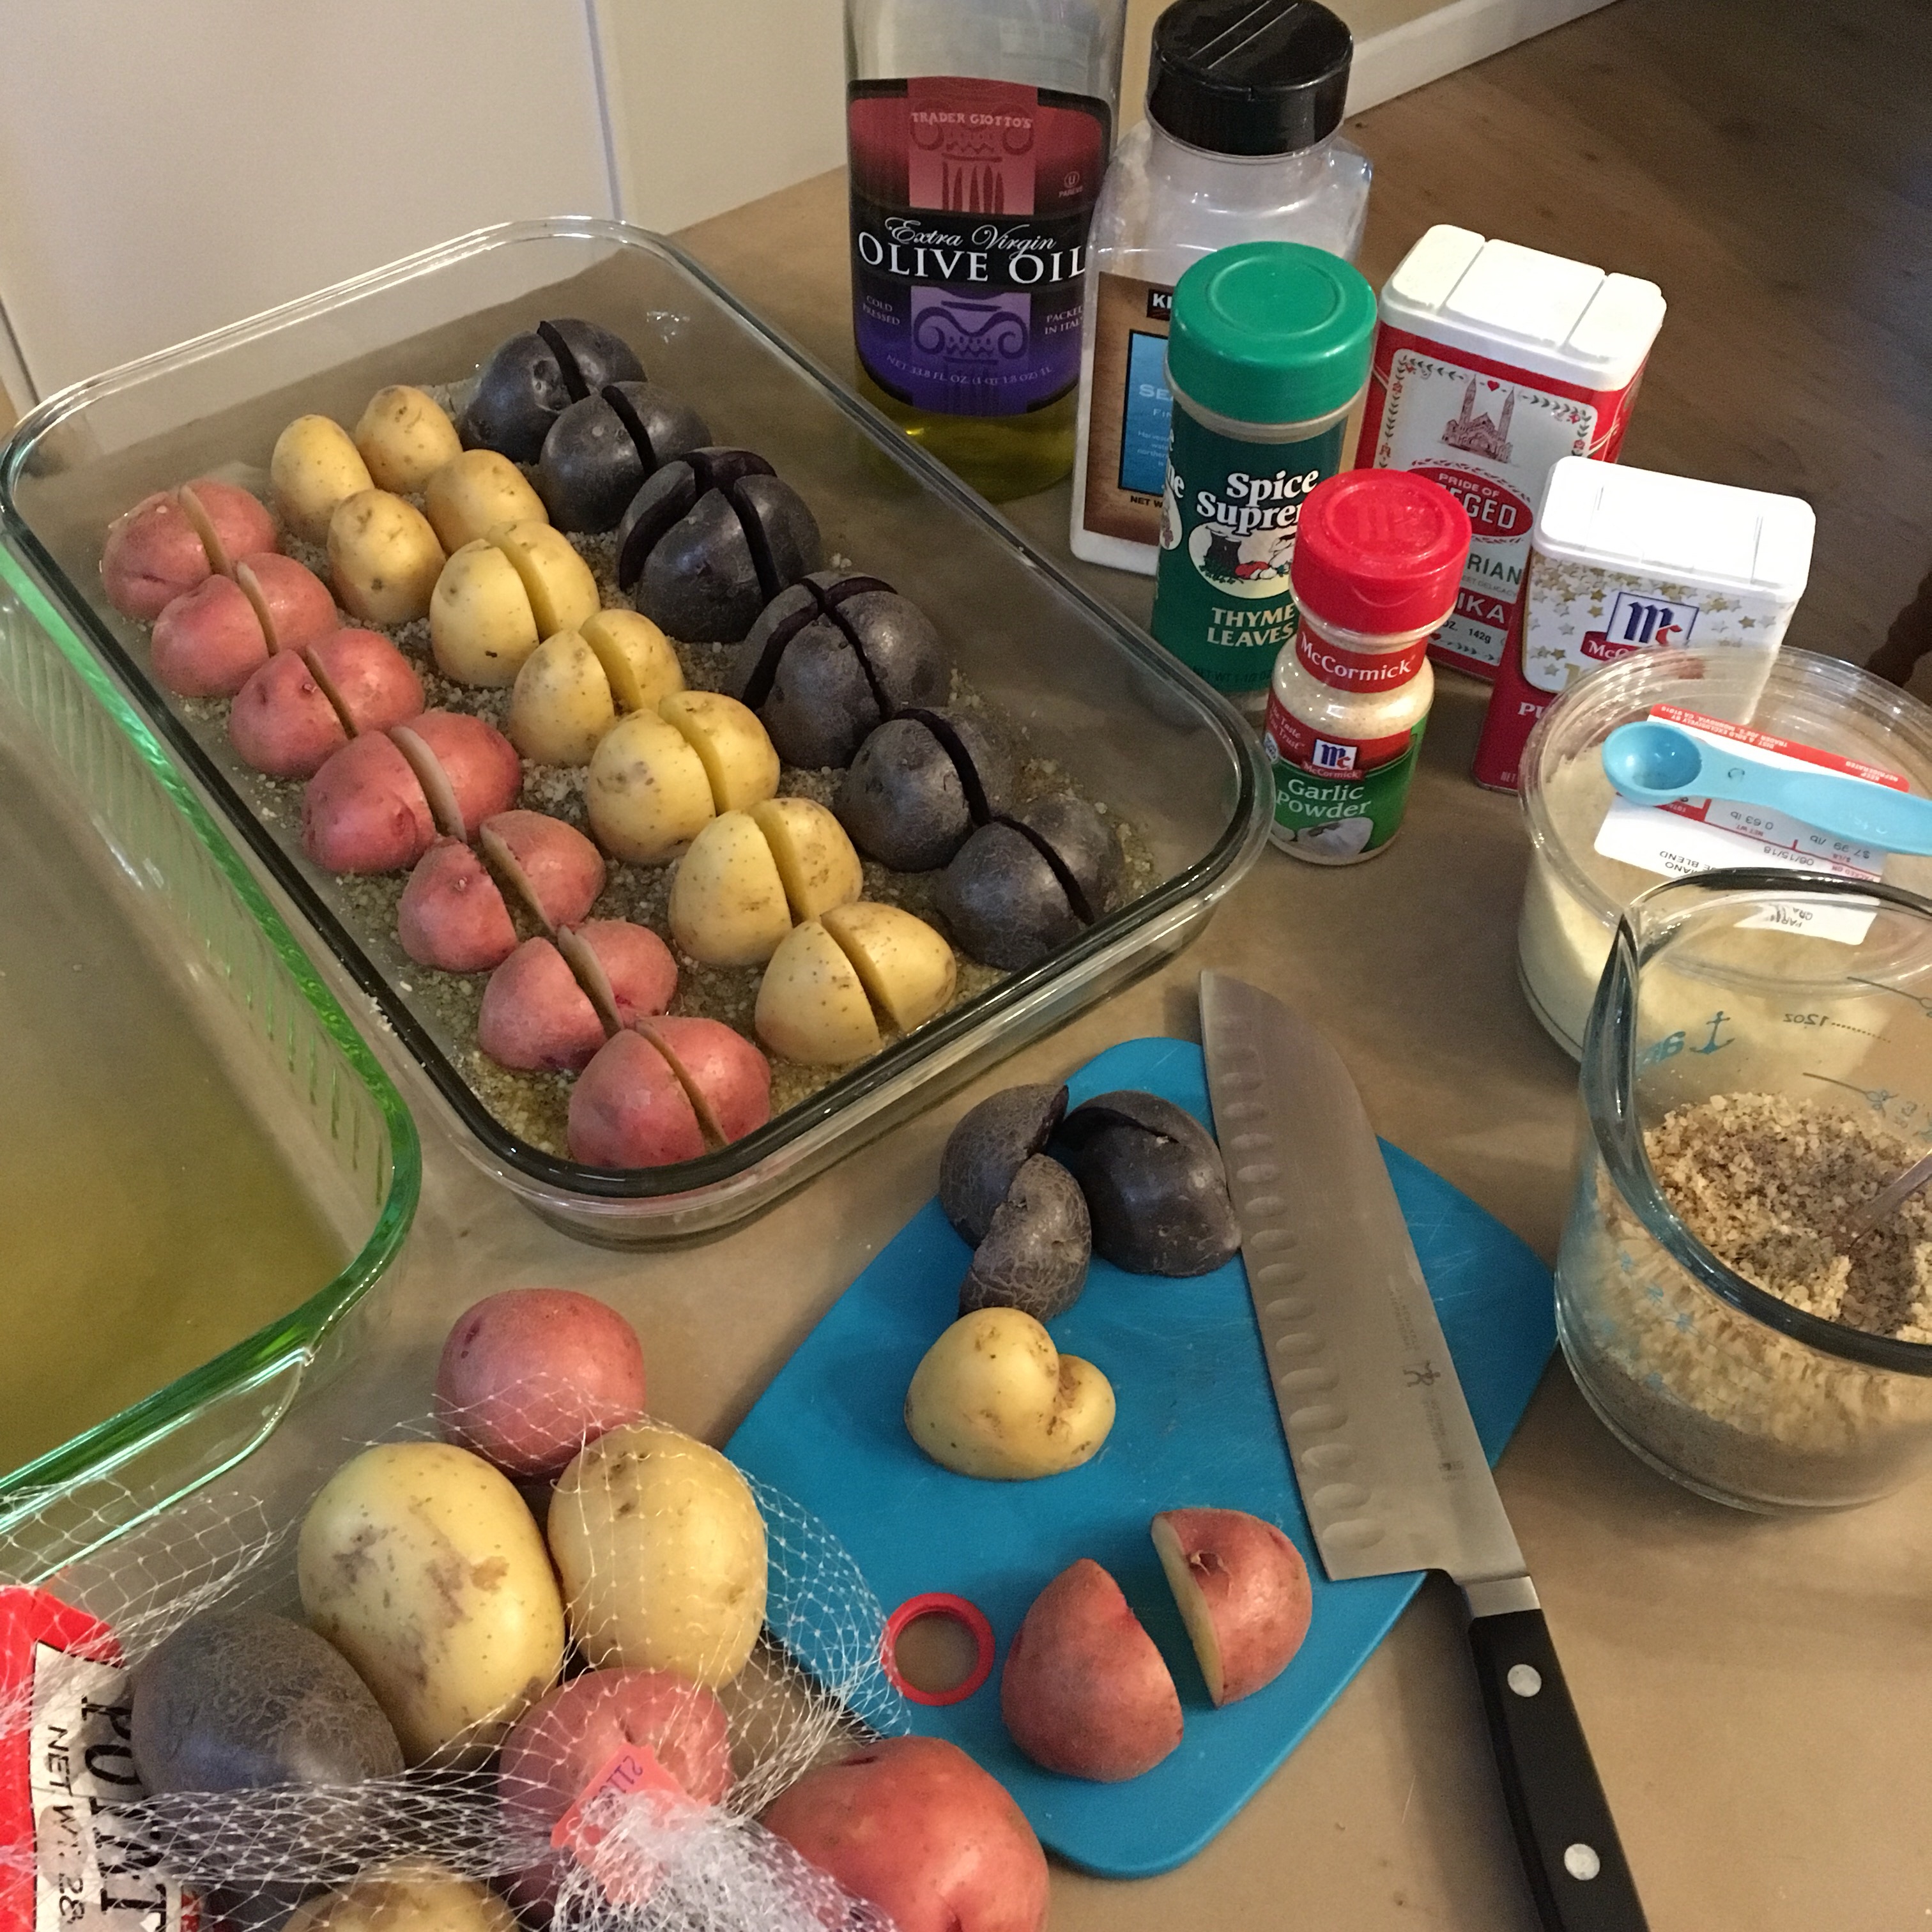
I do love sangria in summer, so I made a pitcher with some of the same fruit as the fruit salad, but the cocktail for the evening had to be margaritas! I thought I had some leftover margarita mixers from previous parties, but they were all premixed with alcohol, which meant no teetotaler or kid special beverage option. Most recipes recommend freshly-squeezed lime juice for the best margaritas anyway, so I decided we could serve stevia limeade that could be drunk straight or used to mix margaritas. We have a key lime tree that drops tiny round limes onto our driveway, so I collected as many as possible the past couple weeks, squeezed until I got hand cramps, then Glen finished squeezing the rest of the limes, which gave exactly 2 cups of juice…whew! That was a LOT of tiny little limes but they tasted great! I used my normal recipe of 1/3 cup powdered stevia extract, 1 cup 
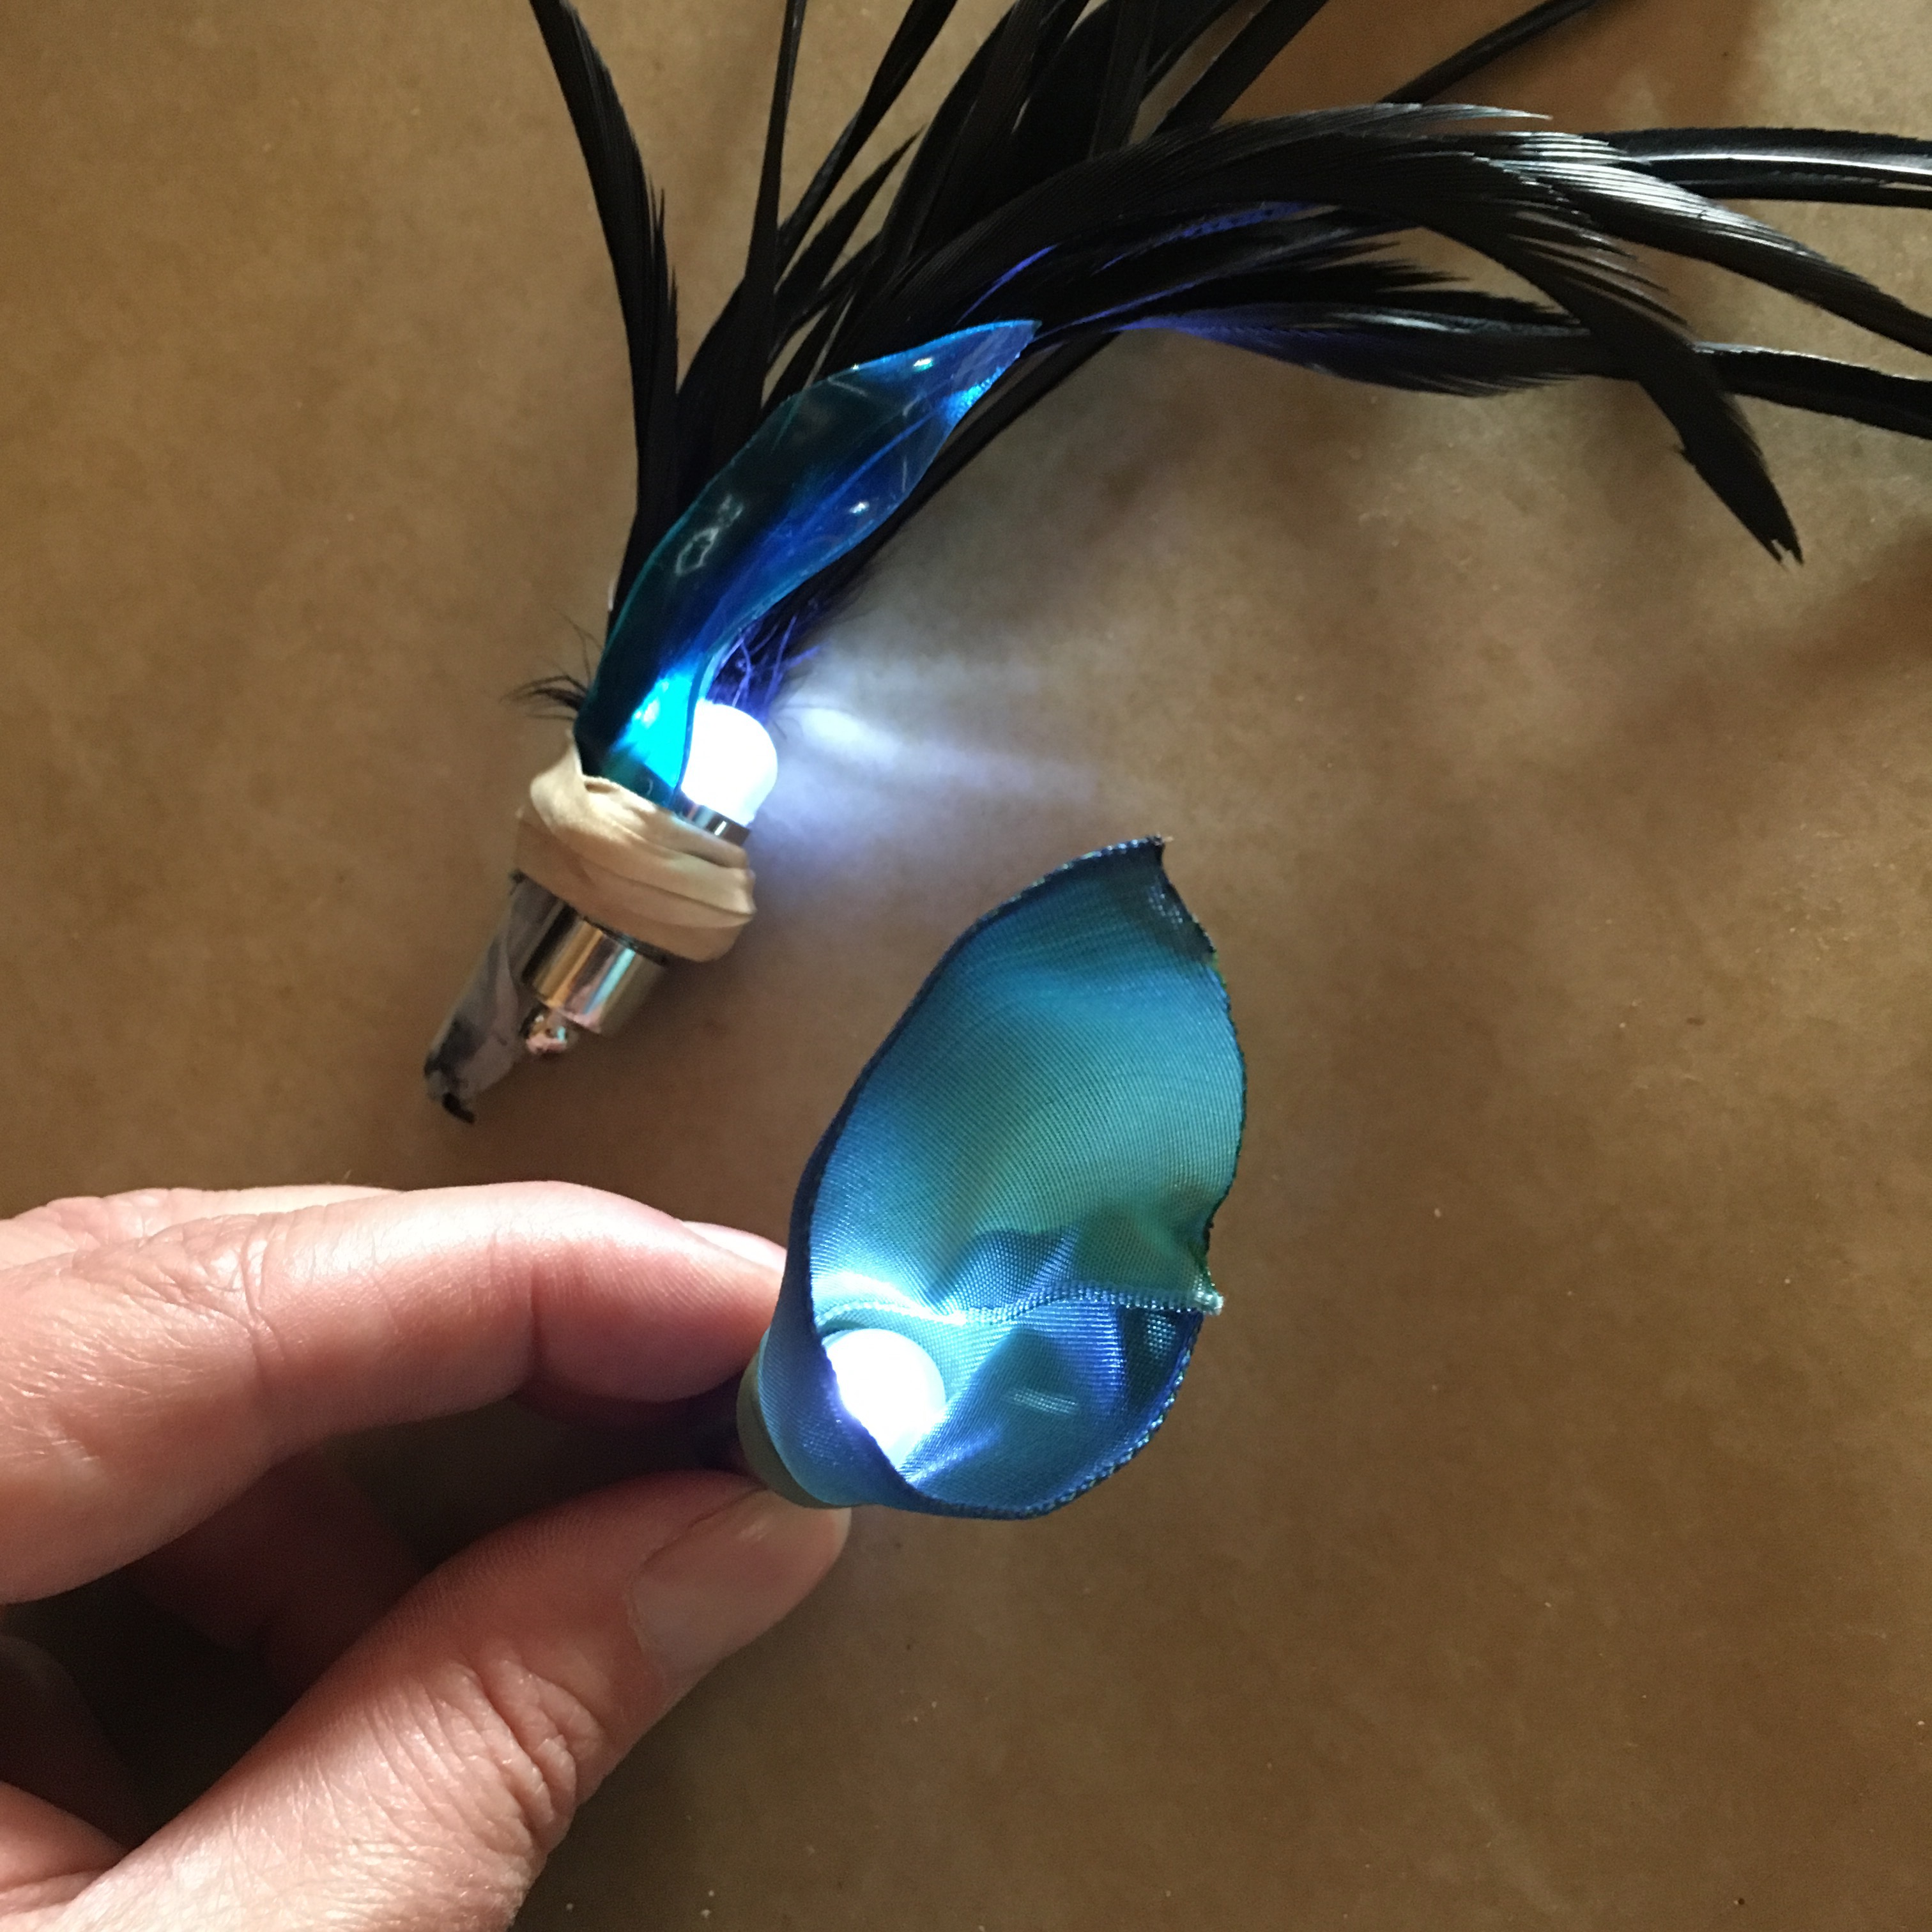
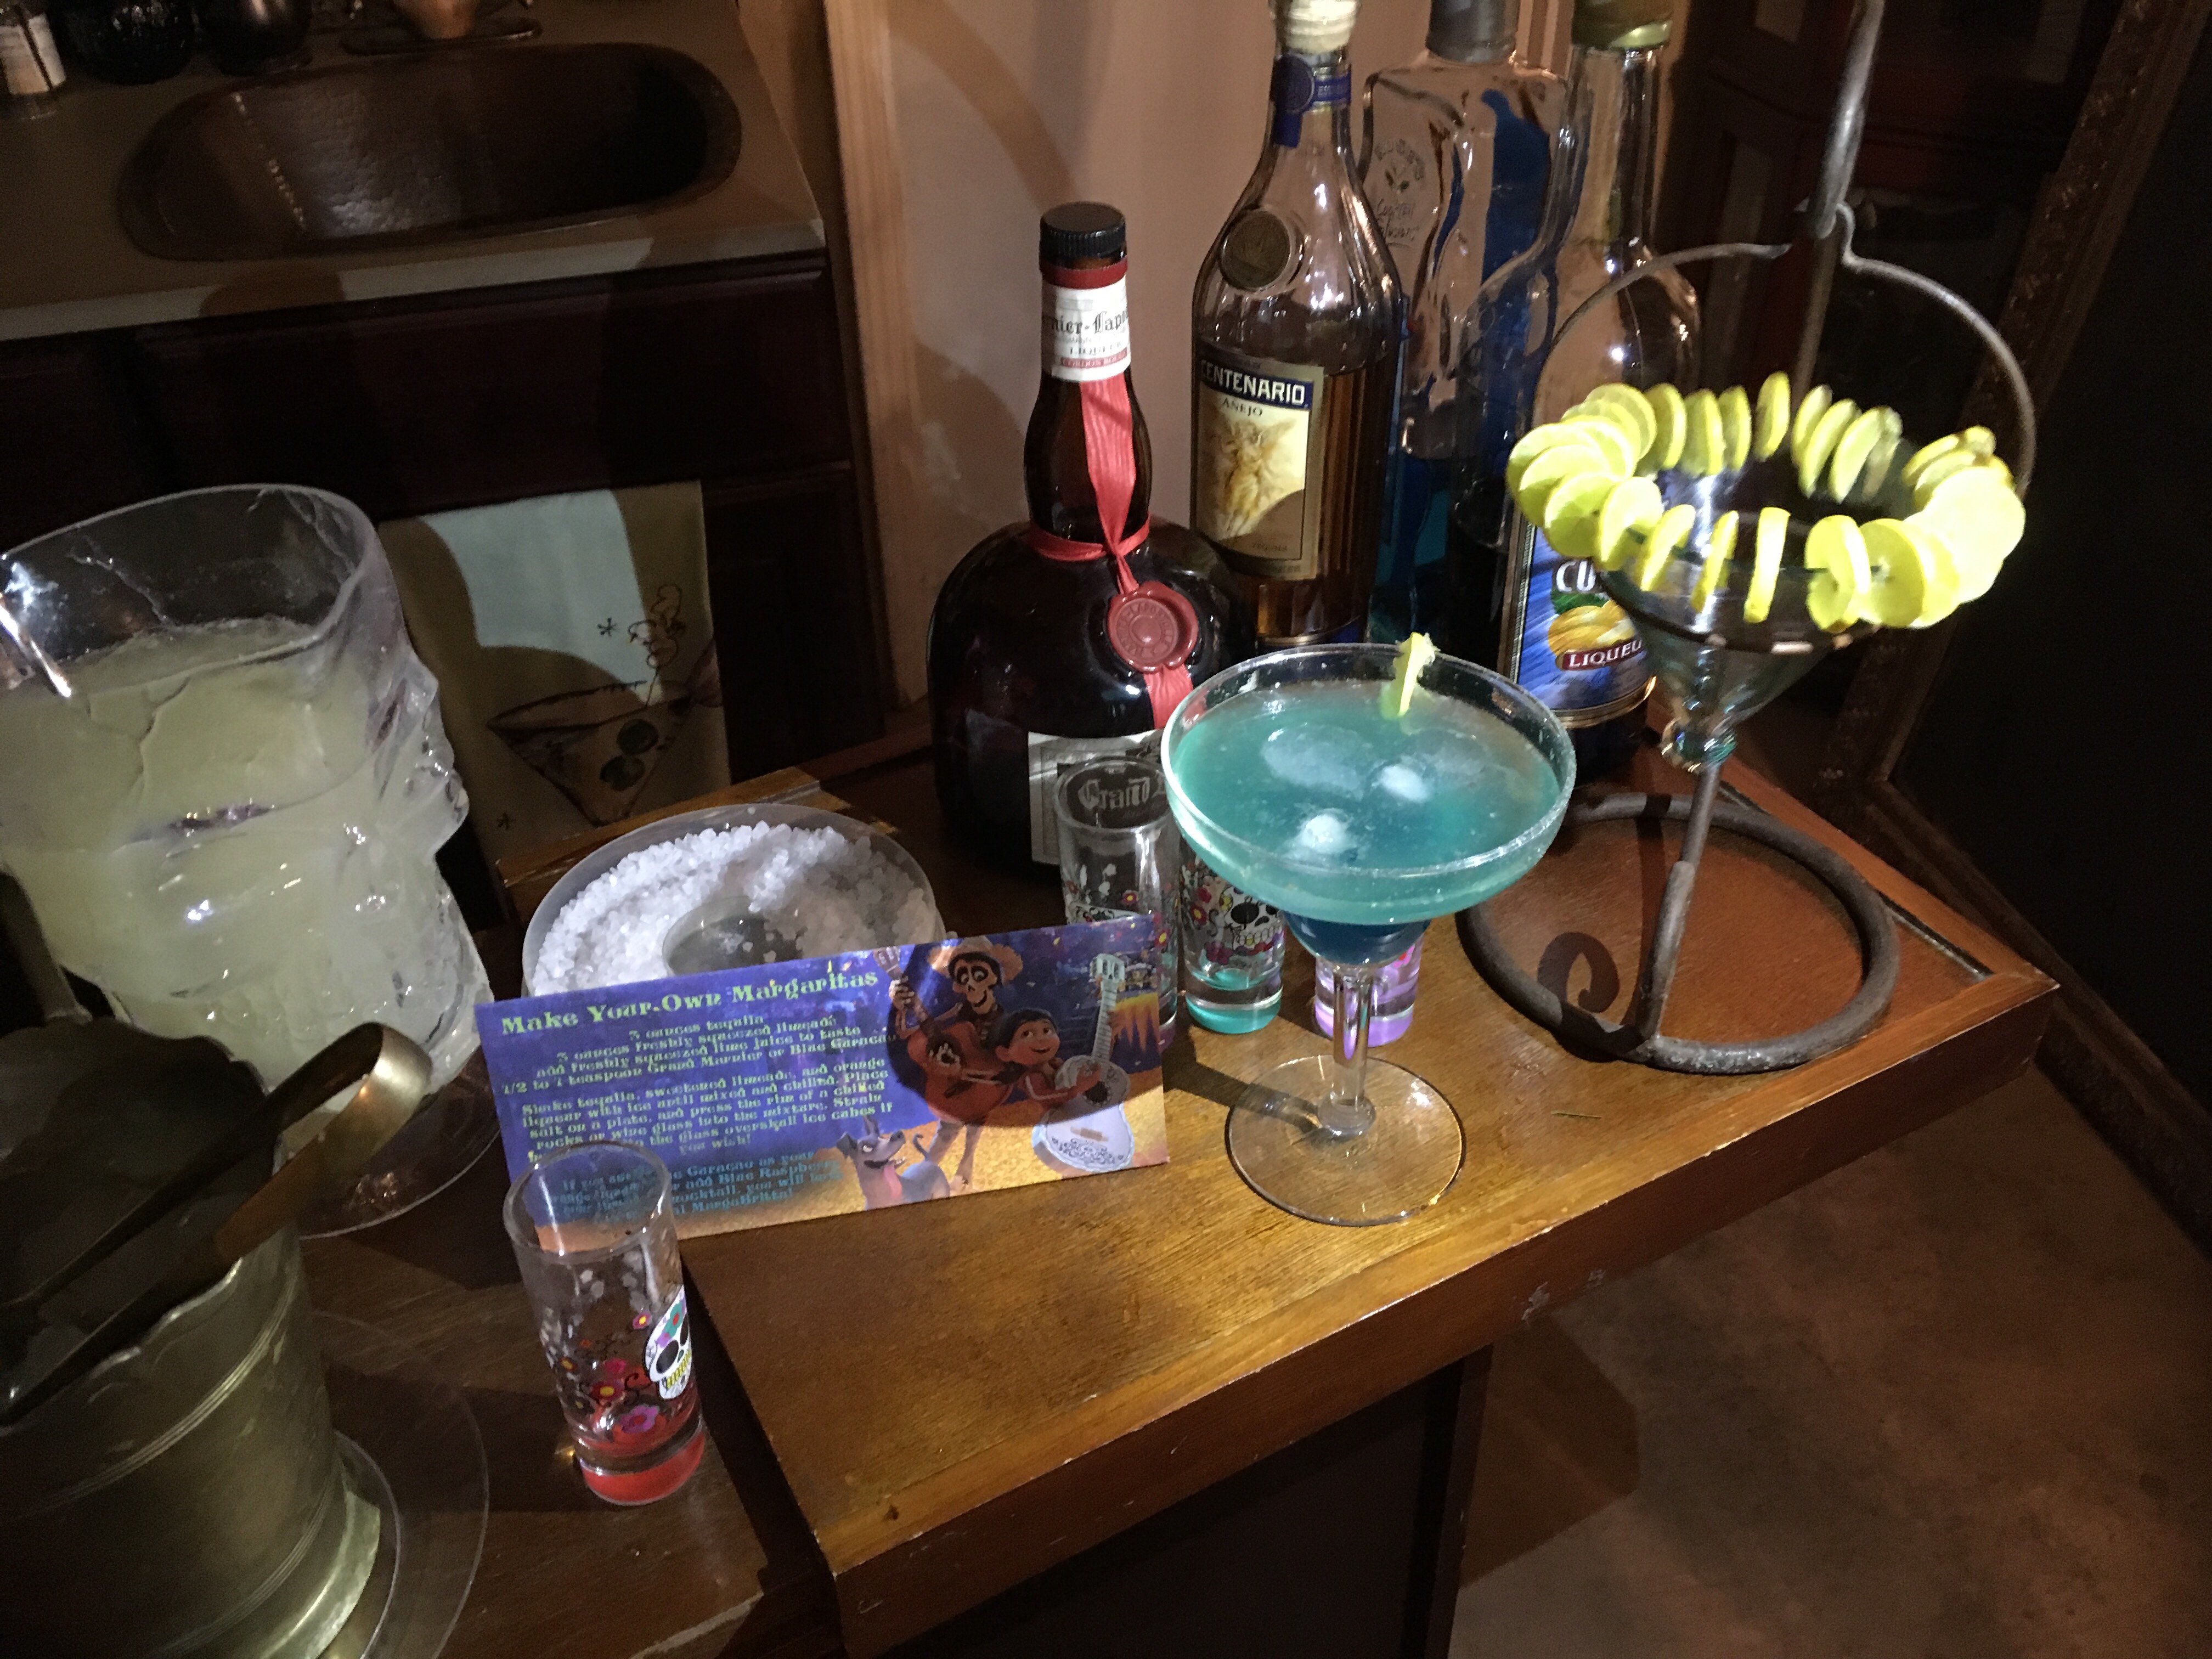
lime juice, then fill up water to make 2 quarts. The Make Your Own Margarita recipe is included at the bottom of this post, including the bonus instructions how to make a teal MargaBritta. 😉 The limeade was on the bar in a clear skull pitcher next to the skull ice cubes, and we went through almost 4 quarts of lime juice and a 
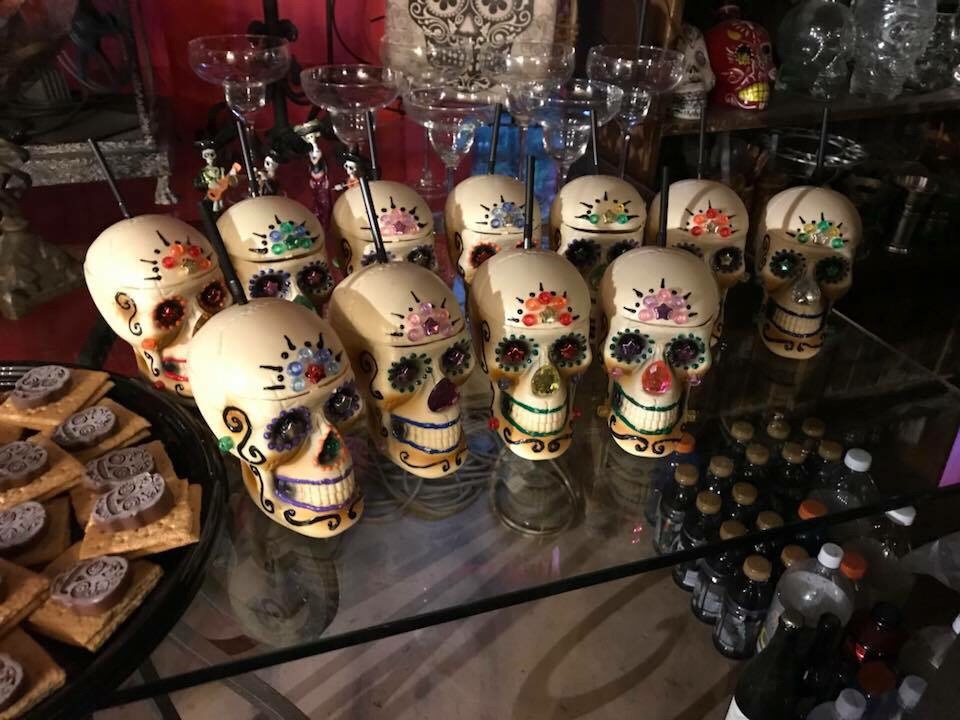
whole bottle of tequila in one evening! Some used actual margarita glasses, but many used the skull sipper cups that I had painstakingly decorated in 2015…I think more people used them this time than that Halloween party when 3 times as many people attended!

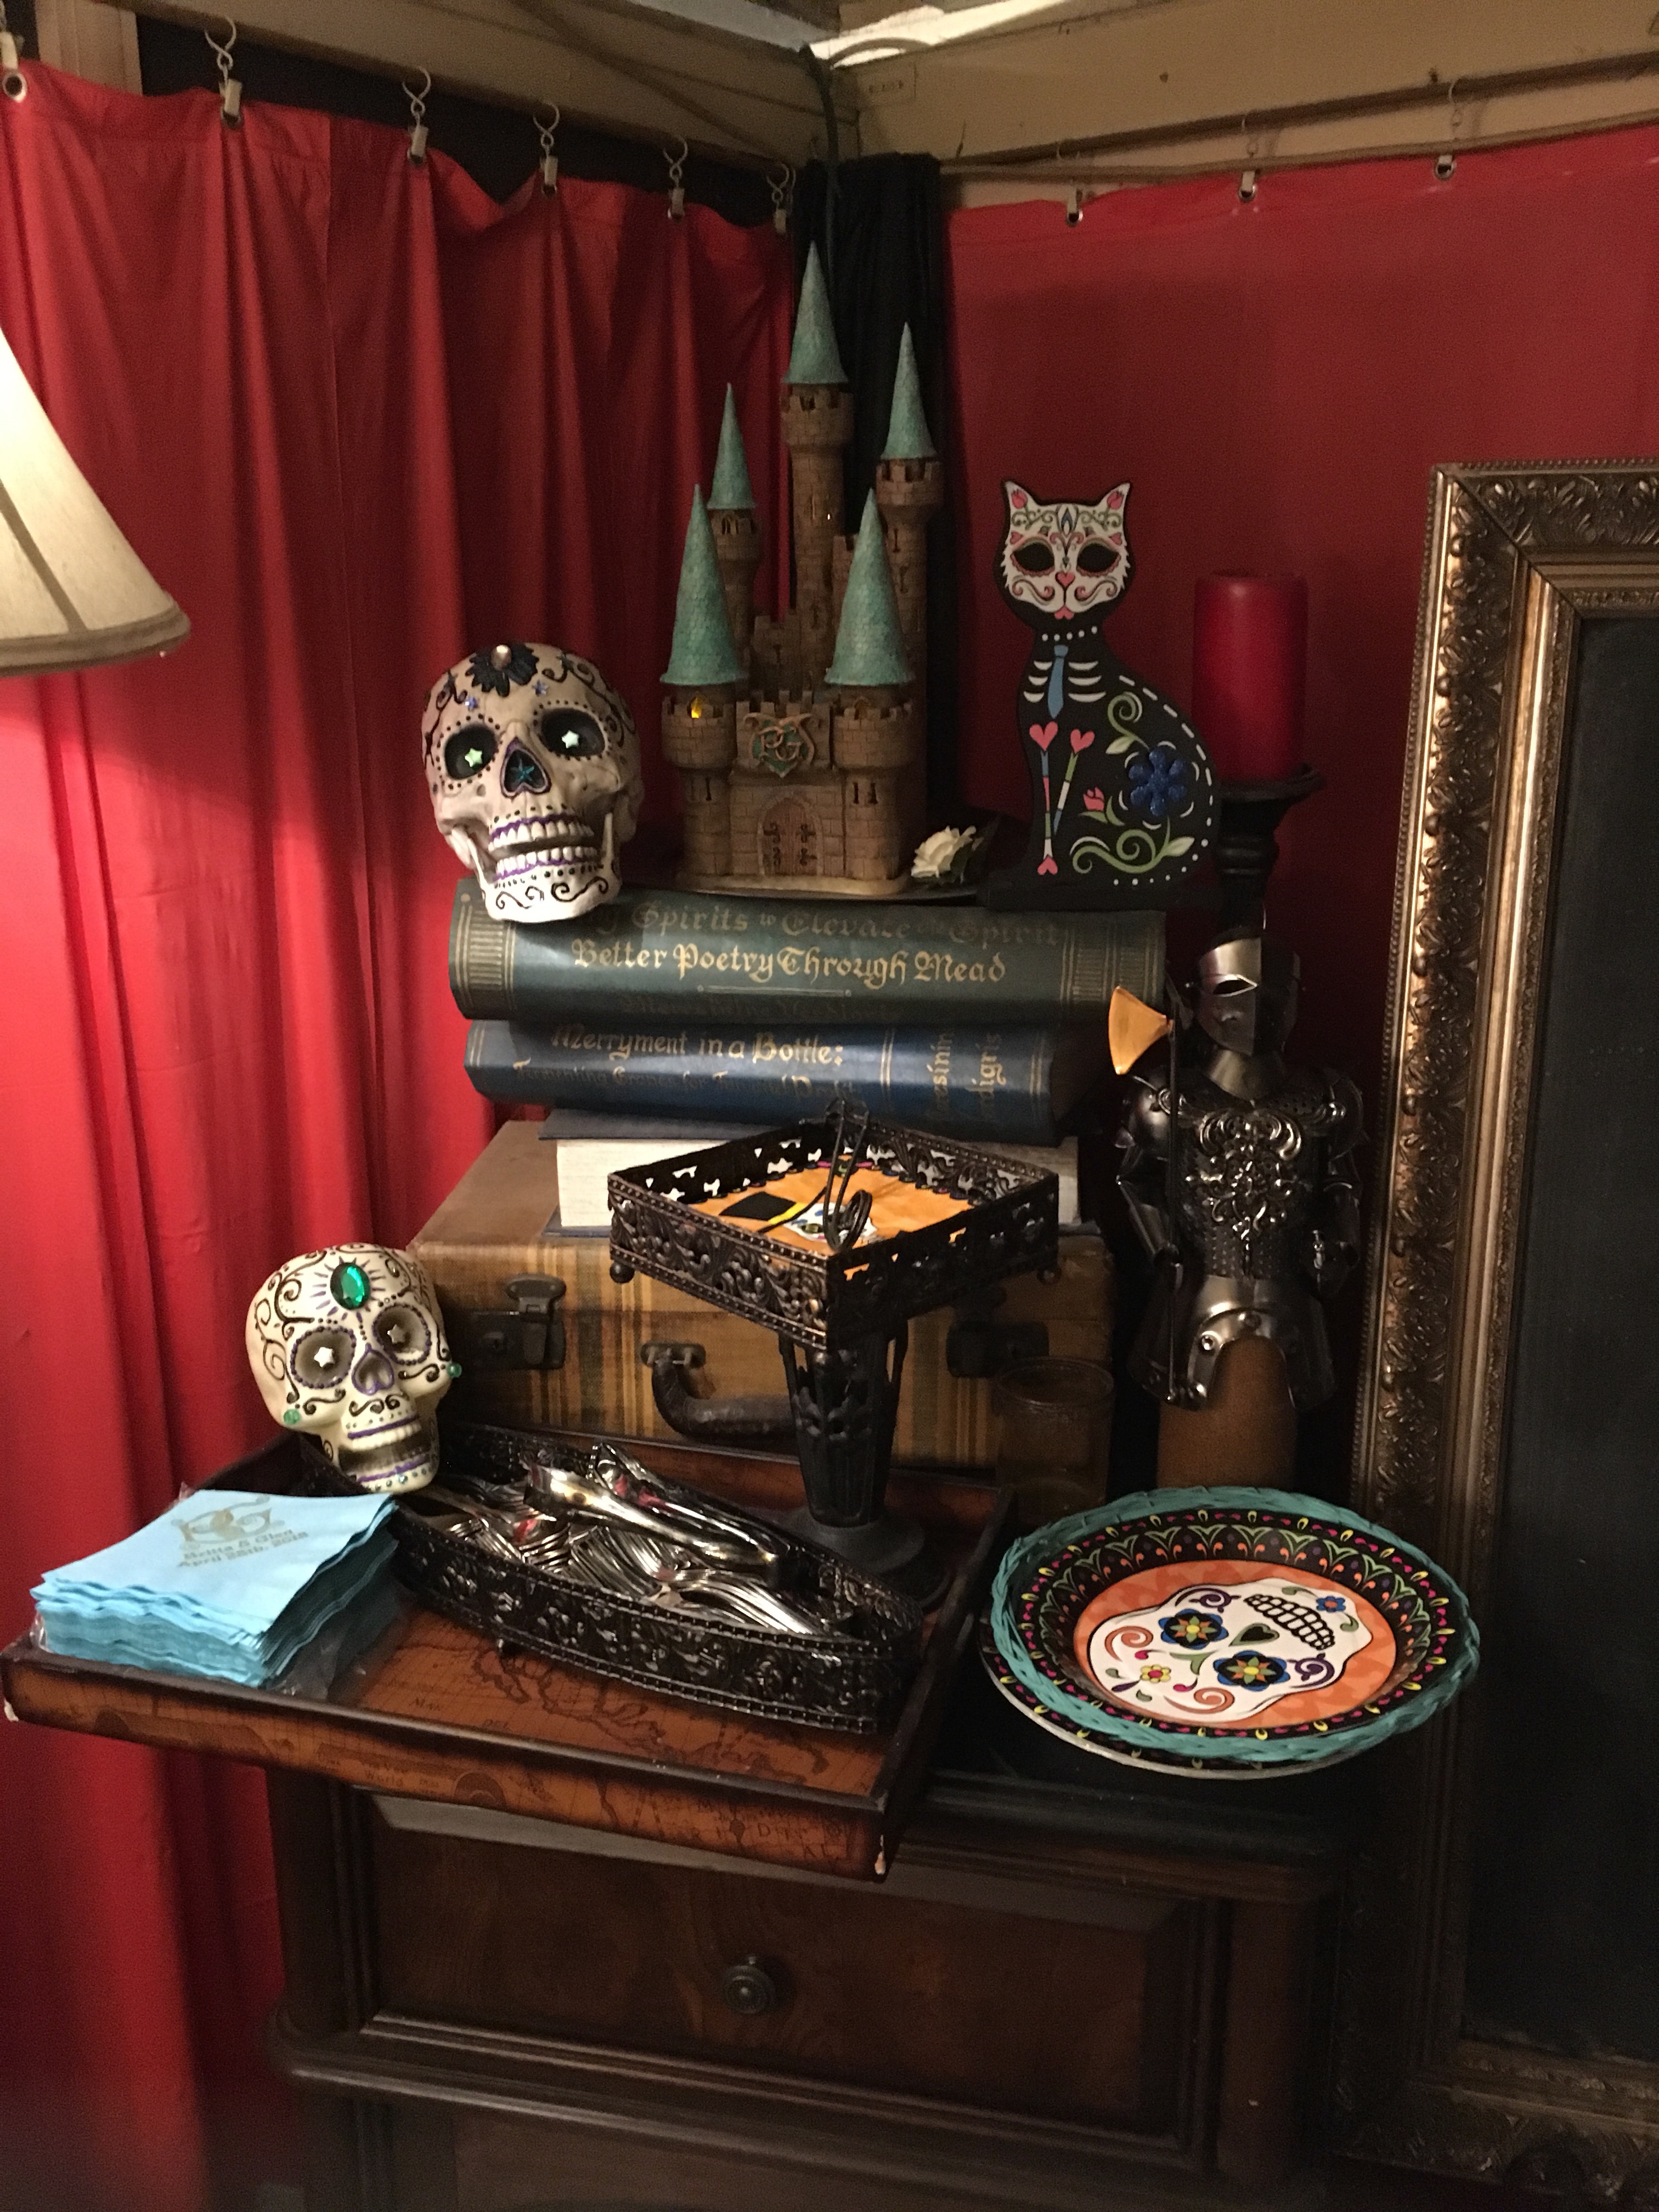
As for decor, I bought another 100ft papel picado skull banner and strung it around almost the whole backyard, and all those bright colors really made it look festive! The skull piñata was only $5 at a local discount store, and the lighted pillow was only 
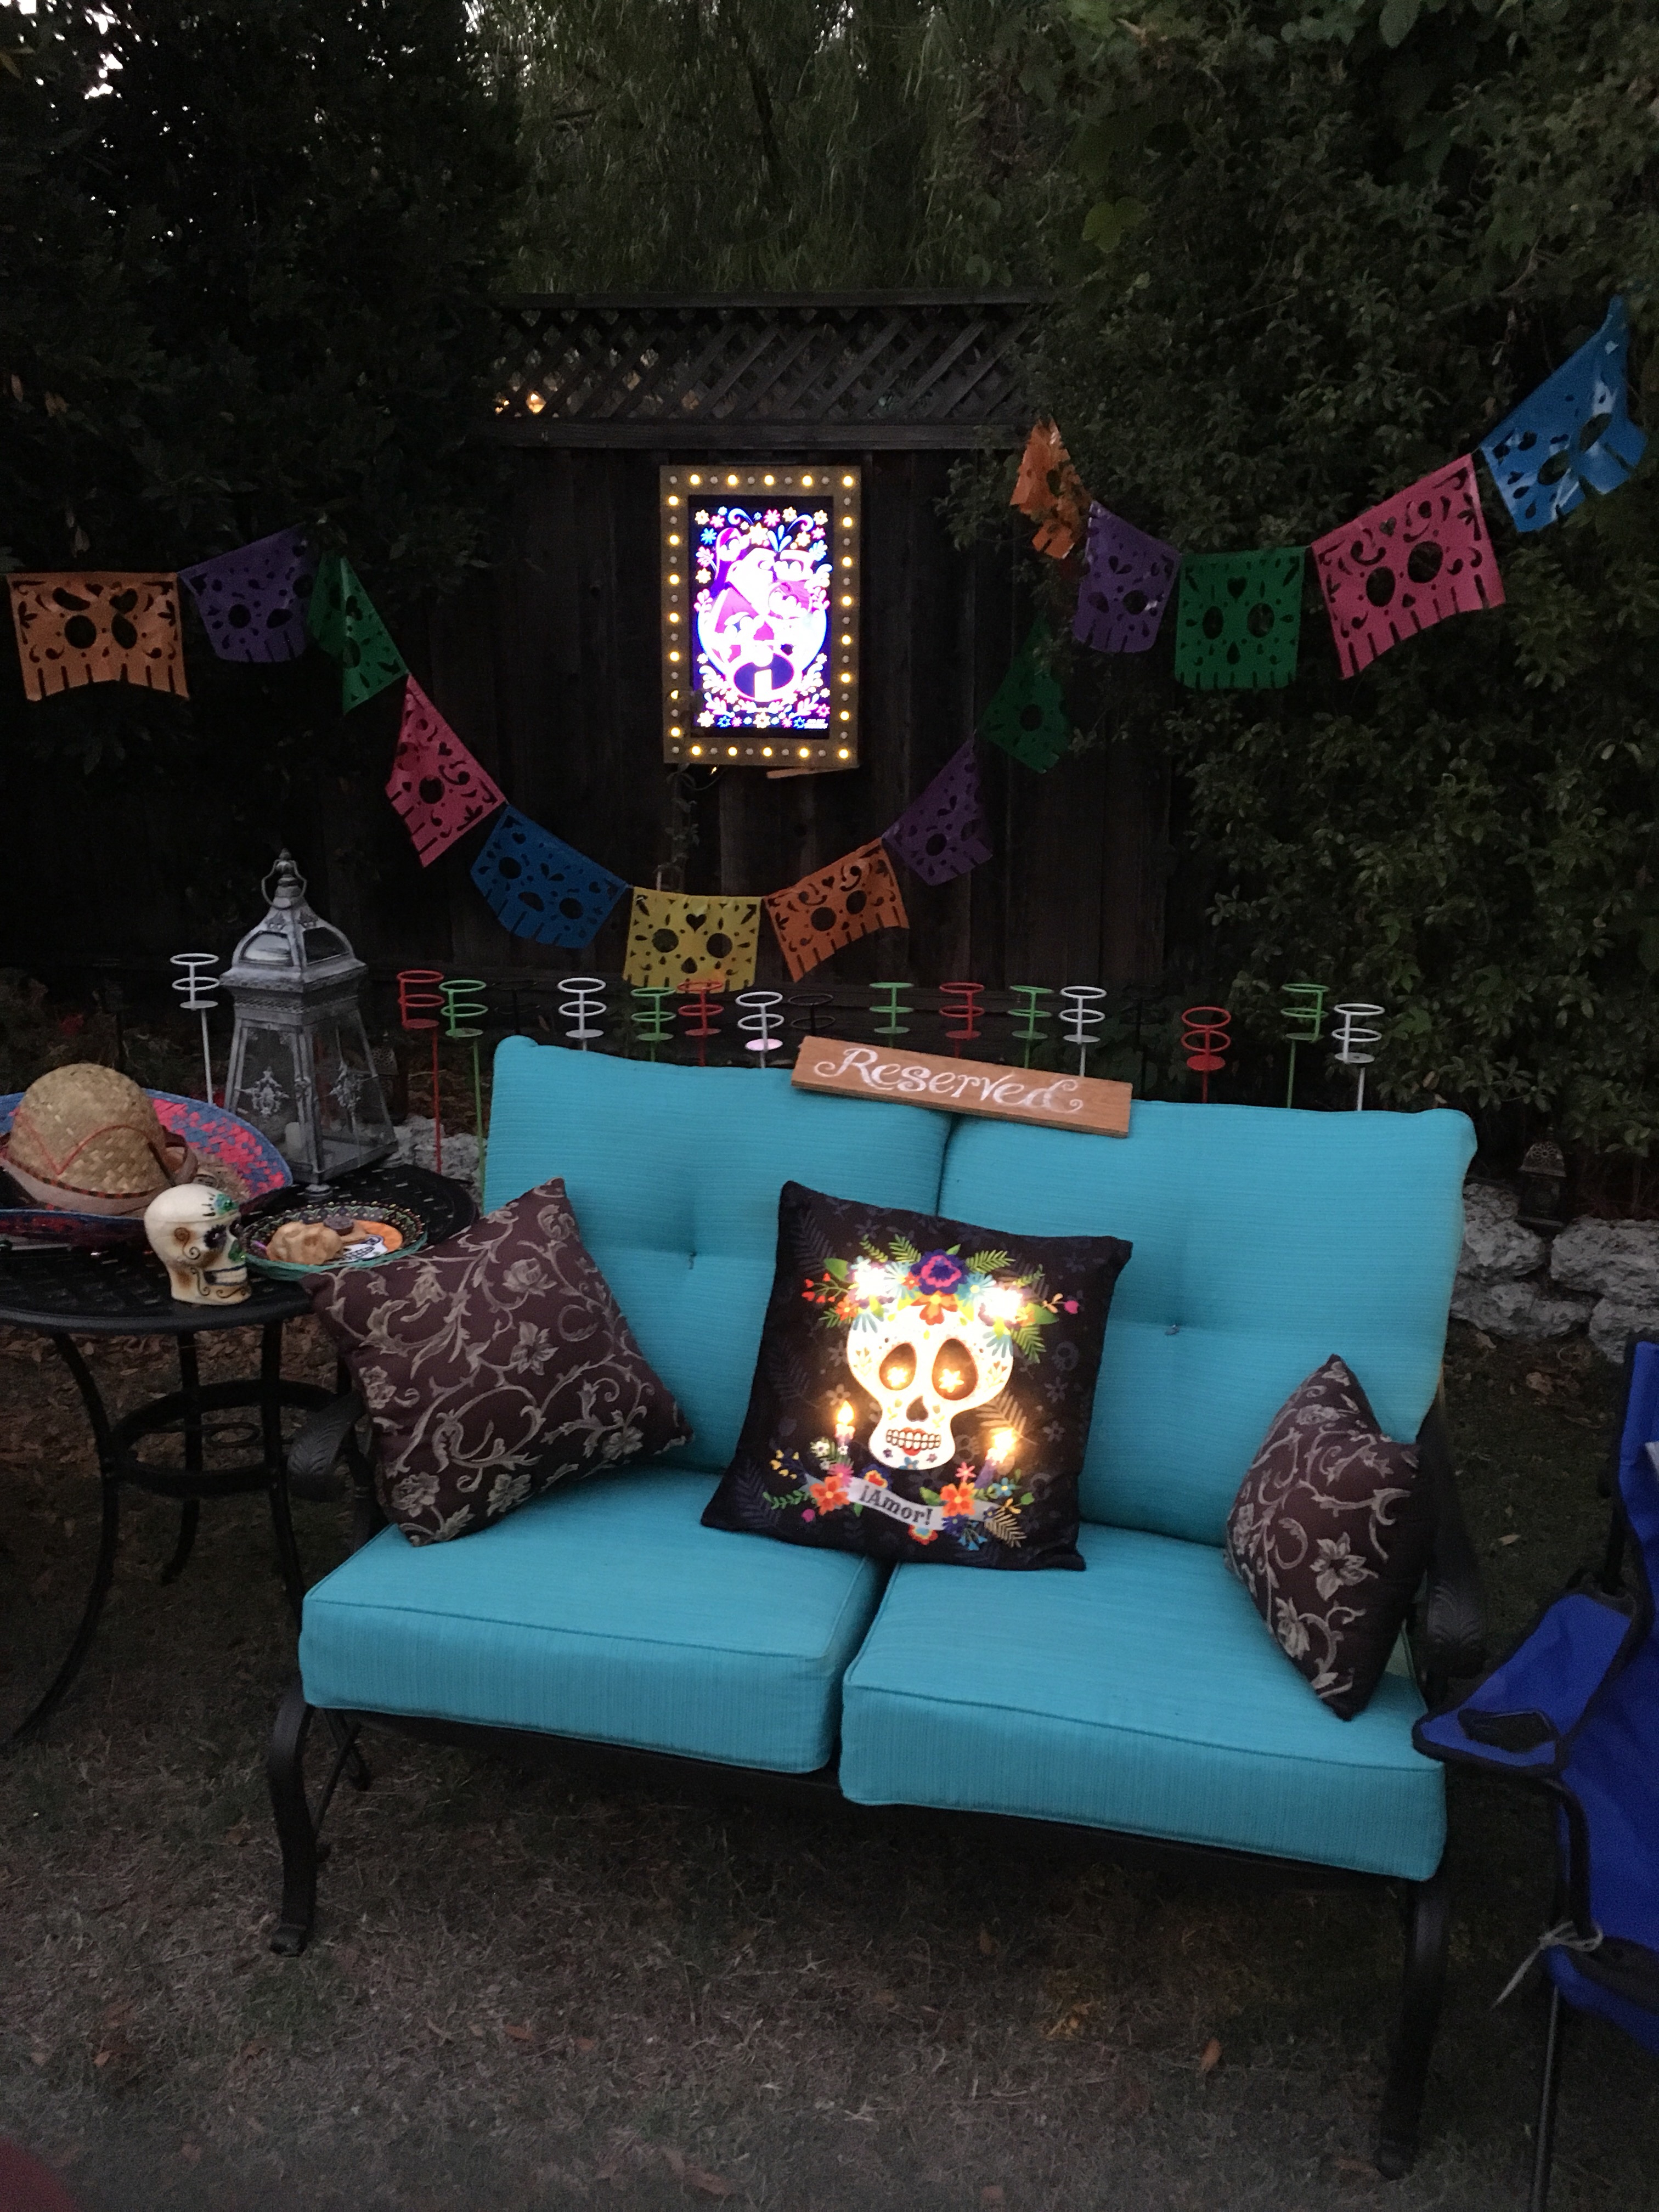
$6…score! I bought new plates & napkins when I bought the long banner, but the other items like the small skeleton statues, decorated “sugar” skulls, and skeleton cats I still had in my Halloween boxes, so they were easy to set out quickly.

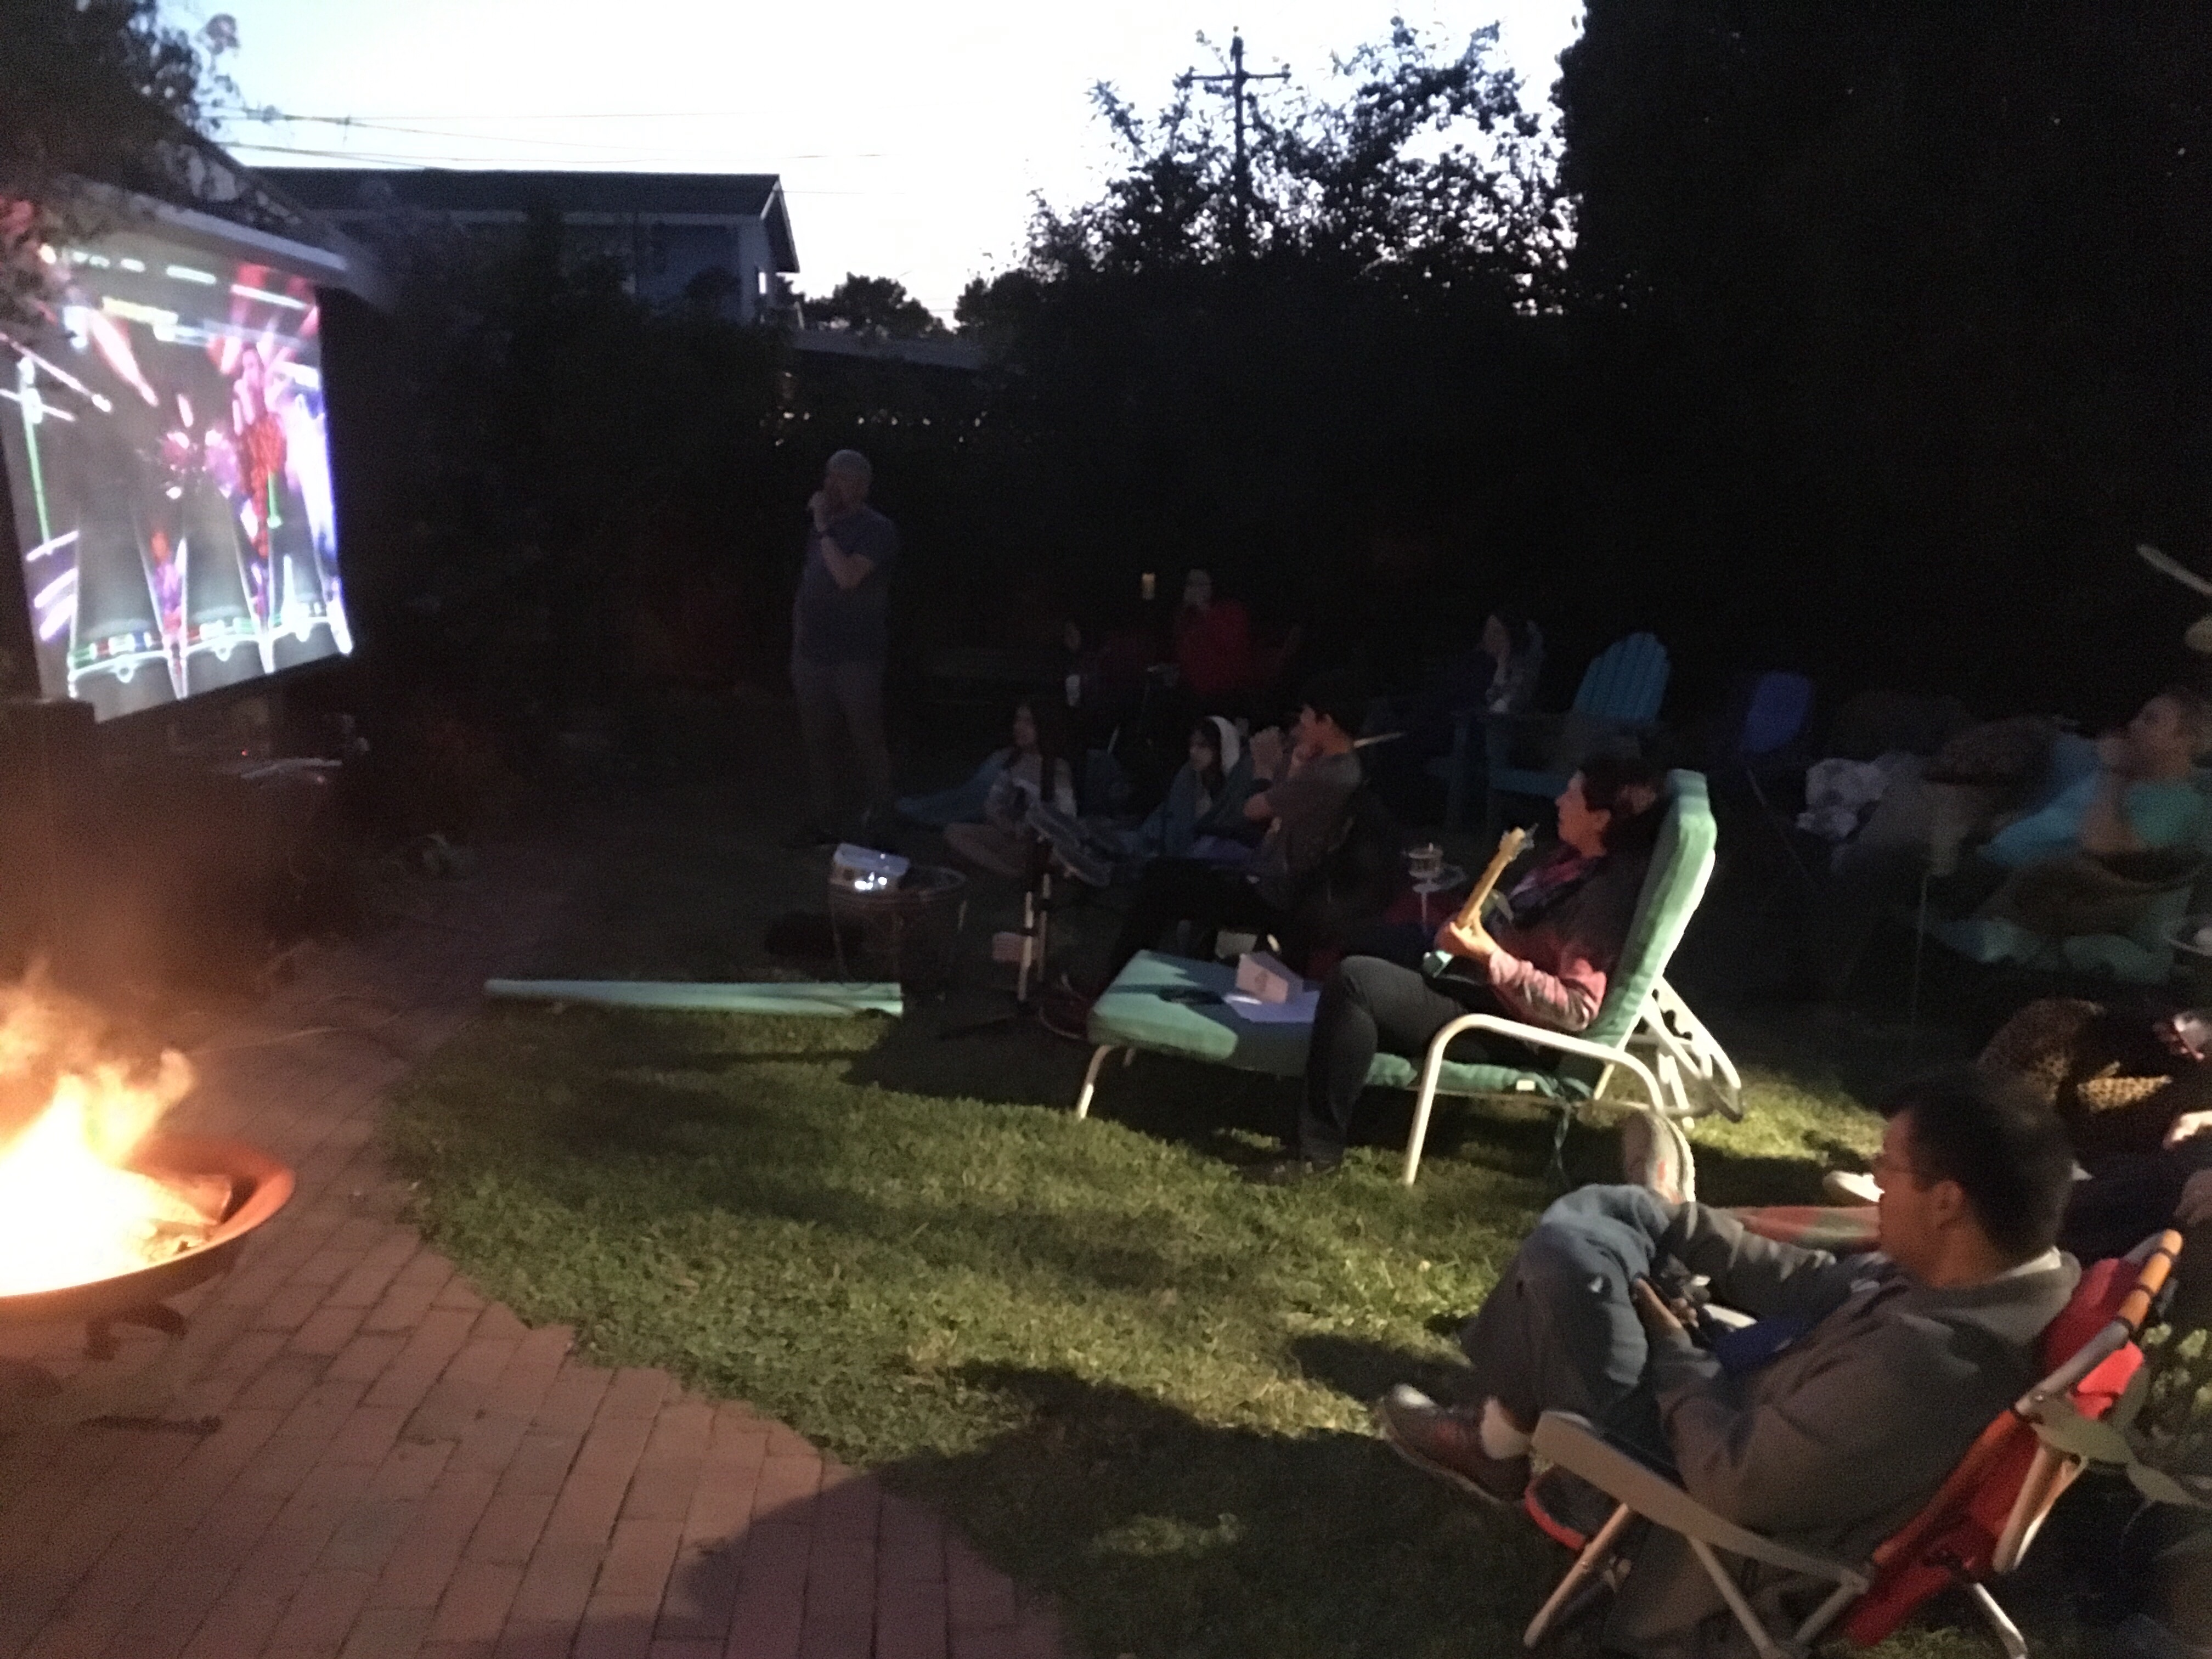
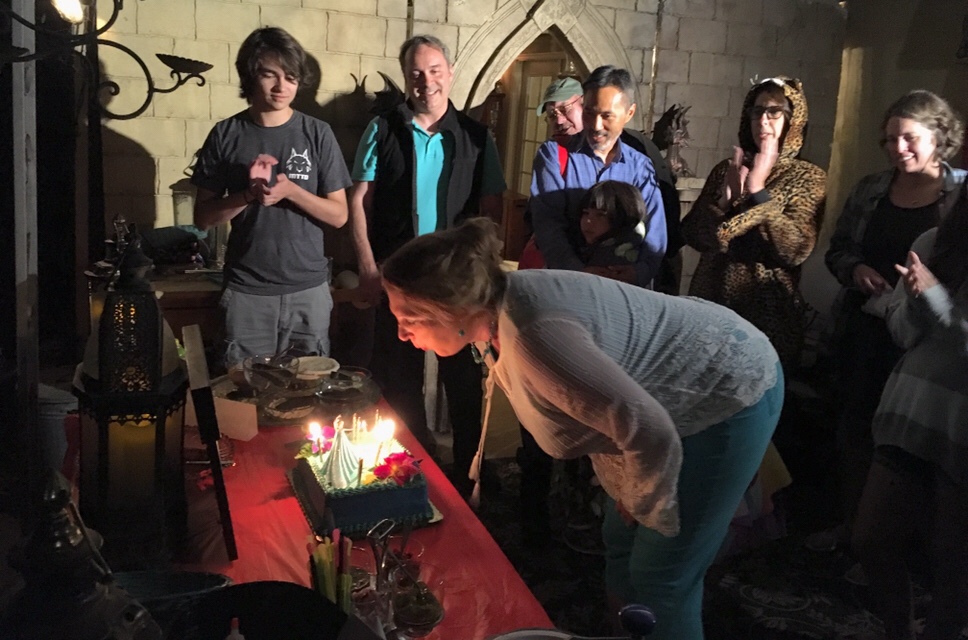
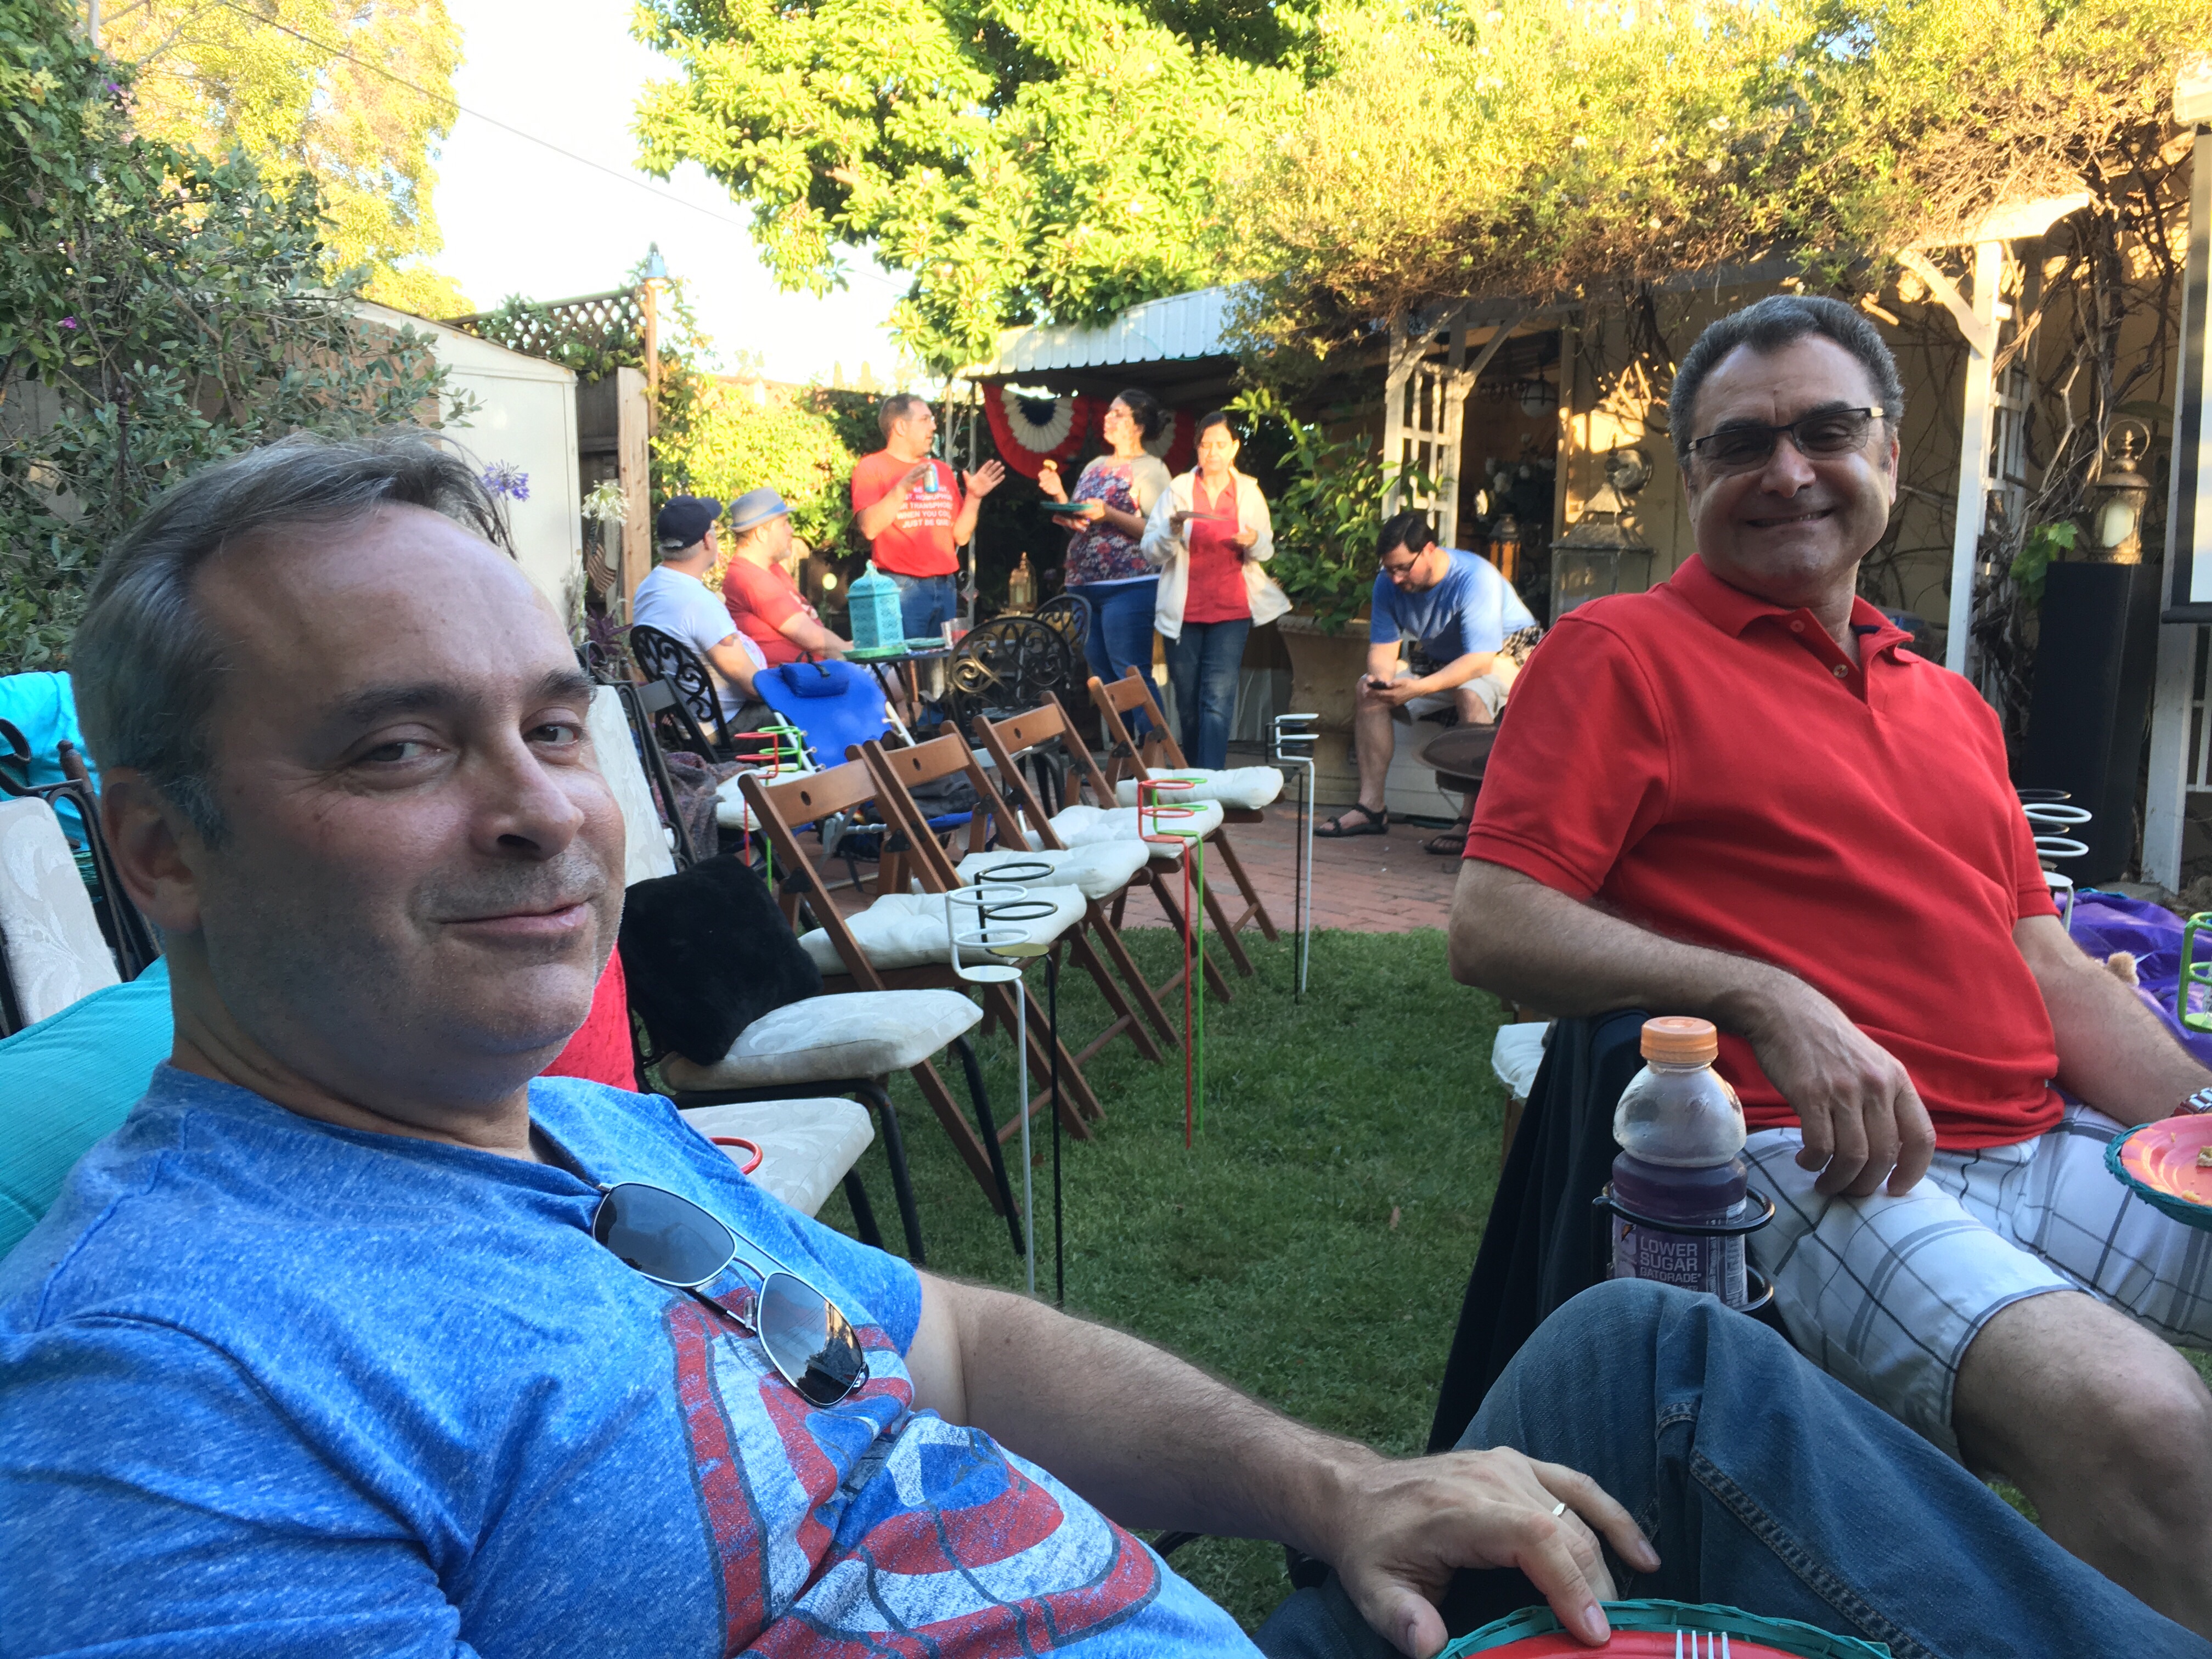
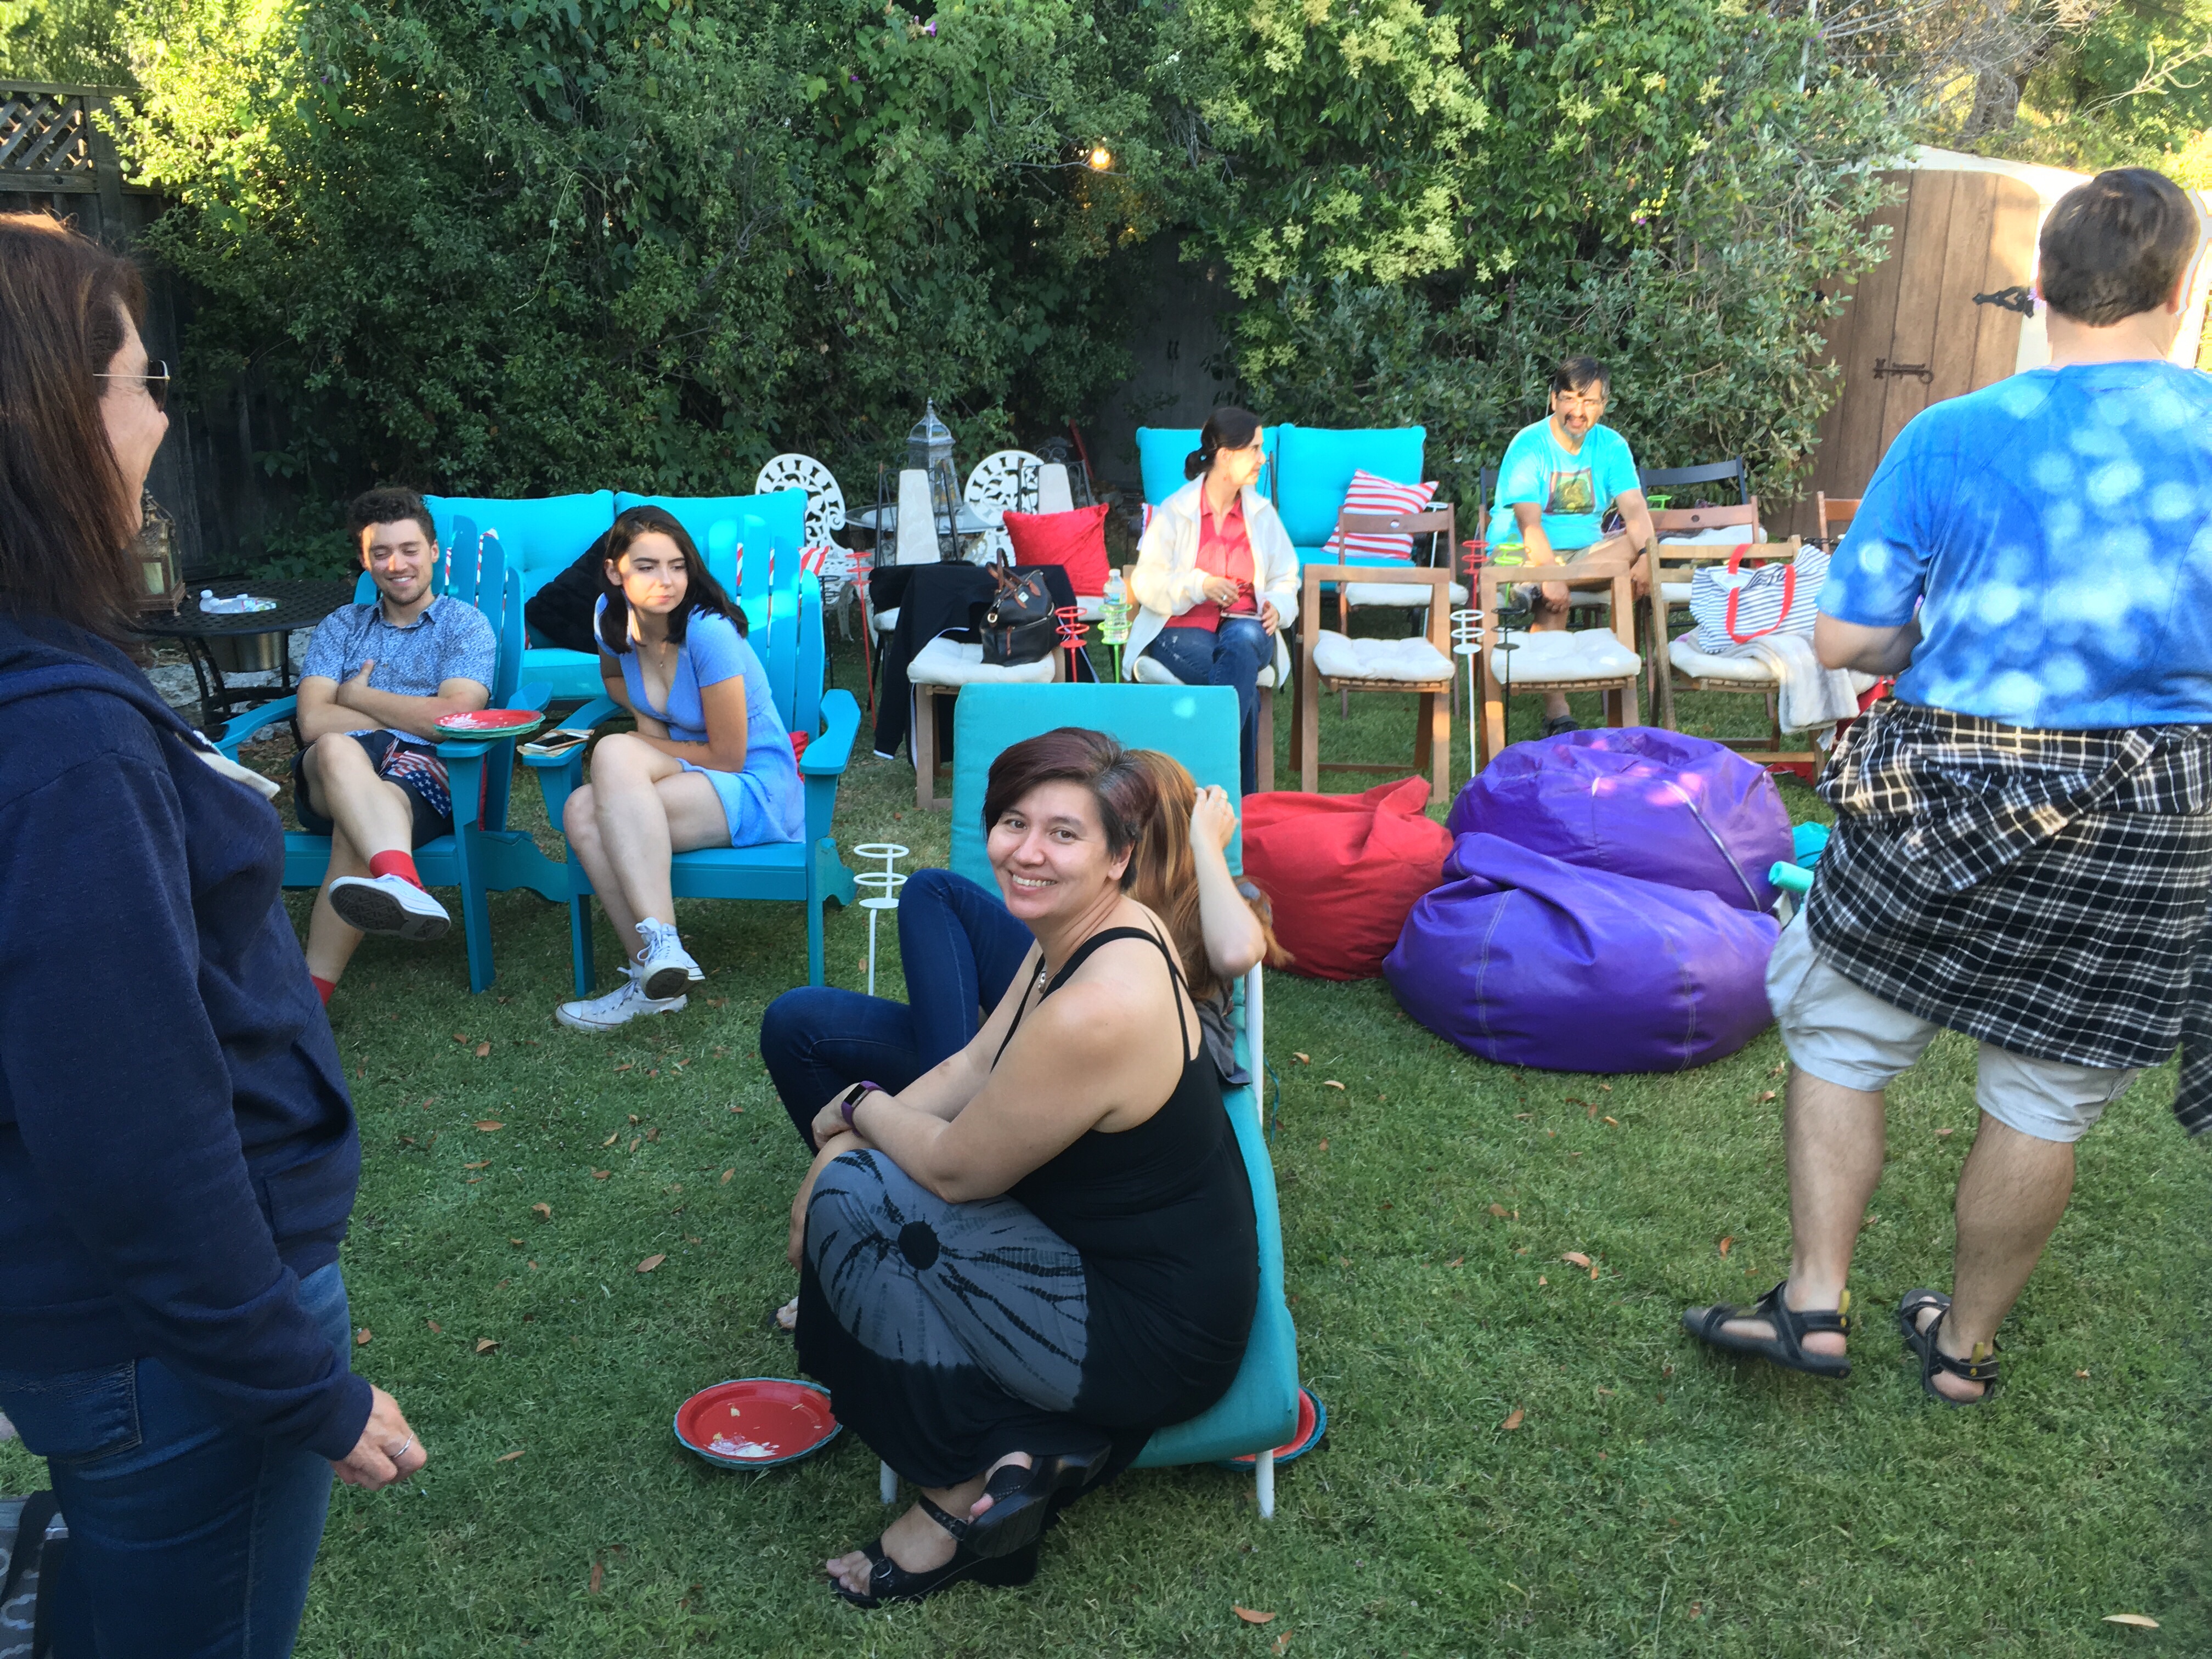
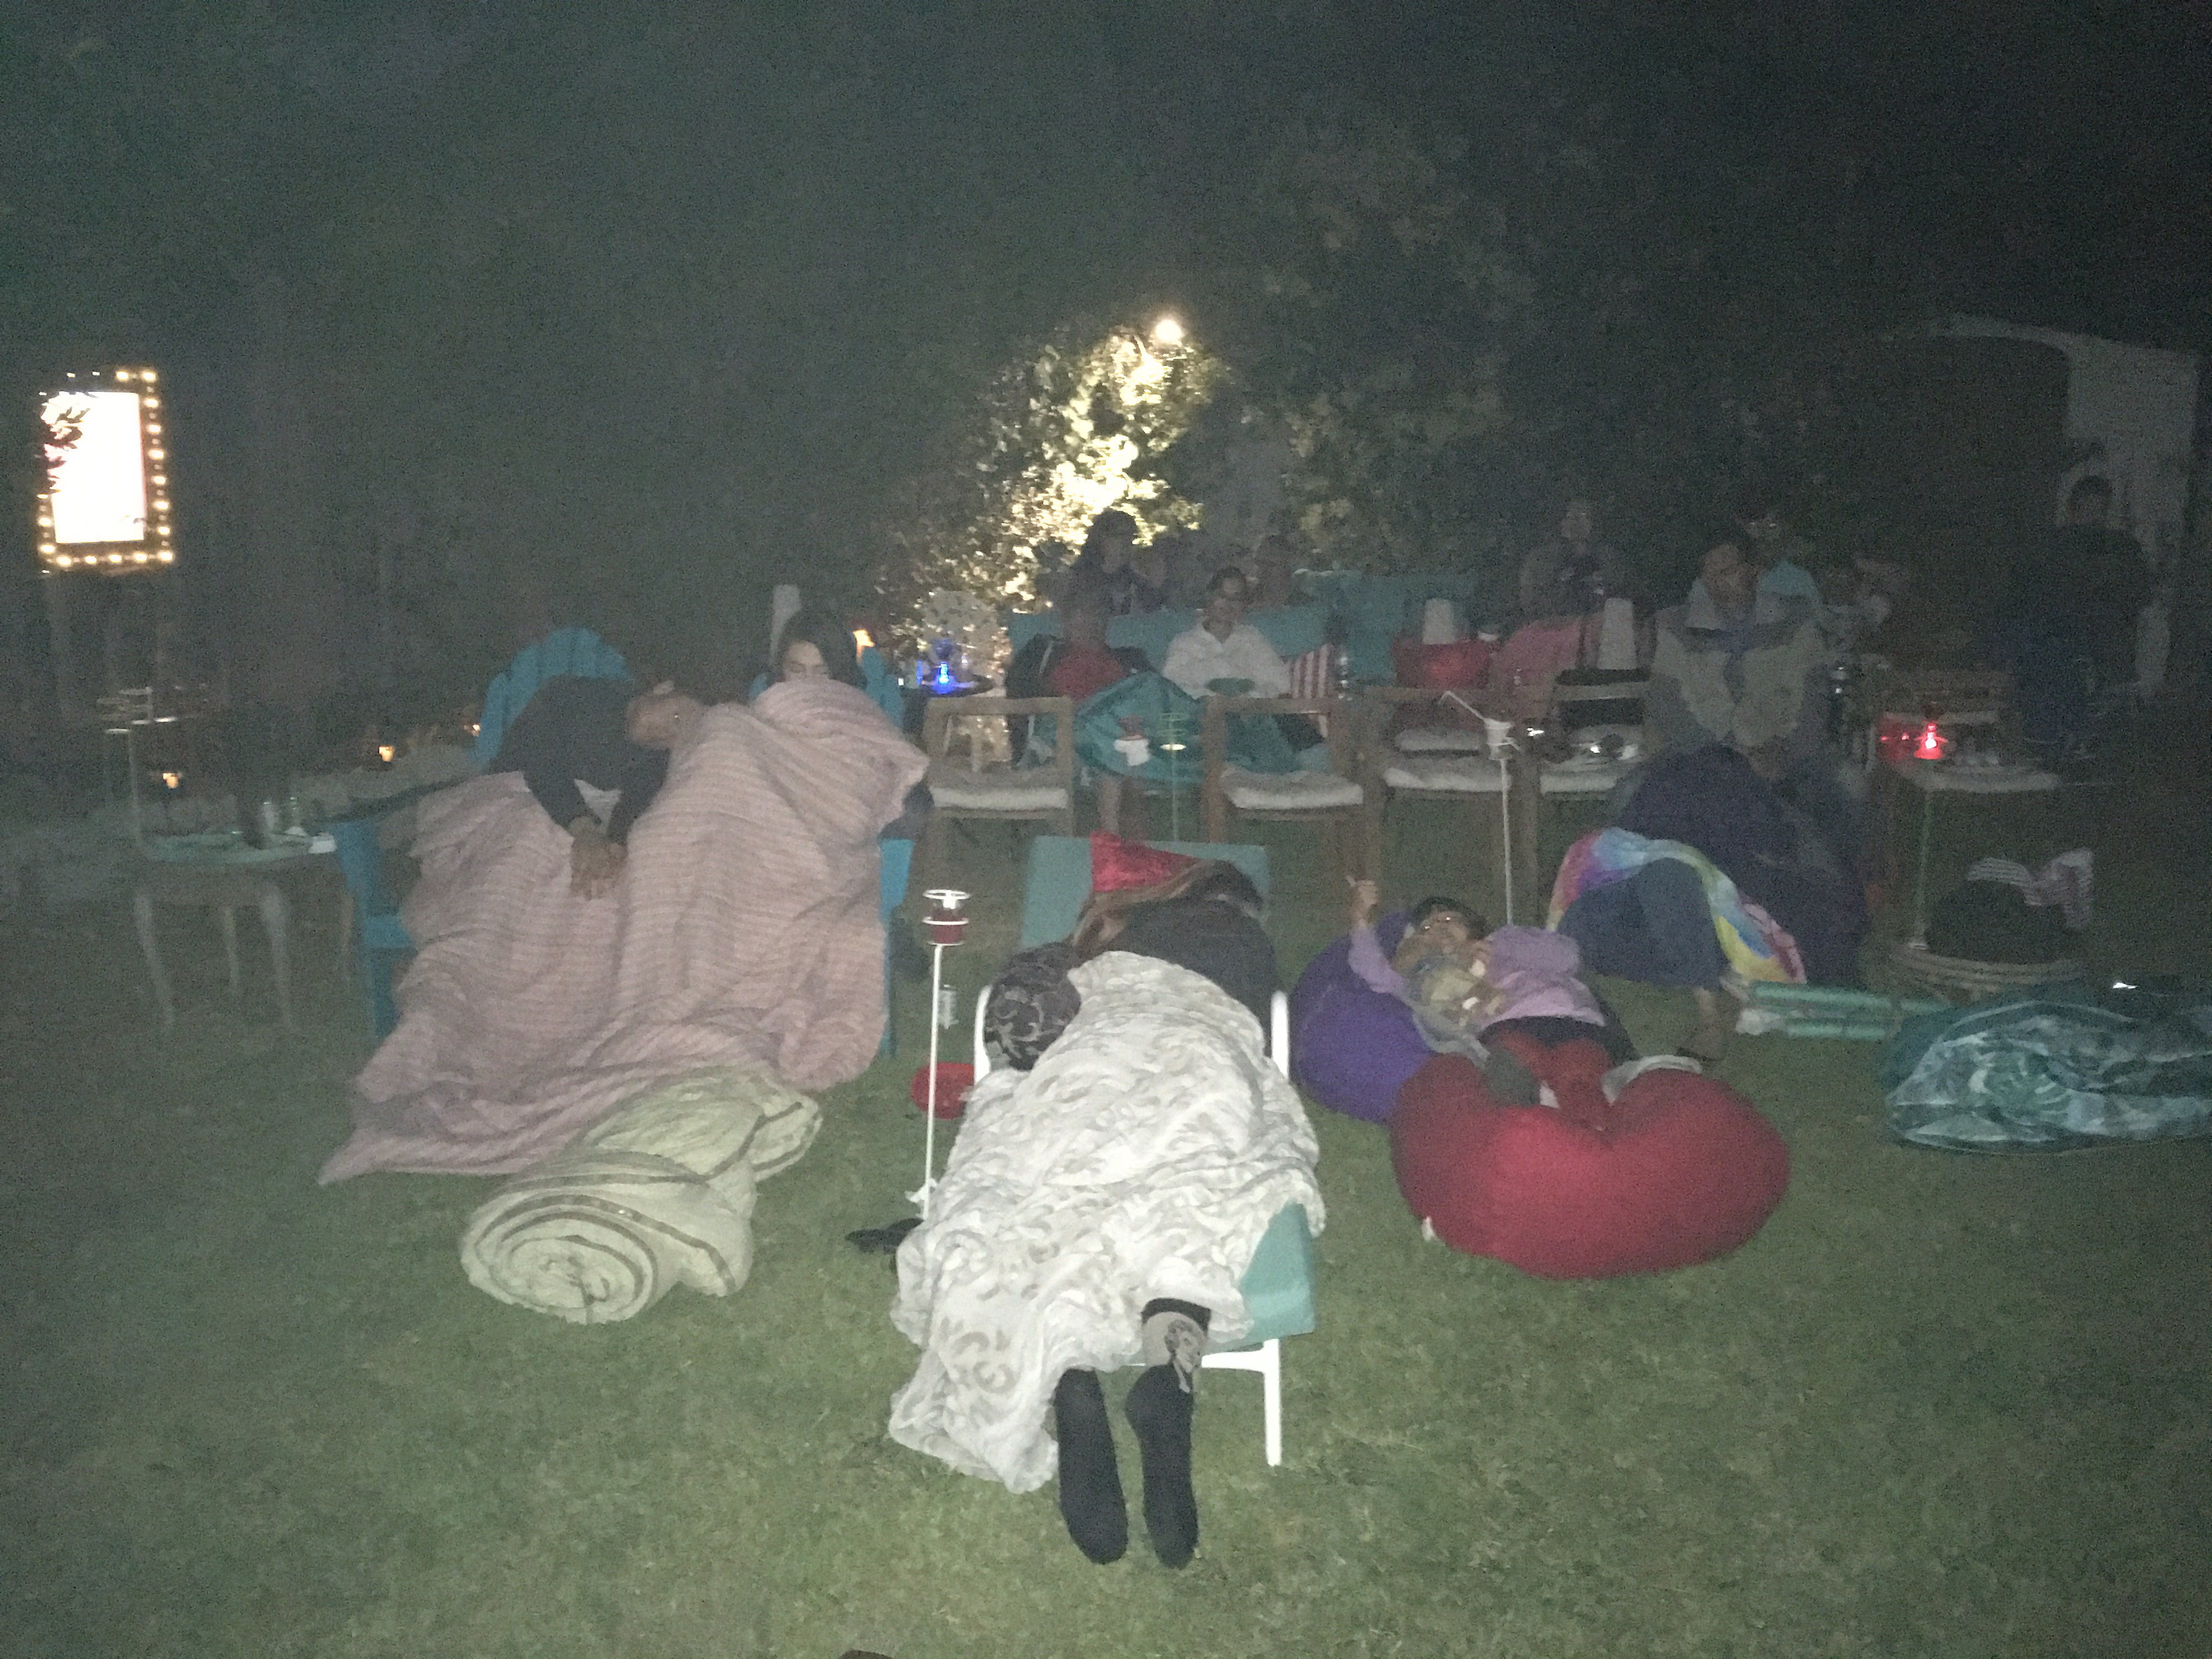
Ben cracked me up by wearing the lighted sombrero he made for our Halloween 2015 party! I love how you could spot him easily when I took my audience 
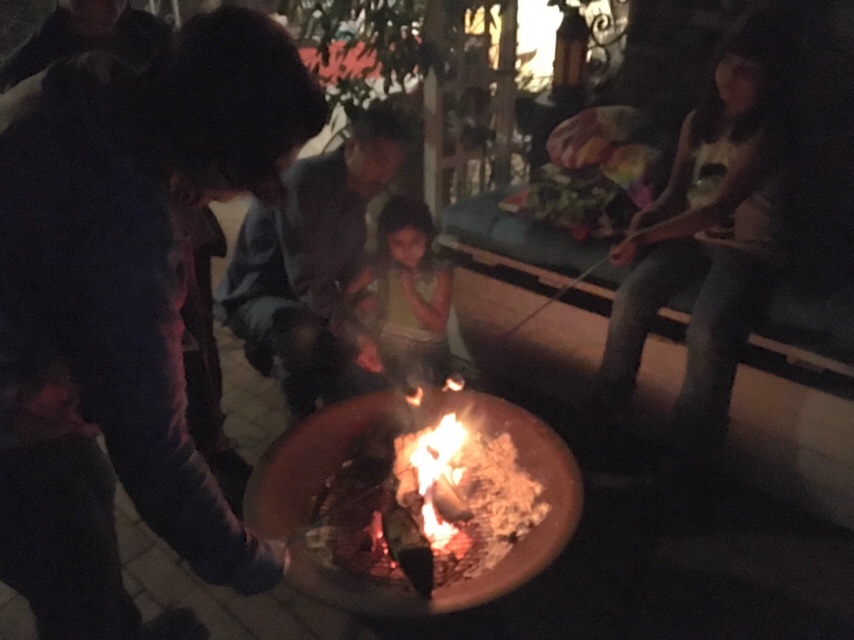
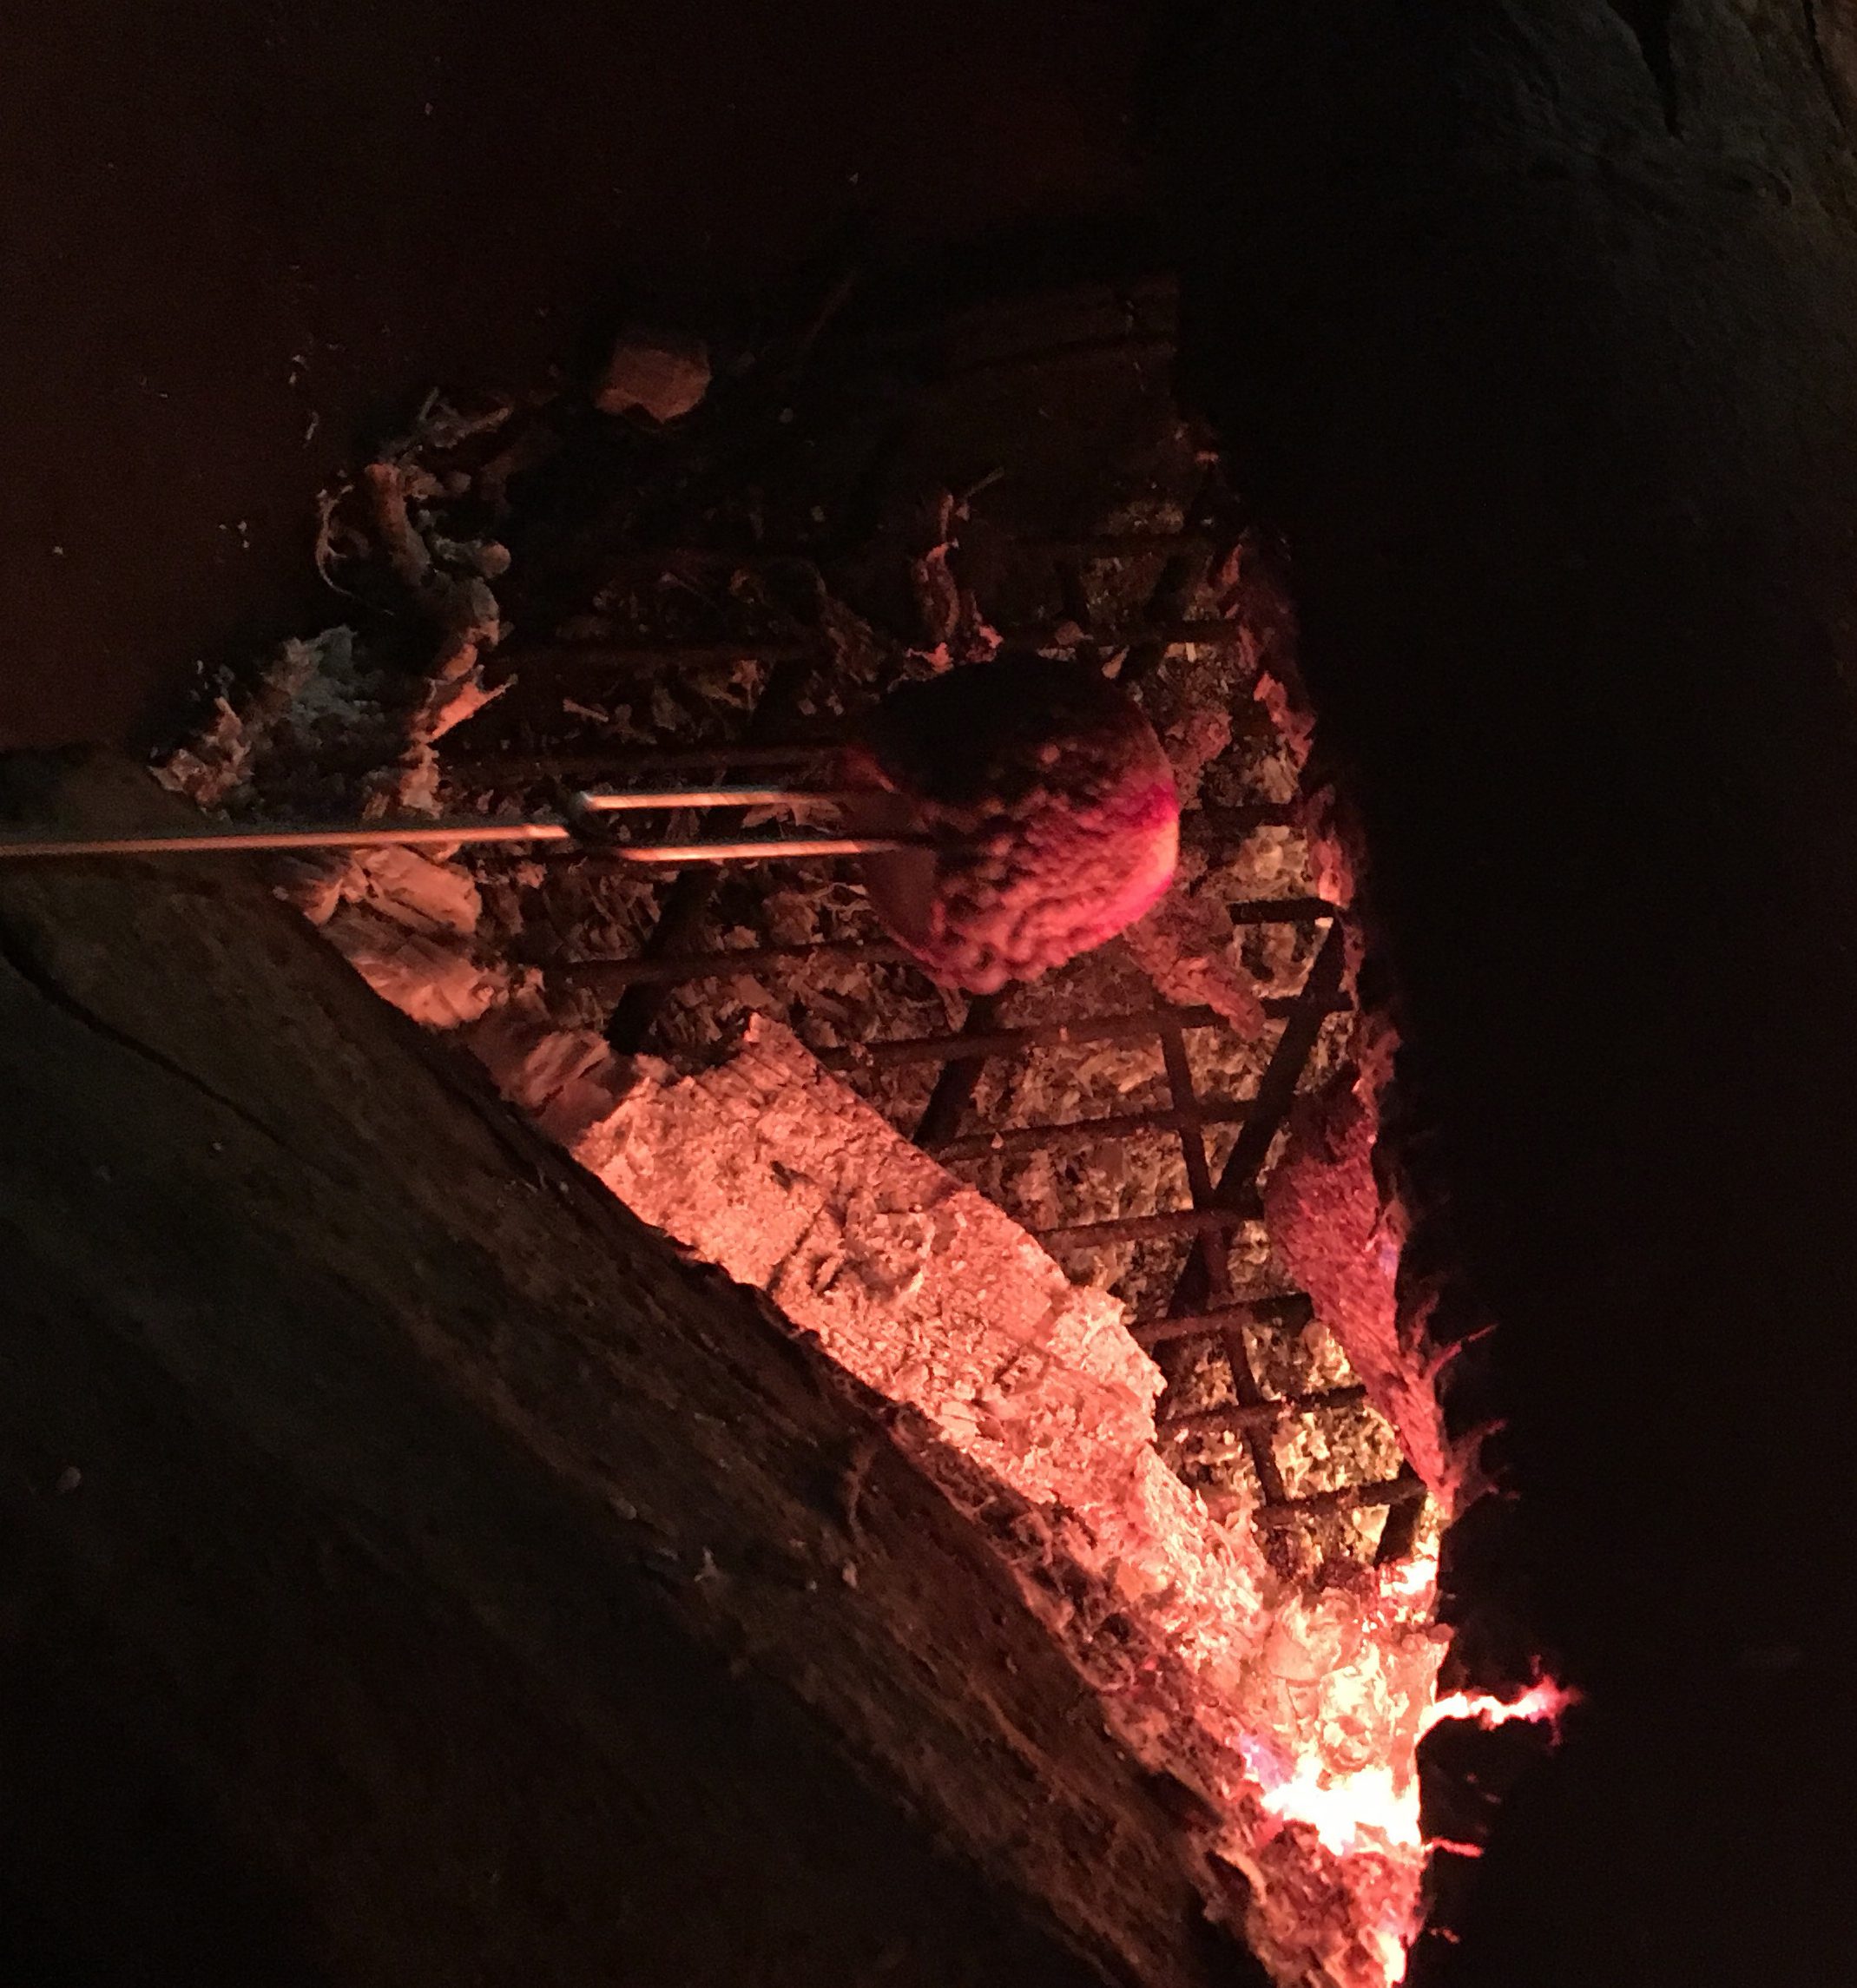
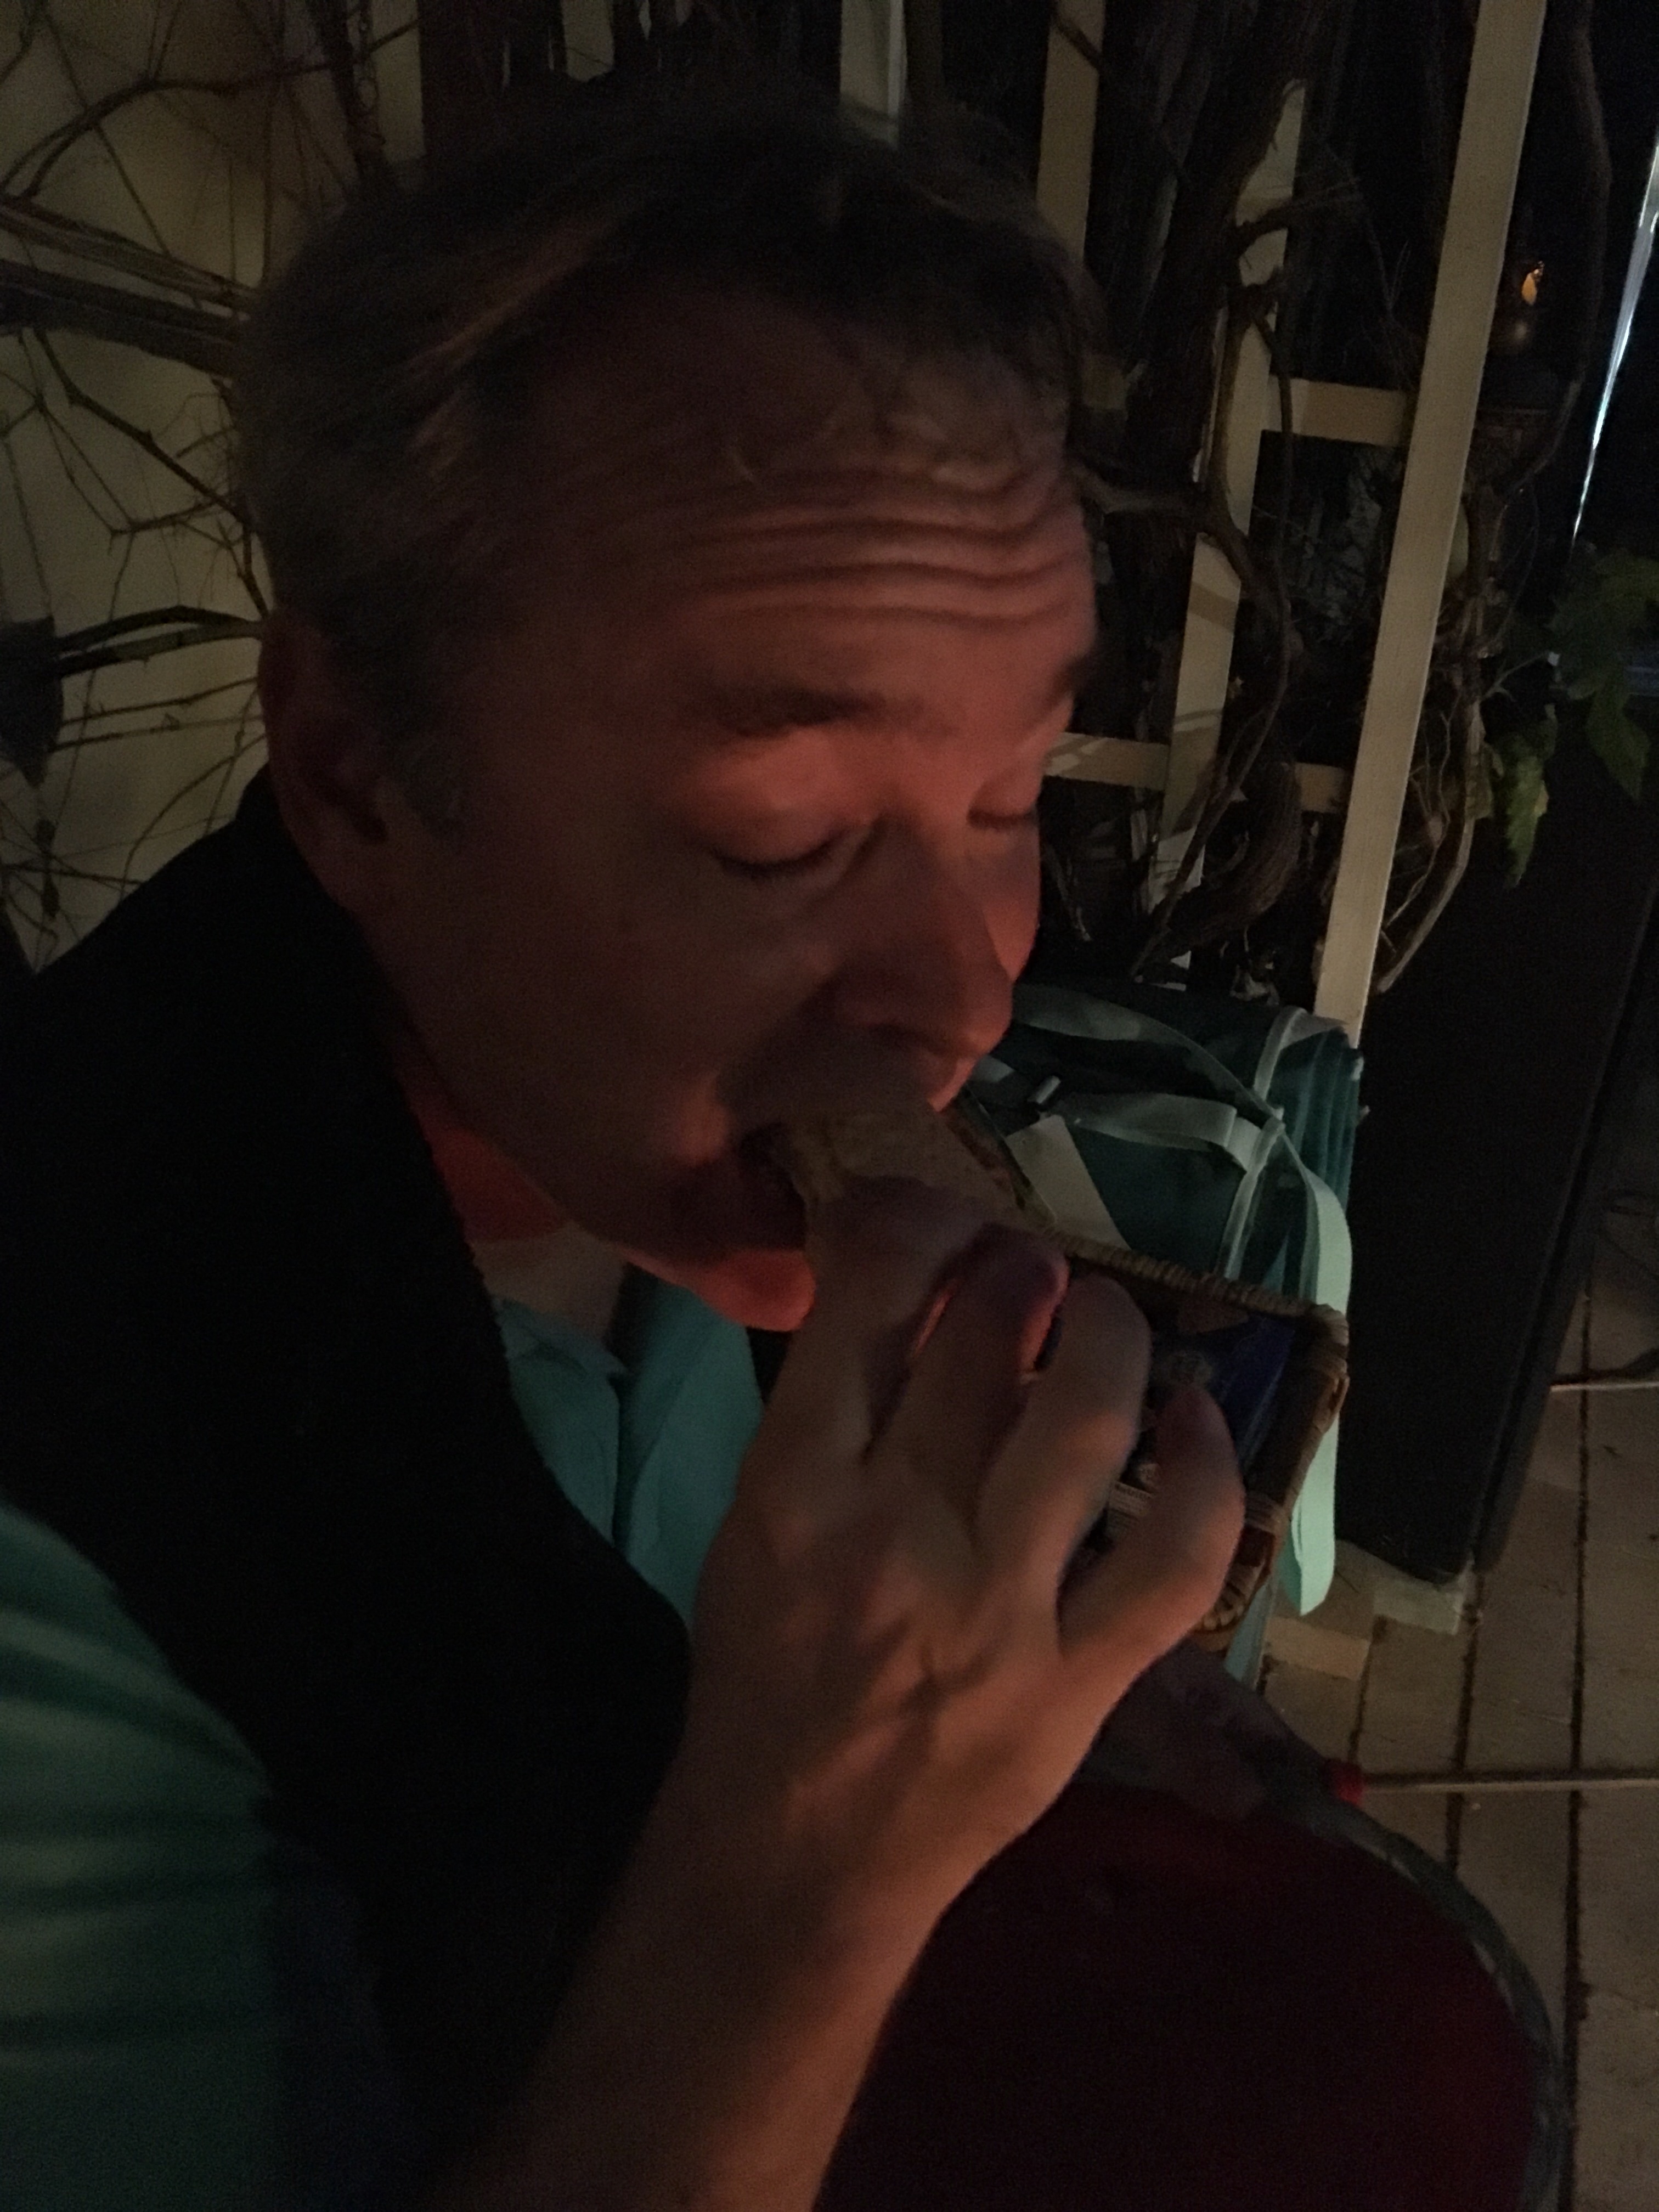
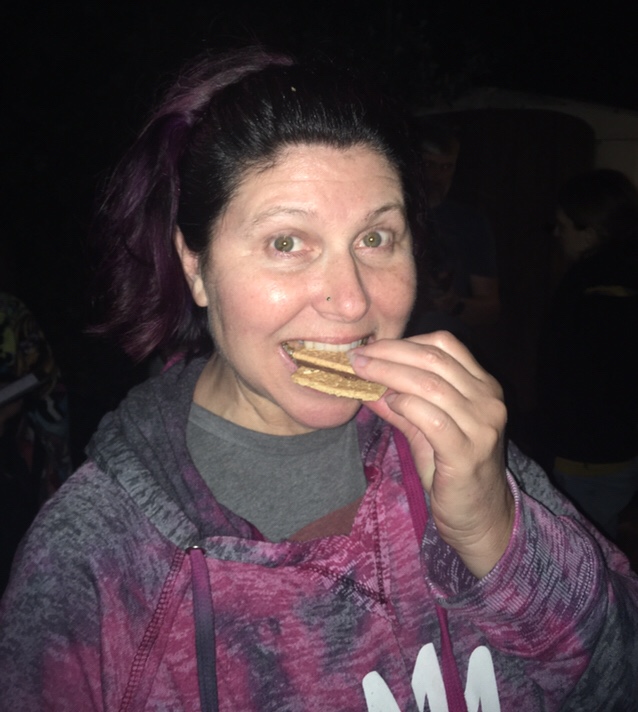
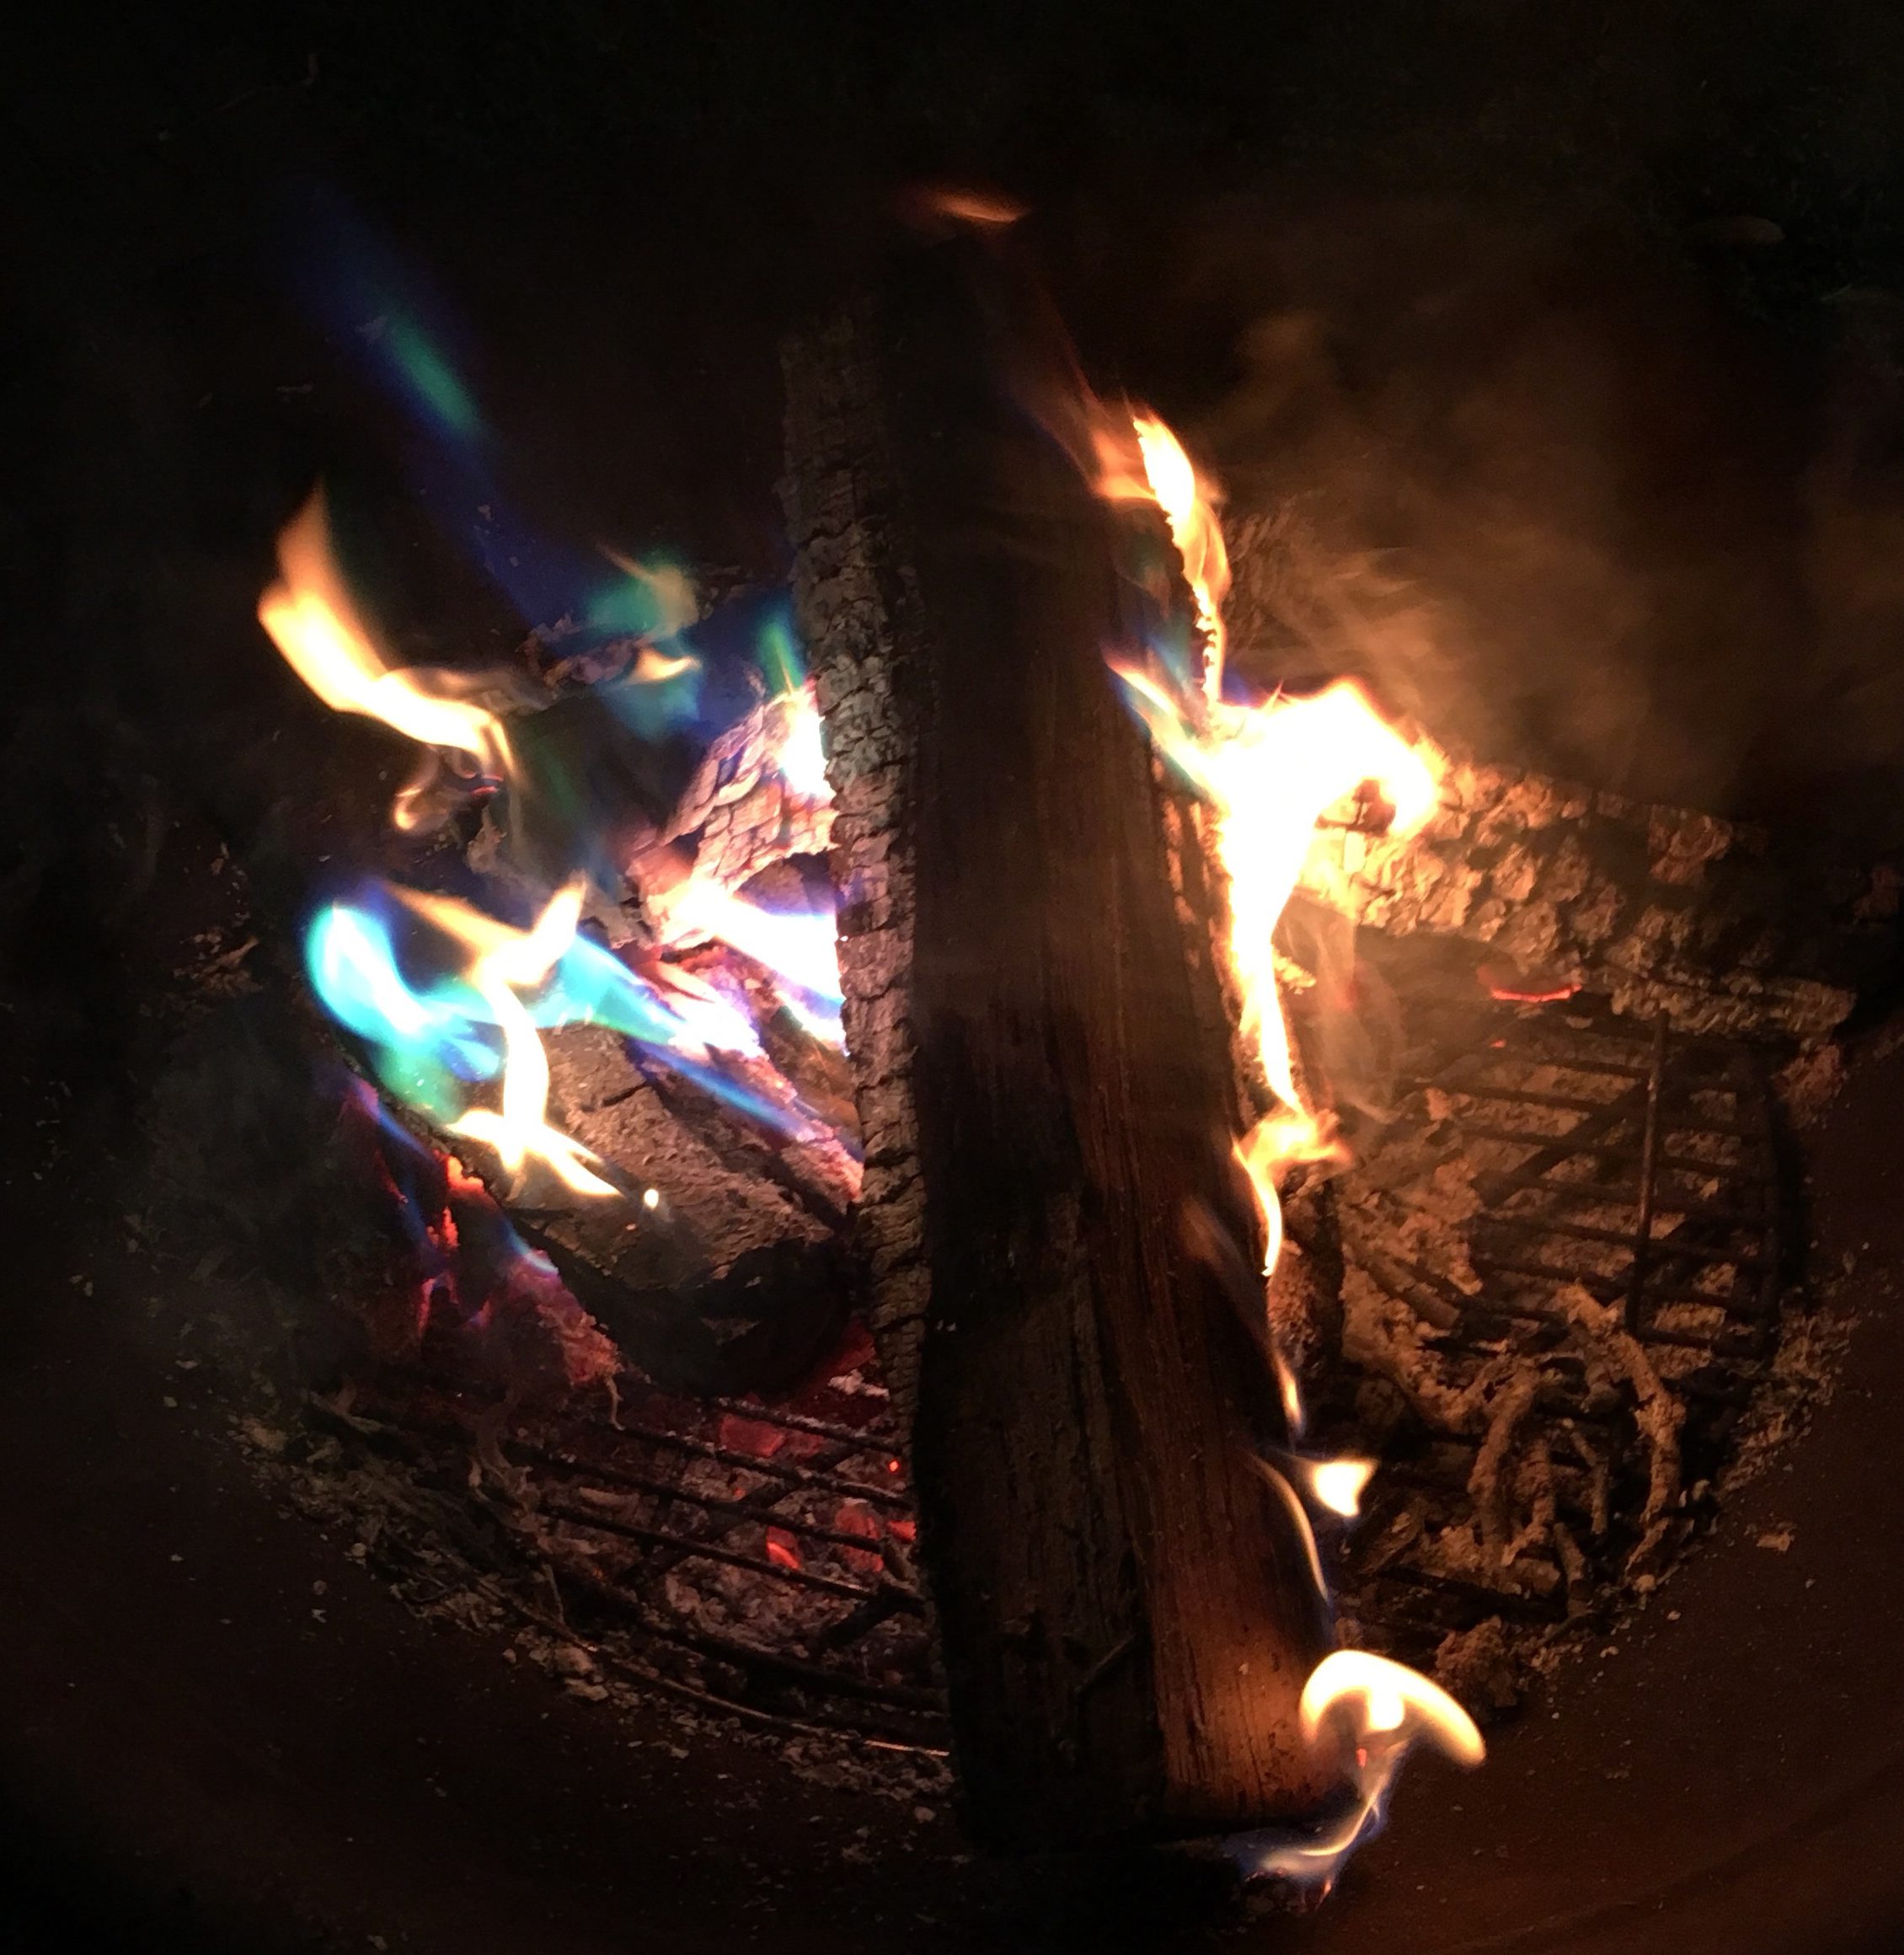
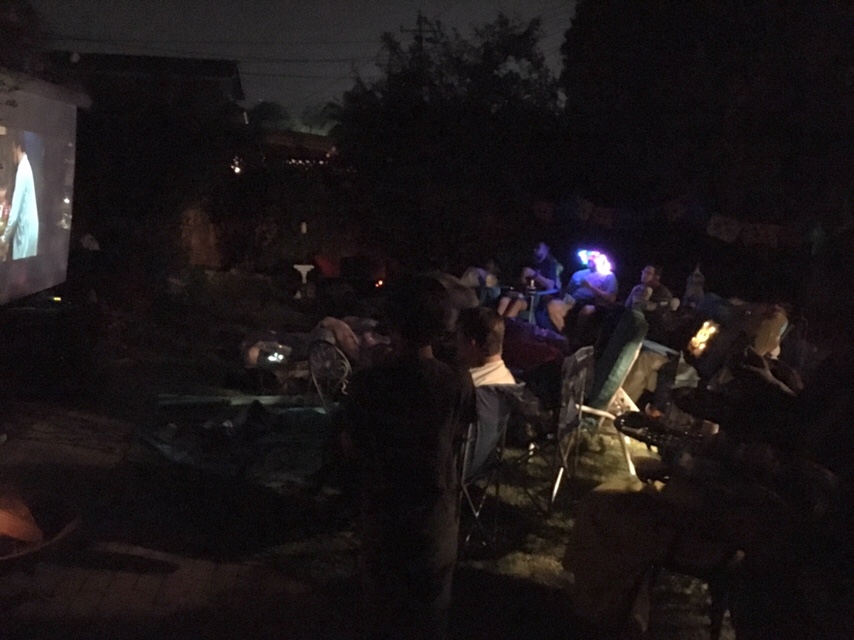
photos…haha! No Rock Band this time since everyone was enjoying chatting, making margaritas, and cleverly chomping Chimichanga Calaveras! Glen did light a fire before the movie to show off the magic color-changing flames again, but no one roasted any marshmallows, they only ate “naked” s’mores!

The full recipes for Chimichanga Calaveras, Queso Fundido, and Make Your Own Margaritas are included below, along with the complete photo gallery. This might be our last backyard movie for a year or more because by spring we plan to do a major remodel of the entire house…so thank you for joining us for ELEVEN spectacular summers of Cinema Brittahytta!


Continue reading

Posted in Cinema Brittahytta, Edible Art, Outdoors, Parties, Recipes | Tagged , , , , , , , , , , , , , , , , , | Leave a comment

The Greatest Showman Singalong!

I was lucky enough to see Hugh Jackman singing & dancing live in his one-man show in San Francisco several years ago, so I knew he was much more entertaining than his Les Miz performance. When I saw the trailer for The Greatest Showman, I knew I’d want to see it, but I had no idea that Glen would buy the soundtrack the day after we saw it in the theatre, nor that it would be our driving soundtrack over & over for the next couple months! We had heard from plenty of friends that we were not the only ones singing along, so I decided this would be my birthday movie for Cinema Brittahytta this summer. We actually had more guests who had NOT yet seen it than repeat viewers, so only some of us sang, but all 24 of us really enjoyed the evening, with Rock Band as the sun was setting, our menu of circus food and clever song-title puns, special s’mores, and even birthday cake!

My first menu thought was for circus food, and I already had my reusable plastic Cinema Brittahytta popcorn boxes, so a bag of roasted peanuts in the shell with a bunch of cute vintage paper bags were an easy Amazon purchase. Since there weren’t animals in the movie until the very end, I didn’t use the animal crackers or cookies, but Keith & Doug brought the pink & white frosted classics to share!

Since we hadn’t had grilled pizzas yet this summer, I called them Three Ring Circus Pizzas, leaving them in circles…the first time since the first summer Forbidden Planet Pizzas that I did NOT make the dough into a special shape. 😉 Glen came up with Sideshow Salad for the fruit salad, and Eileen brought some clever & tasty Mini Corn Dog Muffins with slices of hot dog baked into the muffins, then that was the end of the circus menu.

Trying to brainstorm food puns for the song titles started with “This Is Me-at” for the sausages, which still cracks me up! I found a movie poster of the Bearded Lady leading her crew, so that became my menu sign…heehee! I always have a plate of cheese slices, and I could eat cheese all day every day, so that became “Never Enough (Cheese)”…which was enjoyed enough that the next day I heard that Julianna was singing “Never enough cheese…” complete with various cheese verses…hahaha! I made a circus tent cheese mosaic, then set the other slices normally on a tray to the side, since no one wanted to mess up the design. I guess two trays of cheese enforced that there truly was “never enough?” 😉

I had tried creating a custom cocktail for A Million Dreams with “the brightest colors fill my head” but was stuck trying to make it non-alcoholic for all the kids coming…then I thought of how I have countless bar mixing options, so that became “A Million Drinks: Help yourself to anything at the bar!” 😀 However my favorite menu sign was The Greatest Snow Cone, since I tweaked the logo lettering so it matched perfectly and actually added a snow cone into Mr. Barnum’s hand for the menu sign. We had enough kids the right ages that we went through all the pucks I had frozen, so I guess I should have made more in advance this time!

Last but not least was Rewrite the S’mores, our special s’mores for this movie! Obviously “rewriting” the s’mores would be making them different in some way, so I used a red food coloring pen to add stripes onto purchased marshmallows, and Glen found red & white swirl Hershey kisses on sale after Independence Day. We set the striped marshmallows over Hershey bars on purchased graham crackers, then added a striped kiss on top to be little circus tents!

My college friend Stephanie brought her whole family from Davis for their first ever Cinema Brittahytta, so they arrived first and helped assemble the s’mores. Keith & Doug brought some friends this time, and Wendy & Diana spent half the party playing on the floor with Midnight! Thankfully Midnight was still our social kitty at his second big party, letting Cyd cuddle him on the couch with Elias, and playing with everyone willing. Since the patio screen door now randomly opens on its own, we had to shut the french doors all evening, and when no one was inside, Midnight sat at the door, looking out at the patio people wistfully like he wanted to join the party!

Usually people bring an assortment of food to round out our potluck, but this time it was almost all sweets! Stephanie brought cupcakes, and Jen brought a dozen fancy Psycho Donuts that were scarfed quickly – glad I got the chocolate mint “Girl Scout” donut! Keith & Doug brought cookies & a candy-coated puppy chow snack mix, and their friends brought a big batch of popcorn. Jerry stopped by with his fantastic chocolate fudge cake while Glen was out picking up the teal cake he had ordered already! We saved the Jerry cake for ourselves later, and since Keith & Doug had just given me the Hallmark Christmas ornament of Elsa, we put her on the matching teal sparkly cake for me to blow out my candles after the movie!

Since Stephanie’s family was staying the night, we had a built-in after-party for s’mores…hooray! Glen had fun throwing our new flame colors into the fire, and it was tricky to take photos, but some of them burned teal! Jeff’s family also stayed through s’mores and back inside, having a ball playing with Midnight while the clock approached midnight…when I sang Jeff his Happy Birthday song as his birthday began on July 29th!

Thanks to everyone for such a fabulous evening! You can click below to see all the fun photos if you like! We still have one more movie before this summer is over, so stay tuned!

Continue reading

Posted in Cinema Brittahytta, Edible Art, Outdoors, Parties, Recipes | Tagged , , , , , , , , , , , , , | Leave a comment

first testing for Halloween 2018…

Our Halloween plans are still solidifying, but we do know that for 2018, the Webmistress returns, hosting a Victorian Halloween at Castle Brittahytta, and this year you’ll be able to see her conduct a seance with her crystal ball in the front castle window, as her friendly spiders swarm the castle walls and graveyard…watch the Eerie Elegance Facebook page and Britta Blvd Instagram page for more Halloween developments through the summer!

Some successful testing for #Halloween2018 … This year you will be able to peek in the windows of #CastleBrittahytta to see resident #spiritualmedium the #VictorianWebmistress hosting a #seance with her #crystalball in her library! Our newest BenQ #dualkeystone #shortthrowprojector is the perfect distance from the window allowing people walking past the piano without blocking the image, and a white bedsheet across the window works ok already, but I think we can improve the opacity so the kitchen lights don’t show through…stay tuned! #projections #projectors #halloweendecor #Halloween #EerieElegance #WebmistressOfTheDark #makersofinstagram

Posted in Halloween, Parties | Tagged , , , , , , , , , , | Leave a comment

Fireworks & Fun 2018

For 2018, a fun crowd of 18 including 2 kids enjoyed Fireworks & Fun for the Fourth, with some new guests and some new & relatively healthy menu items! Thanks to the City of Santa Clara for the show and everyone who helped us celebrate!

Since the 4th of July was a Wednesday and I couldn’t take any extra days off work, I started my patriotic outfits with Margarita Friday and kept them up on Monday & Tuesday for work. I made red & white striped pillow covers last summer and had just enough fabric left for a cute skirt, but not enough to turn a hem or waistband, so I added a red lining and planned it to be reversible! I had it cut & pinned last summer but had to put it away for the sake of other projects, so I got it out this year & finished the skirt just in time to wear it both ways before the 4th! The trickiest part was how to make the pockets reversible, since they must be accessed from both sides. I anchored them to the striped side, then left a matching slit in the seam of the red side. When I turn the skirt inside out, I need to turn the pockets inside out too, and be careful to get stuff actually into the pocket and not just the opening in the red side. I should have angled the waist since it’s extra bulky gathered around the elastic, but I got many compliments and felt very cute wearing my new outfits. 🙂

This year’s RSVPs were thin again, and I am still WAAAAY behind from wedding projects & honeymoon taking up my usual spring catchup time, so I decided to take a break from some of my traditional 4th of July plans in hopes of being a little easier while still fun and special. No one had ever come as early as 4pm in all the years past, plus friends were playing their music set at the park party early in the evening, so I set the official start time as 6pm this year so Glen & I could take a short break to check out the park party and a little of the Houserockers, who played a great show. Glad I finally got to see them live, since I played with many of them in my days with Black Sunday Roadshow!

I also tried to make prep easier with less food. For so many of my summer parties my special s’mores haven’t even been eaten, so I had all the standard s’mores ingredients ready and figured we could always make them special by topping with a Sparkling Sugar Star cookie. I kept the cheese plate as Festive Fromage with stars cut from white havarti slices, but I skipped the pastry brie, which has been cut before for heat reasons. I cut the Old Glory Green Salad since most years I have almost all as leftovers, and I love the Apricot Cashew Salad, but same results that I eat most of it as a lot of leftovers. I had already made a batch of the Grilled Sweet Potato Salad that sadly went uncooked on our Napa castle camping trip that ended up as a burn ban, so I froze it to finish for the 4th, which also saved time while still keeping a delicious tradition. I also love the Corndog Sparklers, but they take a lot of time to deep-fry, with lots of last-minute cooking & cleanup, so they were cut this year too.

Thankfully I was able to draw my menu chalkboard this year, changing around some names due to the cut items freeing up some patriotic phrases. Now I’m wondering if it might look a little too busy with all the fireworks and stars, but it is festive! I usually make lemonade with 100% stevia powder, but it wasn’t until this year that I thought of Liberty Lemonade “freed” from sugar! haha! Here is the full menu for 2018:

Razzle-Dazzle-Tinis
Watermelon Juice
Liberty Lemonade “freed” from sugar!
Make Your Own Snow Cone
Kettle Corn
Festive Fromage
Red, White & Blue Chips & Dips
Patriotic Parmesan Potatoes
Striped Skewers with Blueberry Balsamic Glaze
Grilled Sweet Potato Salad
Sparkling Sugar Stars
Homemade Vanilla Custard Ice Cream
Tricolor Trifle

My stick blender broke during last year’s watermelon juice and I don’t yet have a replacement, but we had Glen’s hefty modern blender, so with enough extra large containers for intermediate holding of puree, I was able to scoop out the watermelon chunks into the blender, puree those, dump that into the strainer over the stockpot, then I took what was left in the strainer and blended it with the next set of chunks. There weren’t many seeds in the first place, and the blender was powerful enough that almost everything got liquified so much less waste! Straight watermelon puree is too thick to run through the keg tap, but the puree from a large watermelon + 8 cups water all blended again is a perfect consistency as a thick, sweet juice, and lovely with limecello over ice. We went through about half a “keg” of juice so had about 8 cups leftover in the fridge that I enjoyed over the next week watered down even more.

I tried to find some healthier recipes to replace a couple of my previous menu items. I saw some tasty-looking Parmesan Crusted Potatoes online plus red, white & “blue” baby potatoes at Trader Joe’s, so those became Patriotic Parmesan Potatoes! They were gorgeous in the glass pans ready for roasting, and they did brown well enough so the colors were not as vivid, but they smelled delicious while baking and stayed crispy in a star bowl for the party, and even at room temperature everyone enjoyed them! We did have a few leftovers, so after keeping in the fridge reheat them in the oven a few minutes on a baking sheet to make them crispy again. The full recipe is at the bottom of this post if you’d like to try your own Patriotic Parmesan Potatoes!

Some easy-looking caprese skewers with fresh mozzarella balls & grape tomatoes became Striped Skewers with a little blueberry balsamic sauce reduced to more of a glaze that would stick instead of drip. To serve in stripes, I lined up the skewers with their points meeting in the middle, and they fit perfectly on a long rectangular tray so I could spoon the extra sauce as the “blue” stripe down the middle that functioned as extra dipping sauce. Super easy, tasty & fun!

I usually make a normal fruit salad with lots of summer fruit variety, but I had so much fun creating an Incredibles fruit mosaic in my tall trifle bowl for movie night, that I decided to try to limit my fruits to strawberries, raspberries, blueberries, and golden pears to create a red, white & blue Tricolor Trifle. It worked best to cut golden bosc pears cross-wise since the center slices were the perfect size to use one of my star cookie cutters, and the seeds around the center core looked like part of the design. A tall plain bowl works best and you may need to angle it while arranging your design. Place the stars first so you know you have enough room above and below for more fruit, then fill in the bottom layers to hold the stars in position. Layer the cut strawberries on the bottom or block with uncut berries or they will stain anything underneath! Fill the inside with mixed fruit salad so your guests can scoop some variety without disturbing the outer design. This fruit mosaic was definitely one of the “stars” of my party!

I definitely wanted to keep my once-a-year homemade vanilla custard ice cream and at least some cookies, so my Sparkling Sugar Stars were back, but I used real eggs this time since I didn’t expect any vegans. It has been so long since I used real eggs that these must have had more water content, since my dough was so gooey even after chilling that it took longer to cut the stars! I think next time I will go back to the egg-replacer powder for consistency!

I do love Festive Fromage, especially when my small star cutter fits perfectly in already-cut cheese slices. I also really like the cheap patriotic paper fans, since I can decorate with them, plus they are available for cooling if it gets too warm! The blue corn chips are common party food for me, especially for Halloween, but I was pleased to find some beet crackers that were a nice natural red hue for my red white & blue chips!

Thankfully it wasn’t too hot this year, and by starting after 6pm, the shade was covering most of the backyard by the time most guests had arrived. Since I knew only 2 kids who were coming and expected a smaller crowd, we didn’t play Rock Band either, just chatted until the main event. We did have a couple snow cones, including a cool patriotic striped one, and a spiked snow cone for me in a glowing glass, and I did make a couple of my traditional Razzle-Dazzle-Tini layered cocktails for some of the new guests.

After Ebony passed away in January, Obsidian was an only kitty, but we adopted 4-month-old kitten Midnight just weeks before his first party and his first festive outfit! Even after 6 years of parties, Obsidian still hides when guests arrive, but Midnight calmly lets anyone pick him up and enjoyed playing the whole party, so we might finally have another party kitty, like Onyx was for so many years!

I served my ice cream promptly at 9:15pm so we would all be back in our seats & ready for the main event to start at 9:30pm. It was another fantastic fireworks show, even if some bundled up under piles of cozy blankets!

You can see the full photo gallery with all the partying people by clicking the link below. Huge thanks to everyone who helped and had fun yet another year! Hope Santa Clara keeps having annual fireworks so I can keep having my Fireworks & Fun party! 🙂

Continue reading

Posted in Outdoors, Parties | Tagged , , , , , , , , , , , , , , | Leave a comment

Midsummer Medieval Feast at Castello di Amorosa – 2018

We had so much fun last year at our first Midsummer Medieval Feast at Castello di Amorosa that we decided to make it an annual tradition, so this year we invited more friends, got camping reservations 5 months ahead as cheaper lodging (even the cheaper Calistoga hotels are expensive!), and made a Napa Valley weekend of it! Thanks to Cyd & Mike for joining us & making this year’s feast extra fun!

Glen & I rented medieval outfits last year since Glen wanted to be fancier than any outfits I could cobble together from my costume closet with less than 2 weeks notice, so since I didn’t make anything myself(!), I didn’t post here. For this year we wanted to be visiting royalty, so we both wore crowns and clothing suited for a king and queen, including a cape for King Glen, and a rhinestone tiara with sheer aqua veil for me. Over the past year, I had gathered my patterns and found fabrics & trims to make us our royal outfits for this year, but due to all my wedding projects, especially making my Victorian ruffled wedding dress, I couldn’t start our medieval outfits until after we got back from our honeymoon. I found a fantastic faux chainmail shirt and matching hood for Glen, some laceup black pants and boot covers that were also great for pirate use, all from Amazon using free points. We were especially impressed how the shirt & hood had such a cool woven raised texture that really looked like chainmail, for only $30! It was over 90F but Glen thought the chainmail hood looked so much better than his “businessman hair” that he wore the hood all night! 😉 I gave him his choice of metal crowns also found on Amazon, but he preferred the look of the crown I made from tall gold lace trim. We had researched kingly outfits online, and he wanted 14th century or earlier, with the long belted tunic and cape across the shoulder. I had 2 yards of embossed teal velvet in my stash so used that for his tunic, without trim for this year since I ran out of time. He wore the new black leather shoulder pauldron he bought for steampunk use, and I draped some leftover crushed red velvet as his cape, running out of time to add the white fur trim, so that will be something new for next year. We had just bought the brown leather belt at the pirate festival the week before, and he chose his favorite plastic sword from my stash tucked into his belt.

Time still got away from me for my teal & gold dress I had planned, so I finally got everything cut out the Sunday evening before the event, with barely enough evenings to sew, but then my sewing machine didn’t work! My wedding dress must have been its swan song, since it was still working when I put it away when my wedding dress was done, but now the switch won’t turn on at all. I got a basic model sewing machine same-day shipping on Amazon Prime and was able to finish Glen’s tunic, cape & crown enough to wear, but still not quite enough time to finish my matching dark teal velvet & gold brocade dress, so I resorted to a purple costume dress I was able to get in time with free points via Amazon Prime, and not only was the XXL surprisingly long enough for my long legs even though I needed to take it in more than the lacing could manage, but I did have just enough time to add pockets in the side seams, which were a real blessing! Since this isn’t a historical event like a renfaire, and seeing what people wore last year we can get away with a lot more variety, so having a few less expensive outfits to rotate through the years will be good to have. I still hope to finish my teal & gold dress soon so I don’t put it away unfinished & run out of time next year too!

The castle event starts with a glass of wine as you stroll up the hill with a herald trumpeting your arrival, then some appetizers and free-flowing wine under decorated tents up at the lake with the Blue Knight vs. Black Knight horseback jousting in real armor, thankfully usually a breeze at the lake since it’s often at least 90F! After the joust as the sun is going down, lighting the castle towers perfectly, everyone is ushered back down the hill along the castle ramparts and down into the courtyard, which has been completely filled with long communal tables, with a menu at each place setting advising everyone to authentically eat with their hands, and listing smoked turkey legs, cheeses, fruits, nuts, desserts, and more free-flowing wine of course, since the Castello is a winery after all! This year we were at the corner under the balcony next to the VIP table, so we saw the juggler, heard the musicians, and our kilted friend who we had chatted with up at the lake found us later in the evening for more fun conversation. Everything abruptly ends at 10pm as everyone heads to the parking lot for free shuttles to Calistoga hotels, the local Calistoga shuttle that costs $1 per person, or Uber directly to our campsite if the shuttle never shows up. 😉

Last year it took so long in traffic that we were changing into our outfits in the car in the parking lot, so I was really hoping to arrive earlier this year so we could use our member discount for touring the other castle rooms that close at 6pm, especially since we needed to set up camp before dark. I took the day off but Glen had to work that morning, so we didn’t get on the road when we hoped. Due to Friday afternoon traffic, we barely got to the campsite at 5:30pm, set up our tent & changed into our garb, then the $1 shuttle pickup finally arrived closer to 7pm, so not only was the rest of the castle already closed, but the evening event had already started. Last year we were too late even for any of the appetizers, but this year thankfully there was still food, and the jousting hadn’t begun yet. My pockets were heavily used for my folding fan, phone, tissues, bobby pins, and even a whole box of safety pins that came to the rescue of another guest’s wardrobe malfunction! Next year we really want to leave home before noon so we can take fantastic photos in our outfits inside the Great Hall and around the castle towers, and if you also attend, please find us & say hello!

Continue reading

Posted in Costumes | Tagged , , , , , , , , , , , | Leave a comment

The Incrediburgers and more!

On the ninth a cozy crew of nine started our summer movie season by catching up with The Incredibles before their long-awaited sequel arrived in theatres! We had a whole family of Incrediburgers on the grill including little Jack-Jack Sliders, Dash Dip, Incredi-Cheeses & Crackers, Make Your Own Frozone Cones, and a Super-Sized Fruit Parr-Fait! My own Mr. Incredible manned the grill, the new cupholder yard stakes were a hit, and my Movie Marquee was back outside showing a new reel of posters for this summer season of Cinema Brittahytta!

With working on all the wedding projects for so long, I haven’t had much chance to create edible art lately, so I really enjoyed making the fun food for this movie! The first was fairly simple, just sketching, cutting & drawing a stencil the correct size to sprinkle Hungarian paprika over an oval bowl of Dash Dip = spicy for super-speed! We bought the jalapeno dip mix at a local street festival, but I couldn’t even eat it since it was too spicy for my wimpy palate! Glen loved it but only a couple guests could handle it, so he will have a lot of leftovers to enjoy. 😉

I was quite proud of the next edible art since it was tricky to execute such curves and tapers in a fruit mosaic, especially vertical to show up the side of my large trifle bowl. I propped the bowl at low angle so it was mostly flat, then used the DVD case as a model for the same oval “i” logo, careful to flip it upside-down and backwards for the direction I was working. You might think this would be easy, but the fruit needs to be chopped fairly fine for curves and tapers, and it works best with the cut side toward the glass so each fruit shape sticks in place instead of rolling around like berries do. I never expected to say “I need smaller blueberries for better image resolution…” haha! You also need to be careful which kinds of fruit yields juice that still stain your other fruits, plus if any fruits might oxidize and turn brown. Cut strawberries are the worst culprit since their juice drips everywhere and stains everything red, so I filled in around the logo with red raspberries first before fading into cut strawberries, and I made sure not to place any strawberries at the top edge or red juice would stain the pineapple “i”. I also used apricots for the orange areas since peaches bruise and brown so easily. Once your design is complete, you must tightly pack fruit behind it, filling in from the bottom up, so when you turn the bowl upright, your image along the glass stays intact. Make sure you don’t backfill with any cut fruit that will stain until you have enough fruit buffer next to your image, then you can fill with a mix of fruit. Having the fruit already mixed at the top toward the back means people can scoop to serve themselves while leaving the design intact. Since I called this my Super-Sized Fruit Parr-Fait, and parfaits are layered with whipped cream or custard, I quickly squirted whipped cream on top and garnished with some last fruit pieces. My guests were definitely impressed, but this fruit salad was so large that this also means we have a LOT leftover to eat! 😉

Since the rest of the menu was just clever names with signs, I had time for a stretch goal of Incredi-Cheeses & Crackers, using the “i” logo again, this time using gouda & cheddar, with black grapes to fill in the oval. Since I was using a black tray I could have left the oval empty, but I liked the idea of cheese & grapes together. To have more cheese for snacking, I added rows around the oval. A cheese mosaic is such an obvious and simple idea that now it’s hard to believe my very first one was only the BB-Ate Cheese Plate 2 years ago for The S’mores Awaken! I’ll definitely be doing this more often as long as I have a fun concept.

My first food idea for the Incredibles was a whole family of Incrediburgers, inspired by A&W’s Papa burger & mama burgers. I painstakingly altered some clip art to replace the names over the family figures, and made a fun sign explaining them: MR. INCREDIBLE super-sized burger with everything on it – ELASTIGIRL lean teriyaki chicken with stretchy cheese – VIOLET add a purple forcefield of sliced onion rings – DASH add spicy Dash Dip for super-speed …or try one of the JACK-JACK Sliders, each with a different surprise!

We bought full-size burger patties that my own Mr. Incredible grilled for us, and he made his own teriyaki marinade from scratch for the Elastigirl chicken breasts. I love the King’s Hawaiian rolls which are the perfect size as slider buns, so I stole two full-size burger patties to split into quarters to fit on the rolls. I love blue cheese inside burgers, so that was two sliders, grated mozzerella in two more, a 4-cheese blend in two more, and minced onion The Elastigirl chicken burgerflakes inside the last two. The only trick was finding which one you wanted after they were grilled, but I guessed correctly and enjoyed a blue cheese! All the sliders and chicken breasts were scarfed, along with all but one burger, so we were very glad they were a hit!

I keep wondering if the Make Your Own Snow Cone will get old one year, but it hasn’t happened yet, so this time it was Make Your Own Frozone Cone, with an extra Elsa joke for those with sharp eyes…not my artwork, but found as an online poster mashup that cracked me up! Ellie made a couple since she is the resident expert snow cone maker, but none of the adults had any this time around.

I had Super-Ade lemonade on the menu, but the custom cocktail was orange, white & black as the Syndrome…”Pour peach syrup into a cocktail glass, then fill with white cherry energy drink until almost full. Carefully pour black vodka so it layers on top of the soda. For a Buddy Pine mocktail, eliminate the evil vodka, and you’re in happy times before the superfan became a villain.” We did have a couple people enjoy the mocktail pre-villain version, and all the glowing martini glasses fit perfectly in the cupholder yard stakes that made their summer debut! Thanks to Glen for a great Christmas present!

Everyone enjoyed the movie, but no one stayed for s’mores this time. I had suspected that might happen so I didn’t make special s’mores this time, but I did have normal s’mores fixings all ready just in case anyone surprised me. Glad we had a successful season premiere for Cinema Brittahytta! You can see more photos below, and stay tuned for two more movies this summer…

Continue reading

Posted in Cinema Brittahytta, Edible Art, Outdoors, Parties, Recipes | Tagged , , , , , , , , , | Leave a comment

our wedding day!

I was able to tease several wedding projects a little on Instagram and the BrittaBlvd Facebook page, and I had been hoping to post here in more detail about my wedding projects along the way, but all the coordination with so many vendors on top of late-nights working on wedding projects plus dayjob had me already at my multi-tasking limit, plus several projects needed to stay as surprises…but our big day was April 28th and we just got back from our honeymoon in Europe! With any luck eventually I’ll be able to post details of each project, plus finally catch up on all the 2017 projects I still haven’t shown…but for now, you might find some photos by searching our hashtag #GlenAndBritta on Facebook and Instagram, and catch up on all the Facebook Live streams from our wedding day at Winchester Mystery House with horse & carriage ride to Hotel Valencia for dinner and dancing!

All the planning and sleepless nights sewing and other wedding projects were worth it for such a fantastic celebration with our family & friends! We livestreamed video of our wedding at Winchester Mystery House for the sake of several dear family & friends who couldn’t travel, so you can watch here if you like. We even got to ring the tower bell ourselves 13 times and leave in a horse & carriage, and we danced to Grim Grinning Ghosts by fabulous swing band Lee Presson and the Nails with our surprise lighting effects…what a fantastic day!

Wedding Ceremony & Cocktail Hour at Winchester Mystery House:

Britta & Glen’s Wedding

Posted by Britta Peterson on Saturday, April 28, 2018

Fairytale Farewell with Horse & Carriage:

And we’re riding away in a horse drawn carriage!

Posted by Britta Peterson on Saturday, April 28, 2018

Our Ride in the Horse & Carriage:

Our carriage ride from our wedding at Winchester Mystery House to our reception at Hotel Valencia was a lot of fun! So many people enjoying dinner al fresco along Santana Row cheered congratulations at us, and Ruth & Cyd were ready for us as we arrived!

Posted by Britta Peterson on Monday, April 30, 2018

Arrival in the Horse & Carriage:

Glen and Britta in horse and carriage

This video is about Glen and Britta in horse and carriage

Posted by Ruth Butterfield-Winter on Sunday, April 29, 2018

Wedding Reception part 1:

Our wedding reception!

Posted by Britta Peterson on Saturday, April 28, 2018

Wedding Reception part 2 – toasts!

Reception!

Posted by Britta Peterson on Saturday, April 28, 2018

Partying with Lee Presson and the Nails!

Party!

Posted by Britta Peterson on Saturday, April 28, 2018

Posted in Uncategorized | Tagged , , , , , , , , , | Leave a comment

Queen of Chocolate Cake with Princess Peanut Butter

Happy Birthday to Gail, Queen of Chocolate! She requested chocolate with peanut butter this year, so I made her a from-scratch blackout cake with peanut butter cream cheese filling and dark chocolate whipped cream frosting…everyone loved it, and some even assumed it was a bakery cake, with comments like “I don’t usually like frosting…what IS this?!?” This cake was assembled from recipes made for previous birthday cakes, but since many have specifically asked for this recipe, here is the Queen of Chocolate Cake with Princess Peanut Butter!

Last year we were on our big East Asia cruise for Gail’s birthday, so the last cake I made for her was the Chock Full o’ Chocolate Cake, which was delicious but GIGANTIC! Since I was including 10 different kinds of chocolate in that creation, during recipe research I found a blackout chocolate cake, and it was so delicious and so dark that I knew I would make it again! I used Hershey’s Special Dark cocoa powder, cornstarch, and Gold Medal all-purpose flour, and I did not use espresso powder. It is quite gooey so does take forever to bake until a toothpick in the center comes out clean, so make sure you have more like 90 minutes + cooling time to keep watching it. If you cannot frost it as soon as it is cool, cover completely in plastic wrap to keep it moist overnight.

Blackout Chocolate Cake
(from http://www.kingarthurflour.com/recipes/chocolate-fudge-blackout-cake-recipe)

2 cups sugar
2 cups King Arthur Unbleached All-Purpose Flour
2 tablespoons Cake Enhancer, Instant ClearJel, or cornstarch
3/4 cup Double-Dutch Dark Cocoa or Dutch-process cocoa (or Hershey’s Special Dark cocoa)
2 teaspoons baking powder
1/2 teaspoon baking soda
1 teaspoon salt
1 teaspoon espresso powder, optional; for enhanced chocolate flavor
4 large eggs
3/4 cup vegetable oil
2 teaspoons vanilla extract
1 1/4 cups water

Preheat the oven to 350°F. Lightly grease two 8″ x 2″ round cake pans. Line them with 8″ parchment circles, if desired, and grease the parchment; this step will ensure your cake’s crumble-free turnout from the pan.

To make the cake: Whisk together the dry ingredients. Add the eggs, oil, and vanilla; beat on medium speed for 2 minutes, scraping the bottom and sides of the bowl. Stir in the water; the batter will be thin. Pour the batter into the two prepared pans. Bake the cakes for 35 to 45 minutes at 350F, or until a toothpick inserted into the center comes out clean. Tapping to springback is not done enough! Remove the cakes from the oven. Cool them for 15 minutes, then turn them out of the pans to cool completely on a rack. These domed a lot in my oven, so trim flat before stacking.

Two of our Friday-night dinner regulars love peanut butter & chocolate, so I have tried several peanut butter frostings over the years. Many are not much peanut butter flavor, then if you add more peanut butter, they aren’t spreadable enough. This recipe is an excellent consistency that is spreadable without losing shape, still creamy like fudge, and the perfect peanut butter flavor!

Peanut Butter Fudge Frosting
(from http://communitytable.com/22609/donnaelick/reeses-peanut-butter-fudge-brownies/ )

1 (8 oz) block cream cheese, softened
1 cup unsalted butter, room temperature
4 cups powdered sugar, sifted
1 (15 oz) jar natural peanut butter
1 Tbsp vanilla extract
½ tsp salt

Combine cream cheese and butter in the bowl of a stand mixer fitted with a paddle attachment. Beat on medium speed until smooth and creamy, about 3 minutes. Add sugar. Beat on low until combined, then switch to medium speed and eat until light and creamy. Add peanut butter, vanilla and salt. Beat mixture until well combined.

Over everything was the same Chocolate Mousse Whipped Cream Frosting I’ve made a few times now since everyone loves it and it spreads so easily! Since this time I didn’t use this frosting between layers, there was a cup or so of leftovers, which several days later was still a good consistency in the fridge and spreadable by knife, but I’m not sure if the cream might break if thawed enough for piping, so I still recommend decorating your cake when this frosting is freshly whipped. I do know from experience that whipped cream frosting stays moist enough to melt wafer paper decorations, so use buttercream that crusts or royal icing for those. The only difference this time was that I ran out of normal cocoa powder, so I made up the difference with the special dark cocoa powder. It turned out a little more gray than the usual brown, with definitely a little darker chocolate flavor, but this is the frosting that received the comment “I don’t usually like frosting…what IS this?!?”

Dark Chocolate Mousse Frosting
(from http://www.cooks.com/recipe/r74ya4rg/chocolate-mousse-frosting.html)

4 c. heavy whipping cream
2 c. sifted confectioners’ sugar
1/2 c. sifted cocoa powder
1/2 c. sifted special dark cocoa powder
Dash of salt

In a chilled bowl blend ingredients, then whip until mixture holds a peak. Do not overbeat or you will end up with chocolate butter! Refrigerate if not using immediately. Frosts 2 (9 inch) round layers, split in half plus sides and top, with enough leftovers for fluffy piping around the edges.

I hope you enjoy your cake as much as this birthday girl enjoyed hers! 😀

Posted in Cakes, Edible Art | Tagged , , , , , , , , , , , , | Leave a comment

our first Edwardian Ball

Last year we heard about the San Francisco Edwardian Ball too late to get tickets, so we had it on our calendar this year. Not only was it fun to dress up in whimsical Victorian-inspired outfits again, but it was another possible shopping trip for wedding attire. 😉 I had found a super-cheap deal online on an embroidered peacock corset with black iridescent feather trim, so I decorated both our top hats with ribbons, peacock feathers & hidden lights to coordinate with our peacock style outfits, including elaborate peacock makeup on me and embroidered gold feathers on Glen’s black vest, then we were on our way to the Regency Ballroom in San Francisco!

We arrived only 15 minutes late but there was a giant line of fabulously dressed people waiting to get inside. We prioritized hearing the Haunted Pipe Organ over the ballroom dancing hour, not knowing there really wasn’t any other dancing the rest of the evening, but that was fine, since there was so much entertainment and outfits to see…plus the shopping! In the Vendor Bazaar I found a stunningly gorgeous bejeweled teal feather headdress that exactly matched my peacock outfit, so Glen bought it for me and I wore it all night, receiving many compliments! We found a lovely teal brocade vest for Glen even though it’s not quite a green enough teal for our wedding colors, and I couldn’t resist trying on a sparkly aqua faux fur coat…it was too tight for my shoulders, but it gave me an idea for some fancy teal lace I found last year! 😉

We had a great time, but standing in one place for the last 3 hours of entertainment in the ballroom was murder on our feet even in flat shoes, so we think it might be worth paying extra for VIP tickets just to be able to sit down up in the balcony, which also had a better view of the entertainment on the floor area. I guess now I need to make an outfit each year to go with my new feather headress, since I don’t want to wear the exact same thing next year!

The full story of our first Edwardian Ball is included below, plus a local photo gallery at the end. Enjoy!

Continue reading

Posted in Uncategorized | Tagged , , , , , , , , , , , , , , , , , | Leave a comment

Merry Christmas from our 8ft tall Olaf-Zilla!

We got lucky with a white Christmas at Grandma’s house in Seattle this year! Glen woke me up early Christmas morning with the video of “Do You Wanna Build a Snowman?” from Frozen, and it took a couple hours for us to finish, since he was on a mission to go bigger than his brother’s snowman from Thanksgiving! After the head was in place at over 8 ft tall, I decided to make it into a giant Olaf, so I did my first snow sculpting with garden tools, a sweet potato nose, mason jar rings around cut-out leaf eyes, big sticks from the yard for arms, hair & eyebrows, and dirt clod buttons…not bad for not building a snowman since I was 9…? We got my 6ft 5in father down the stairs to show scale, and that was definitely NOT a warm hug! We christened it Olaf-Zilla but sadly he didn’t even last a whole day!

It’s snowing just in time for a white Christmas! 😃No need to dream anymore! ❄️🎄🎁⛄️

Merry Christmas! Do you wanna build a snowman?!? Our Olaf-Zilla is 8ft tall! I hadn’t built a snowman since I was 9, but Glen was on a mission to go big! Thanks to Mom for taking photos, thinking of the sweet potato nose, and mason jar rings & cut out leaves for eyes!

Our 8ft tall Olaf-Zilla is already leaning so some last photos before he melts away! Hope everyone is enjoying their Christmas Day!

Posted in Christmas | Tagged , , , , , , , , | Leave a comment