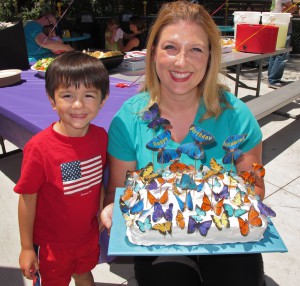
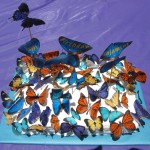
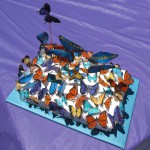
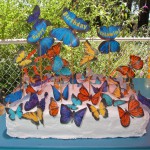
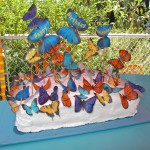
 I was only given less than 2 weeks notice for Benjamin’s birthday cake, but since the party was at the Butterfly Garden Area at the local zoo, I thought it would be the perfect opportunity to use my edible printer again to make a flock of cheery & bright butterflies covering an easy chocolate cake with white buttercream cloud on a sky blue board. I really like how this cake came out, and the birthday boy loved it too!
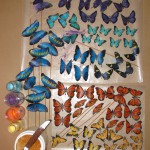
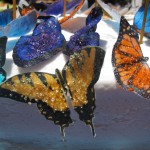
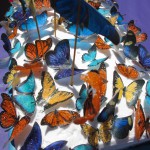
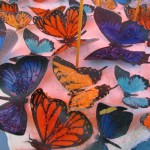
I found a bunch of butterfly images, some photos of live butterflies, some clip art style, whatever were bold colors with easy cutting edges. I resized and tweaked colors digitally to have a full page of 18 assorted butterflies from orange monarchs & yellow swallowtails to purpley-blue morphos…yes there were a couple aqua ones but that was how I found them in real live photos so I couldn’t resist! ![]()
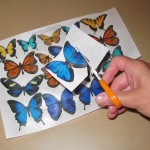 Since I’ve had some trouble with my edible printer plan of taking the print head out & storing it after trying to clean it, I decided to go back to leaving everything in place. I had the same print head & cartridges in from October through January that worked fine, so as long as I print every couple weeks, maybe this will work better. At least with a completely fresh print head, I didn’t even run a test page, just the butterflies right away, and it was gorgeous!
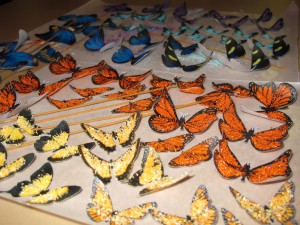
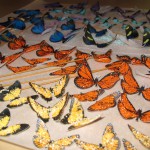
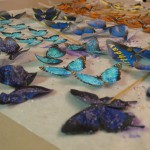
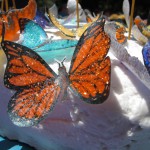
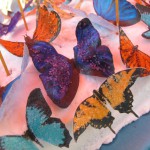
I had designed a full butterfly page to sell on Etsy), and I designed a second page with some larger blue morphos that said Happy Birthday Benjamin. These bright colors use a lot of ink on the thin wafer paper, but by the time I was printing a bunch of other stuff while the printer was working, the butterflies were 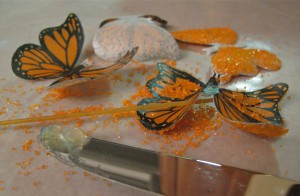 dry enough to cut. It took about 3 hours to cut out 54 butterflies (glad I had TV to catch up on!), but the fun thing is that after cutting, the wings naturally curl just like a real butterfly!
For some sparkle I added colored sugar over clear piping gel for the ones I had matching sugar colors, leaving 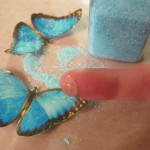 the others plain. After trying a knife at first, I discovered it was much easier to apply with my pinky finger. I could rub on just a tiny bit of piping gel to make the sugar stick, without being too much moisture to warp the butterflies. Also too much sugar covered the realistic detail, so going easy on the
 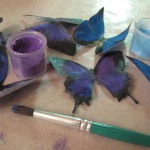 glitter is best.
 ![]()
I also tried luster dust but the paper is already so glossy you really couldn’t tell. When painting the luster dust on barely wet using vodka, I got a very interesting warping effect though!
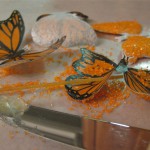
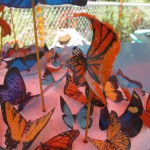
 I wanted the birthday message to be flying above the flock but I wanted everything edible, so I used dry spaghetti threaded through two small holes poked with a pin. By keeping a tight fit between the hole and the spaghetti, you can tweak the shape so the butterflies are flying at different angles. This effect worked better than I expected!
Since even though the buttercream had crusted over so wasn’t very moist, I was afraid of the butterflies being too fragile for transit in place on the cake, so I kept them in a cookie tin and used a piping bag of matching buttercream as glue to cover the cake with butterflies when I arrived at the party. This always worries me because I don’t get any final photos until at the party!
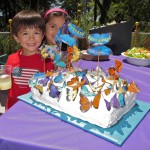
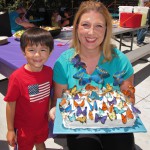
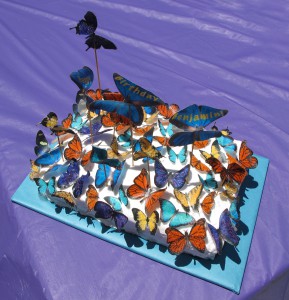 Boy is Happy Hollow a zoo, for parking even more than anything inside! I finally got through the line of cars to get waved to a loading zone, where I stayed with hazard lights all the way through cake setup. I was actually the first person in the reserved Butterfly Garden Area, but I was still gluing butterflies on the cake while guests were arriving, asking questions incredulous that everything was truly edible, even the sticks. Little did I know that 54 butterflies was NOT enough to cover the sides of the cake too, but I think it still turned out nicely, especially the shadows and the sparkle in the bright sunshine. Benjamin was so excited that everyone could choose their own butterflies to eat AND there was an extra set of Happy Birthday Benjamin butterflies he could play with! I chatted with a few friends, but I couldn’t stay for the cake cutting since I had my own movie night to setup, so I’m very glad I got a great photo with the smiling birthday boy!
 ![]()
As always, you can click to see the entire photo gallery…enjoy!


 Subscribe RSS