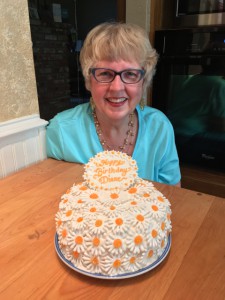
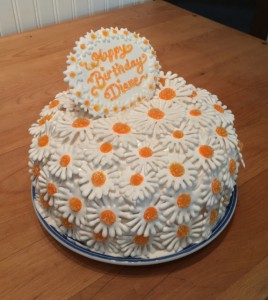
 Grandma Helen made the rules that my direct maternal line are all 39 and holding until we turn 90, so to know what number this milestone birthday is for my mother Diane, you must count the daisies covering the cake! Happy Birthday Mom!!! Glad you loved your Delicious Daisies Cake!
The irony is that embarrassingly I only decorated this cake! My mom had baked a cake a couple weeks before for another event and saved one layer in the freezer, then because the day was hectic shopping with my brother, she even made her own favorite seven-minute meringue frosting and assembled it! Even though I had made all the daisies the week before, it took at least 20-30 minutes to carefully place them all on the still-tacky frosting, but she loved the result and said daisies are indeed still her favorite flower!
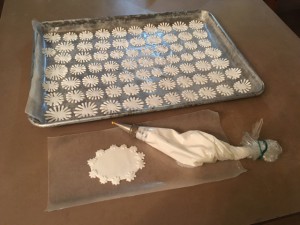 I knew I needed decorations that would survive driving 3 hours, so I decided on royal icing so the petals would stay outstretched instead of flopping like fondant. I still won’t reveal the actual number, but I knew the cake would be small, so the daisies needed to be small to fit the full number on the cake! I made a full sheet pan worth, which ended up with about 5 spares, a couple of which ended up needed for breakage when assembling the cake. Since I wouldn’t be able to pipe a clean birthday message over the flower texture, I made a separate plaque surrounded with mini daisies…but the daisies on the plaque are extra to the milestone count!
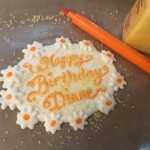
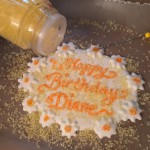

Since the piping tip I used wasn’t fine enough for the border daisies, I planned to fill in more tiny daisies with a smaller piping tip later, so after all the royal icing dried overnight, I started decorating the birthday message. I wrote the message with orange food coloring pen, then immediately sprinkled yellow sugar so some stuck to the letters, giving a sparkle effect that matched my plan for the daisy centers. I used the same orange pen for the tiny centers in the border flowers, but I added a toothpick dab of clear piping gel before sprinkling the yellow sugar so the centers would be rounded and fuzzy like real
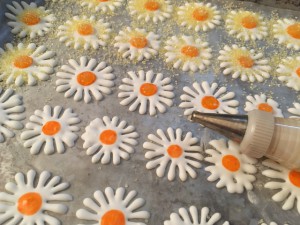 daisies. After I carefully shook off the loose sugar, I used my 000 piping tip with more white royal icing to add even smaller daisies around the border, and let those dry while I continued decorating the tray of daisies.
I used the same technique for the centers of the larger daisies, with the orange food coloring pen, more piping gel using a wide tip so it would mound like the raised center of a real daisy, then only piping a couple rows at a time before sprinkling the yellow sugar so the piping gel wouldn’t dry too much. I was hoping the yellow color would pop more instead of being so translucent, but it still gave a fuzzy impression…but I didn’t expect them to look like gumdrops! haha…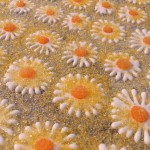 I gave all the centers heaping piles of yellow sugar and tapped the sugar gently into the piping gel so as much would stick as possible.
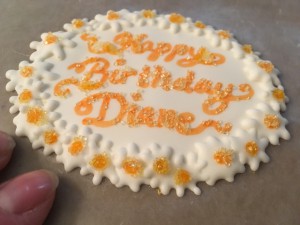 By then the tiny daisies around the edge of the birthday message plaque had just barely crusted over enough to lightly draw the orange, add the piping gel and yellow sugar to finish those centers…then everything was ready to drive to my parents’ house!
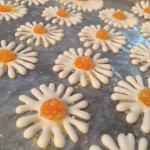 Since the royal icing was stuck to the wax paper, I was able to gently tip the whole sheet to shake the sugar off the rest of the daisies. I left the royal icing stuck through transport so they wouldn’t slide around. That worked
 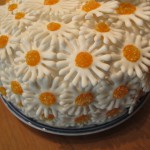 great! I was able to peel each daisy very carefully off the wax paper with only bumping a petal or two once in a while, and those were easily hidden in the overlap pattern I used to cover the entire cake. Nice to be able to use all my years of practice unpeeling royal icing Awful Arachnids for Halloween for another occasion! 😉
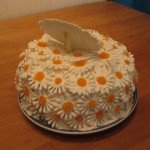 The entire milestone quantity of daisies perfectly covered the entire cake like it was planned…but that meant the birthday message plaque had to stand up! We leaned it on a normal candle for photos, but my mom wouldn’t dare attempt to hold the cake for fear of breaking something…haha!
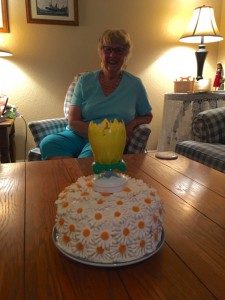 You might remember the silly spinning lotus candles from Cyd’s birthday last spring and my summer birthday. I bought several colors back then and have been looking for more chances to use them, but I think they would violate fire code in public restaurants where we usually celebrate birthdays! I thought the yellow one would go well with the yellow/orange centers of the daisies…but since it was a small cake, the lotus candle covered almost the entire top!
After my mom made her wish, my brother immediately investigated the spinning lotus candle and figured out how to stop the annoying singing without cutting the wire! The way he showed me used both hands to close the petals first, but while I was filming he found an even easier way…haha!
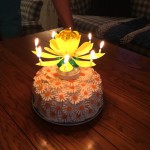
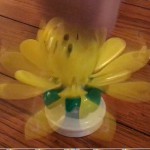
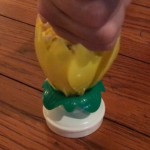
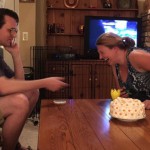
 The fist bop closing all the petals and stopping the music was so unexpected that I laughed almost to the point of crying…hahaha!
 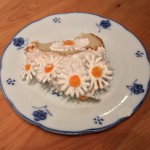 After our giggles were finished enough to breathe, it was finally time to cut the cake. I removed the center daisies, cut carefully between the side daisies with only a little damage, then used the center daisies as garnish…it looked quite pretty on the plate, and it tasted great! Hope you enjoyed the Delicious Daisies Cake!

 Subscribe RSS