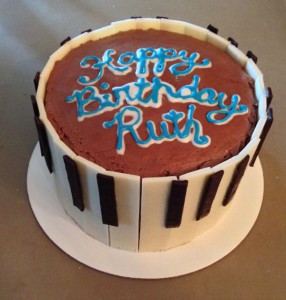
 It was Ruth’s birthday again, and this time she requested a chocolate cake…whew! That should be so much easier than decorating a cheesecake!
 ![]() I had to think of a new decoration for my favorite pianist, so I thought of chocolate keyboard keys around the tall sides of a 4-layer devil’s food cake with fudge frosting.
I had to think of a new decoration for my favorite pianist, so I thought of chocolate keyboard keys around the tall sides of a 4-layer devil’s food cake with fudge frosting.
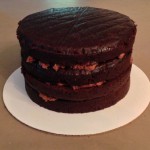 I tried one of the recipes from my Ghirardelli Chocolate Cookbook, and it was very tasty, but next time I think I would rather use Jerry’s super-chocolate fudge cake recipe he used for my delicious birthday cake this summer. The frosting was a simple powdered sugar buttercream starting with cocoa powder and butter melted in a saucepan. It was definitely fudgy, but even though I made a double-batch of frosting, I just barely had enough to frost all 4 layers! Good thing the sides would still look pretty when they keys were added.
 The relatively easy parts were the chocolate keys. I mixed up modeling chocolate earlier in the week since it needs to set up in the fridge, but then you need it to warm up again before working with it, which cut into my schedule. I measured the frosted cake for height and circumference, and since it was 23″ around, I made 1″ wide keys that were just a little taller than the frosted cake height, conveniently full piano width, just not quite as long! I rolled out flat sections of modeling chocolate, cut a grid of 24 keys, then put it back in the fridge to set up again before handling. For the “black” keys, it was semi-sweet chocolate, which is harder to handle and got gooey by the time it was rolled and cut. After it was chilled I had to recut since my cuts were only score lines by then. Before attempting vertical keys again, I think I would see if I could make inset keys, like mold the black keys first, then pour white chocolate around them. Something to try next September?
 ![]()
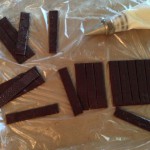 I had not frosted the sides of the cake until the white keys were ready to apply so the buttercream would be moist enough to stick to the chocolate. Thank goodness that worked well! I was super-busy that week and working a weird schedule for work, and I thought this would be a relatively easy cake.
 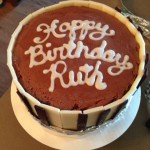 Well, Thursday was a rough day with the weird work hours, and the cake took twice as long to bake because it was so thick, so I was too tired to start decorating it the night before. This meant the modeling chocolate had to warm up to roll, chill again, and then there was no time buffer on Friday afternoon when unexpected issues cropped up…like my trusty royal icing was runnier than it seemed, so not
 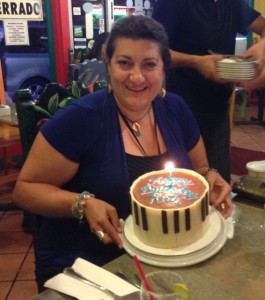 only did I have problems gluing the chocolate “black” keys on the sides, but it even spread out my lovely cursive piping job on the top…argh! Then just as I added some blue icing to the writing, I mushed it all with my cake carrier that has an inset handle on top…boy it was one thing after another! We didn’t get to dinner until after 6:30, the latest I’ve been since I can remember! At least the birthday girl really liked it, attempting to play Rhapsody in Blue on the keys, and there were way too many music jokes, since we all had “seconds” and there was a whole octave left for the birthday girl to take home!

 Subscribe RSS