It’s so nice finally to be back online again! I’ll start with a brand-new project today, but then I’ll go back & catch up chronologically starting with last November to keep everything organized. You’ll see several cakes, a couple big parties, almost all summer of movie nights, let alone new Halloween prep coming soon, so stay tuned! ![]()
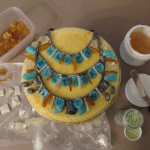
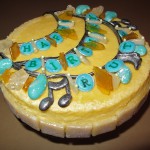
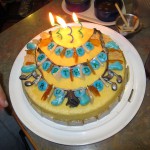
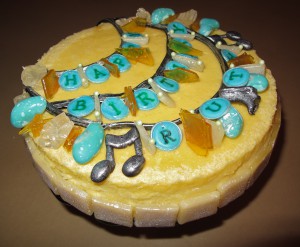 My friend Ruth loves cheesecake, but they are trickier to decorate! This year for her birthday I decided to represent her love of music, piano, and beads in a cake design. Thankfully I had a lot of good stuff in my edible art stash, since that saved me a lot of time! 6 hours of prep time would have turned into several days if I had to make all the candy glass just for this instead of using leftovers! Ruth loves making necklaces like this, and I was also inspired by Robin’s Steelhead Studio jewelry, especially her “collage collection.”
I have a supply of candy rocks I’ve acquired over the years, and the jellybean style ones were not realistic enough for my previous uses, so this was the perfect chance to use the brightly colored ones as polished stones for this necklace. I also had string licorice still around, 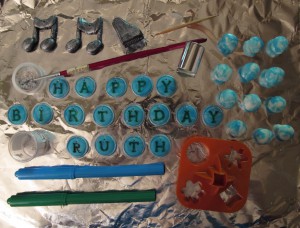 pale green edible pearls, and crystal rock candy…perfect!
Several sugar glass & cotton candy projects have resulted in leftovers that have survived in airtight containers, so those turned into shard-style glass beads. Since some of the candy glass was slightly green, some was painted silver, and some of the jellybean stones were turquoise blue, plus I had some leftover blue fondant, that decided the blue & green color palette for the necklace, very appropriate for a fellow blue-green fan. ![]()
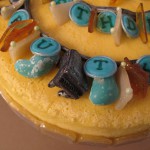
Modeling chocolate & marshmallow fondant also lasts a long time at room temperature as long as it is double-wrapped & kept airtight, so I had several colors of fondant scraps from other projects, plus some dark modeling chocolate. I sculpted music notes and a cute chubby piano from chocolate, and when they were set enough, 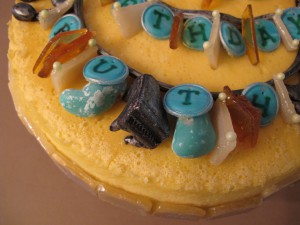 I gilded them with silver luster dust, leaving some chocolate color in the detail to show through for an aged silver effect.
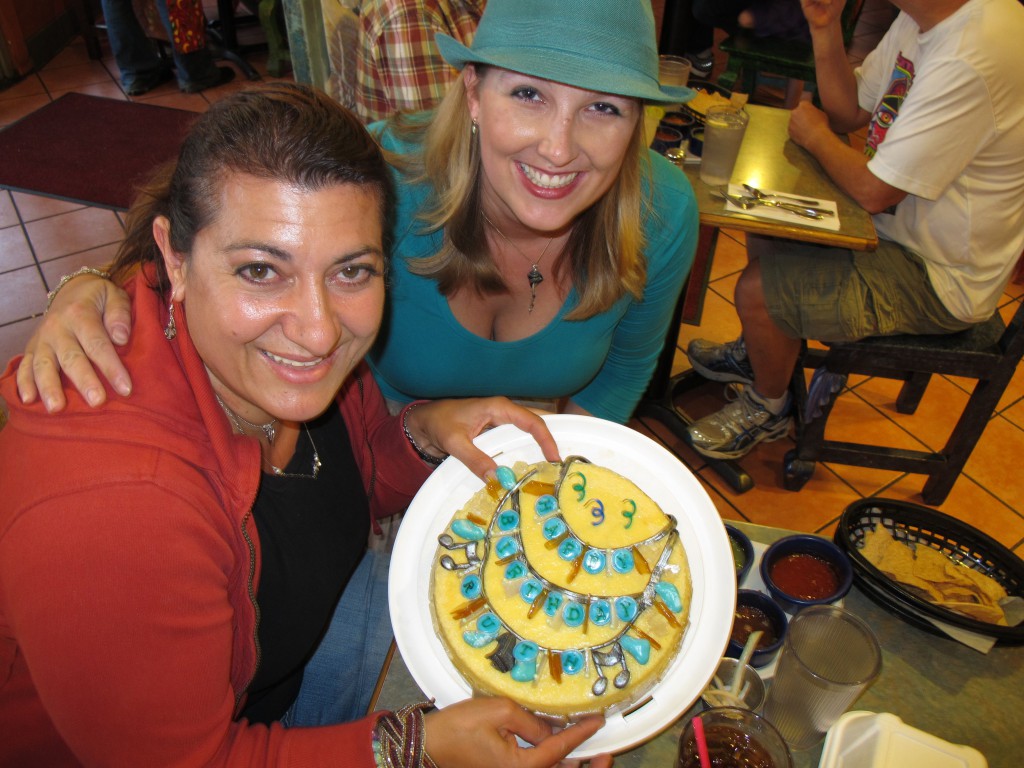
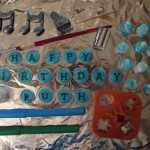
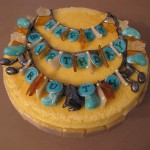
Instead of writing Happy Birthday, why not make it part of the necklace? That led to a 3-tier necklace design which filled the circle cake shape better too. I made typewriter-key style letter charms by marbling blue & white fondant together, flattened & cut out as circles, then using a slightly smaller circle to emboss the edge detail. I gilded the embossed edges with silver luster dust, and used food coloring pens in green & blue for the letters. I thought black was too harsh with the color palette, but blue & green together blended both main colors in the most important feature of the design.
Cheesecakes take a long time to bake, so most of the decorations were made while waiting, and 4 hours later I was able to put the cheesecake in the fridge and the decorations away in the pantry to dry overnight, safely away from kitties! 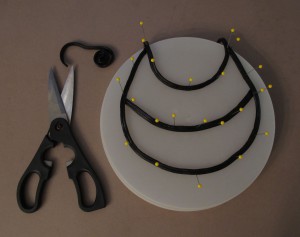 Since the sides of cheesecake aren’t very pretty, I attached leftover silvered glass tiles around the edge using a little bit of piping gel as glue, then I waited for final necklace assembly as close to party time as possible, since I was afraid the cheesecake surface would be moist enough to start melting the candy glass.
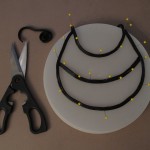
The black string licorice comes in tight rolls so those curves stay kinked. I unrolled the lengths I needed, microwaved them for 10-15 seconds to soften them, then arranged them on a plastic lid that was the same size as the cheesecake, using pins to hold the pieces in place while they cooled. Some were still a bit ripply but I decided that could be a textural feature for more dimension. ![]()
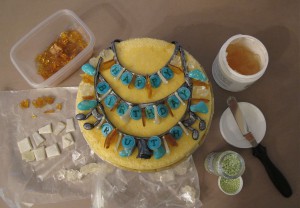
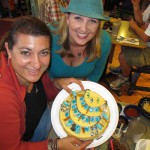
Once the licorice was in place on the cake, sticking to the top, I gilded the “chain” with silver luster dust for the same aged silver effect, then pressed all the shards and beads into the surface of the cheesecake so they wouldn’t move in transit. I used piping gel as glue wherever the moist cheesecake surface wasn’t enough to stick to the beads, like for the pale green pearls on accenting the candy glass shards. I ran out of space to use the marbled fondant beads I made, but I think the necklace was nice and full, and the words didn’t get lost in the bevy of beads. The birthday girl absolutely loved it! She even noticed I put bead holes in the letter charms! ![]()
Click below to view all the photos of the Collage Necklace Cheesecake!

 Subscribe RSS
Much appreciated for the information and share!