
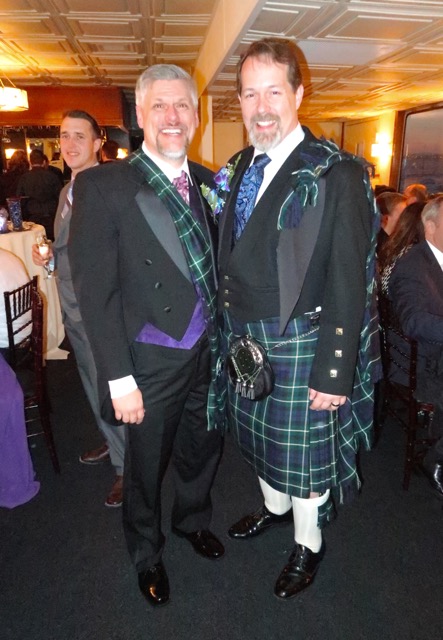
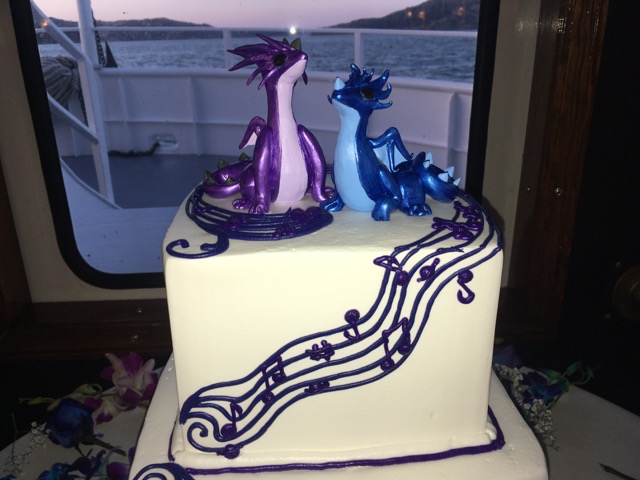
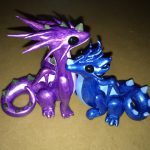
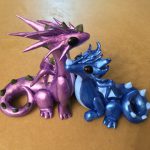
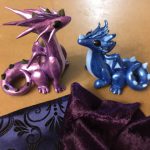
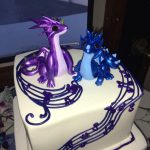
 I’ve known Keith since the last century from singing with him in the Choral Project, and he and Doug are an adorable pair. When they asked me if I could make cuddling dragon cake toppers for their wedding, of course I said yes! The happy couple wanted to save the dragons so they are not really edible art, but they were made as cake decor. Even though I didn’t make the full wedding cake, I was honored that I could lend my artistic talents to make their sapphire and amethyst dragon cake toppers!
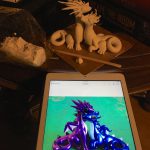
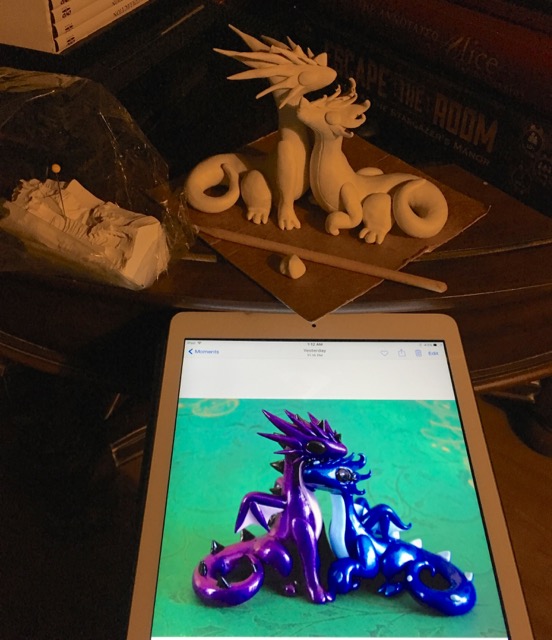 They had found images online of a precious pair of cuddling dragons in exactly their wedding colors, but they contacted the artist and she wasn’t selling them anymore, so this was a design duplication instead of my own interpretation. We knew the top tier of the cake was a 6-inch square, so I cut a template and sized my sculpting to be sure both dragons could still cuddle in the allotted space with room to spare. Since they were not very large, I used solid
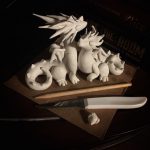
 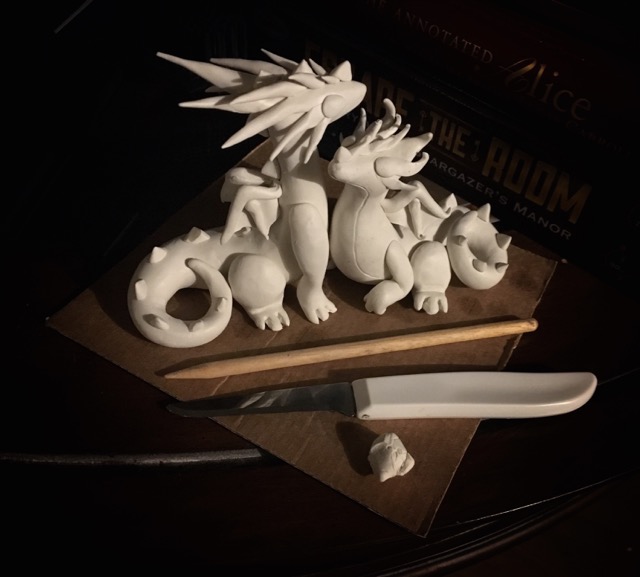 Sculpey polymer clay. Too much larger and I would have used something inside to make a hollow core. The first night I made excellent progress, added the wings and spikes the next session, then they were ready to bake.
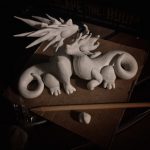
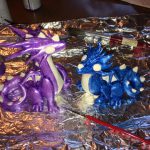
 Sculpey polymer clay softens in the warmth of your hands, which is great for blending and smoothing, but not for holding vertical shapes like wings and horns. If it is still warm enough to sag while baking, you will fix it in the wrong shape! Usually letting the Sculpey cool several hours and air-dry a little will help it keep the proper shape in the oven. During baking I was checking every 5 minutes to be sure I didn’t scorch these little cuties, but that they were solid enough that none of the detail would break or bend.
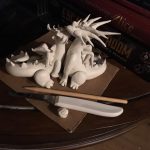
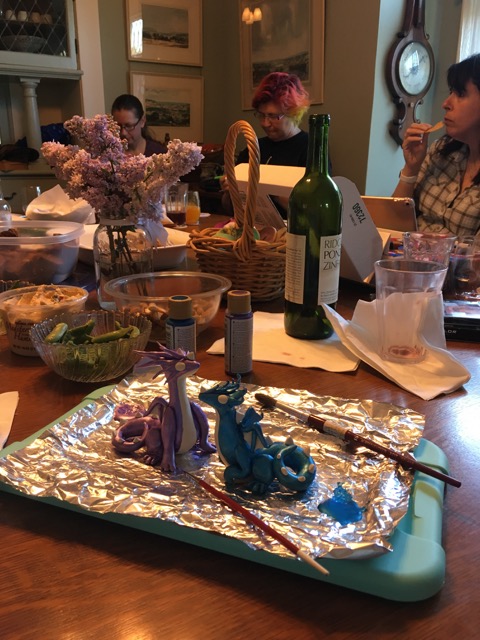 I’m pretty sure the originals were sculpted in Fimo or other colored polymer clays then coated with an iridescent varnish, but since I had found perfect iridescent sapphire and amethyst paints, I thought painting after baking would be less
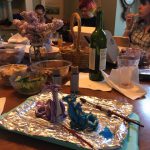
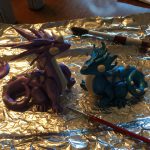
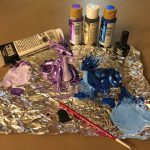
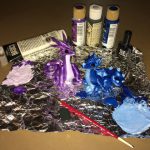
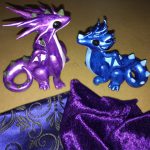
  steps overall. I took my dragons and my paints to a crafting afternoon with friends, so they got a peek at the super-secret wedding decor. 😉 After I got home, I mixed the shimmery paints with white acrylic for the bellies and spikes, then black acrylic for the eyes and some spikes, with some black nail polish very last for shiny eyes to give them more life.
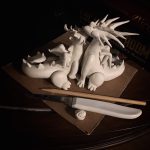
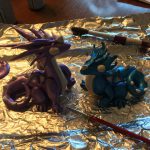
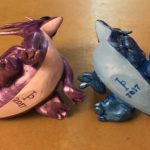
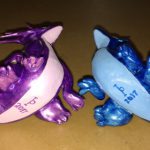
 If you have painted anything, especially in small crevices and tiny detail, you will know that paint shrinks as it dries, so you might end up with bare spots requiring multiple coats of color. I needed three coats to cover all the bare spots, plus multiple coats really added to the shimmer effect, so it was worth the time and effort. Since this was such a special project, after everything else was fully dry, I signed the bottom of
  each dragon with my monogram. I forgot to take a photo, but I found a nicer box that could be used as a keepsake, and carefully wrapped them in bubble wrap. Keith & Doug were overjoyed when they picked them up, and then I had to keep them secret from our mutual friends for almost two months!
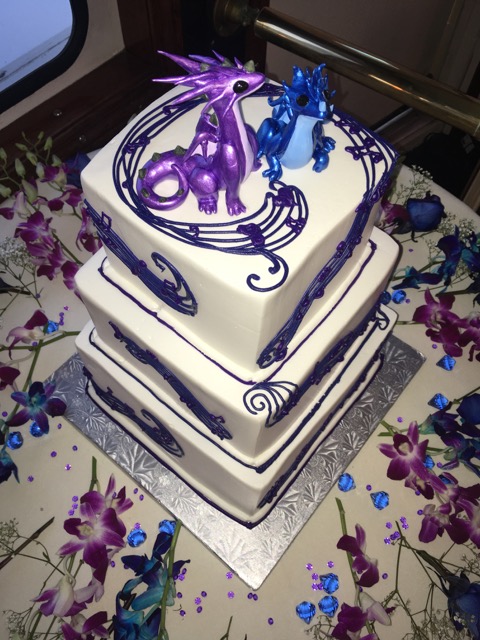
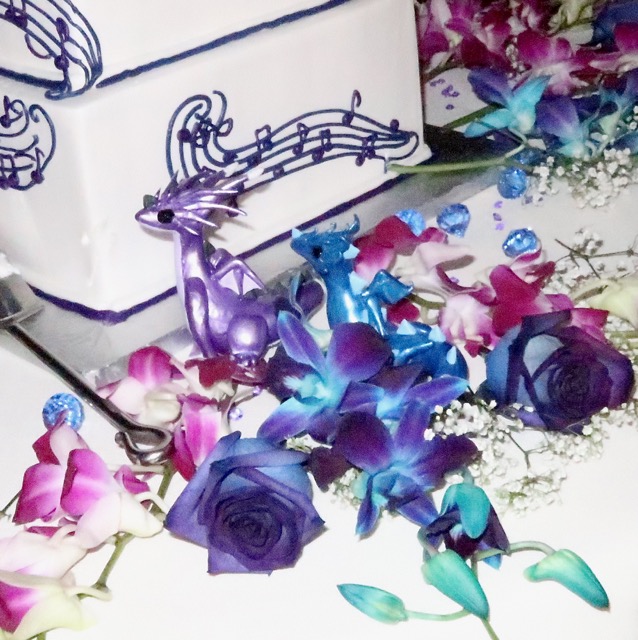
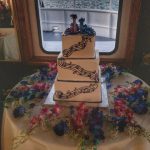
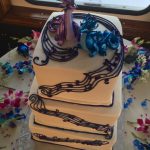
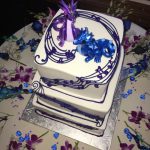
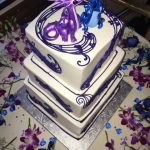
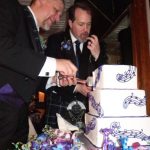
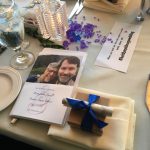
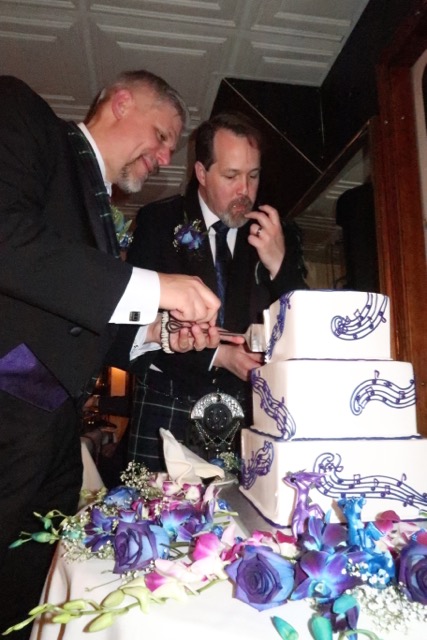 The wedding was this past weekend, a lovely evening for a wedding cruising around the San Francisco Bay, with excellent food, fun dancing, and the final cake! The vivid purples and blues in the flowers and jewels strewn around the tables went perfectly with the dragons, the tiers were covered in the couple’s shared love of music, and even though the cake decorators didn’t understand how the dragons were designed to nuzzle each other, they were still as adorable as the newly-married couple! Congratulations to Keith & Doug!


 Subscribe RSS
