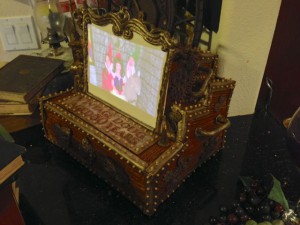
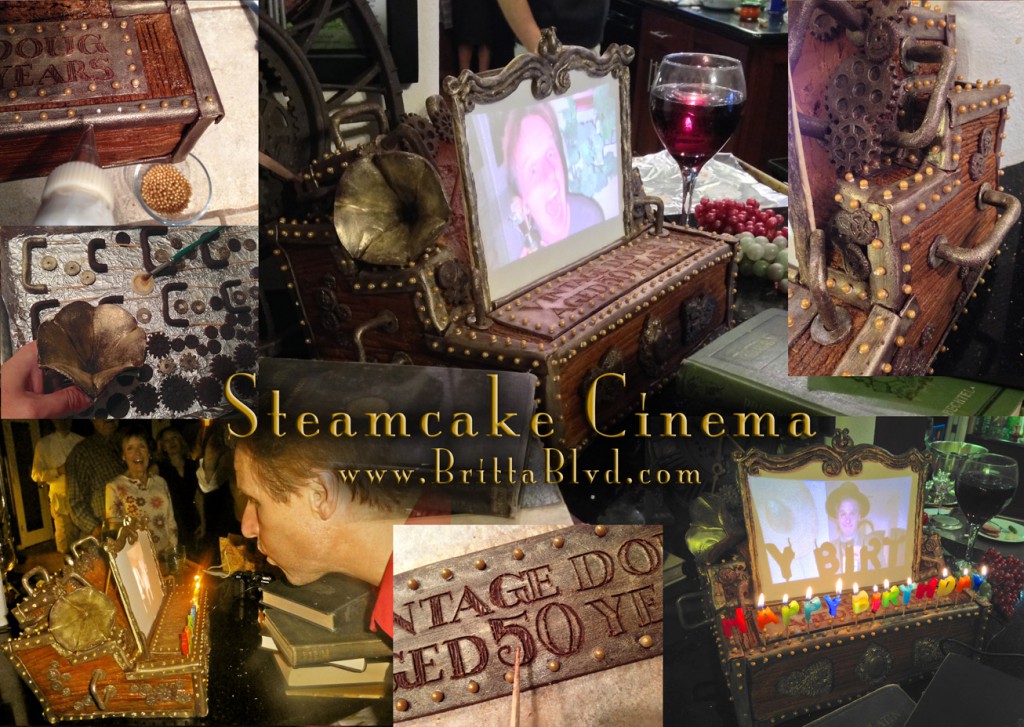
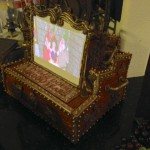
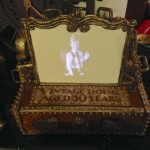
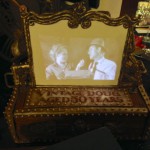
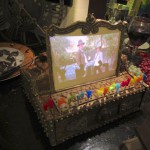
 I know I’m still behind on Halloween updates, but I have been super busy having a blast at Disneyland, then home for about 30 hours before flying to Seattle for my grandmother’s big 100th birthday party, then as soon as I got back, I thought I had two days to make an easy cake to use with my mini projector, but it quickly got out of hand as I started having way too much fun making all sorts of steampunk accessories for it. After about 18 hours of work and driving it 180 miles, this ended up as one of the most impressive cakes I have created to date, and no one at the party even believed it was a cake! Here I present to you the Steamcake Cinema for Vintage Doug Aged 50 Years!
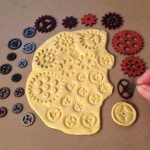 I have wanted to make a steampunk cake for several years now, but there hadn’t been a proper occasion. Since I had decided on the projection cake by late September, before we used my small gears for Halloween steampunking, I made a food-grade silicone mold of them for use
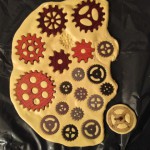
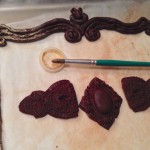
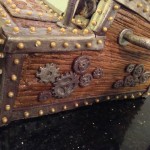
 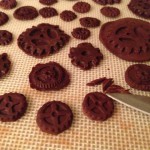 with modeling chocolate when making the cake. You could probably pour melted chocolate into this mold, but since I had mixed up semi-sweet modeling chocolate anyway, it worked fine as a push mold, which also meant I didn’t have to wait for chocolate to set before cranking through a bunch of gears. To remove them from the mold, they needed and edge to handle, so those edges needed to be trimmed afterwards. For the fine-toothed gears I just trimmed in a circle but the larger gears I did trim away around all the teeth.
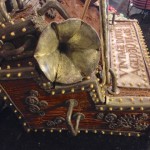
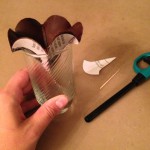 You probably saw that I made a tagboard Victrola horn for Halloween, so no surprise that I wanted to make a chocolate one! This one was much trickier though, so it took two tries. Of course I made a tagboard pattern first, but cutting the chocolate wedges separately didn’t work since I couldn’t get the seams to hold in the proper curve. Good thing you can just knead the modeling chocolate back together and start over! I used the tagboard model as a form and use a full sheet of rolled modeling chocolate draped over it to take its shape.
 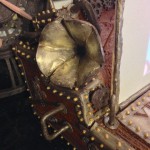 I set the whole form inside a juice glass to keep the shape symmetrical. After setting up in the fridge, it worked great! I made sure the chocolate released from the tagboard first, then I gilded the outside while it was over the outside of the tagboard model, then put it back inside the model to gild the inside. Handling the modeling chocolate too long causes it to melt from your body heat, so having the model to hold it really helped. I’m so pleased how this turned out on the final cake!
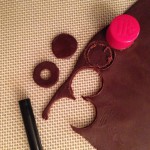 Of course I also wanted a bunch of brass pipes sticking out around the cake, and the best plan was to roll a bunch of snakes then make u-bends that I could stick into the cake wherever looked best. For a finished look, I cut matching coverplates using a clean lid that looked to be a good size. I used a
 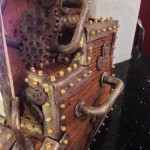 drinking straw to cut the inside hole, and once the pipes had set a bit, I carefully stuck toothpicks into the ends so they would have more support in the final cake. These also turned out great, especially since by feeding the coverplates onto the toothpicks, I didn’t even need icing glue to stick them to the cake, just the pressure of the pipes and the toothpicks!
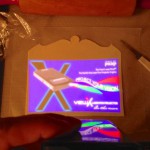 Those chocolate accessories were all sculpted Wednesday evening in about 3 hours, and that was a fun break from my crazy schedule. Thursday we were filming catchup Halloween decor before removing the mini projector from it’s perfect crystal ball setup, so I didn’t get to make the gum paste screen until that was done, and by then it was too late for any more cake work that night. I think it was about an hour to use scrap paper to figure out what the screen size should be with the limited projection distance at the birthday party, then I rolled out pre-mixed gum paste thick enough that it would hold itself up once it was completely dry. Gum paste is the only edible medium I’ve worked with that will remain rigid and completely smooth, since fondant always stays a bit floppy.
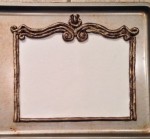 I rolled the gum paste on a sheet of wax paper and then cut the scrolls on the top. After drying overnight, the wax paper side was still tacky, so I peeled it away and flipped it for the other side to dry. The bonus was that I could see the cut outline on the wax paper, so I used it to mold a chocolate border separately so I could gild the chocolate before attaching the border to the screen with royal icing. It did take about an hour to sculpt the border, but thank goodness this all worked as planned!
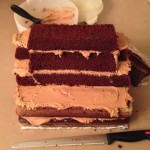 The projection size and screen size also determined how large I needed to make the cake. I wanted a decent-sized image and for the screen to be vertical since I couldn’t hang the projector above it, but just having a tall screen freestanding on top of a sheet cake seemed boring, plus risky for the screen. I thought only one cake height before the screen started was too low, so I stacked two 9″x13″ layers whole, then I cut 1/3rd off another 9″x13″ and stacked those together at a slight angle to support the screen, then the last was a thicker 8″x10″ cake that I cut in half for even more height. The screen would still be
 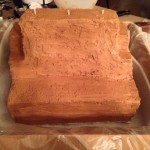 taller than all that stacked cake, but hopefully it would support the screen. This shows 6 layers of 4 homemade scratch chocolate cakes and 2 full batches of chocolate buttercream! Sadly even with tall skewers in place and a full outer layer of chocolate buttercream hopefully holding it together, the 150 mile freeway drive made the cake lean and settle so that my angle was completely off by the time I got to my parents’ house at 1:30am. If I had time to wait for the buttercream to set completely before driving I might have had better luck, but that wasn’t the case. It had already taken 5 hours just to bake all 4 cakes in the 2 pans I had, mix up royal icing and chocolate buttercream, then cut and frost the cake before driving at 11pm!
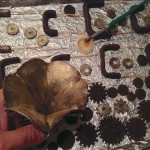 I stayed up until 4:30am gilding all the chocolate accessories and making the birthday sign. I think it was half a can of gold luster dust just for all this! For everything that needed to be solid “brass” like the screen border, pipes and coverplates, I used water to create a thick paste of gold luster dust and painted it on. It needs to dry completely before adding a second coat or your brush wipes the first layer away. All of these needed two coats to get them this shiny.
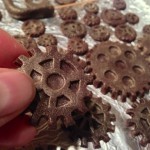 For the burnished effect that looked better on the gears, I used the luster dust completely dry with a dry brush, rubbing it into the surface of the chocolate. I did notice that by the end of the party, only 16 hours later, that some of the gold had soaked into the chocolate, but it was still a good effect. Lesson learned to touch up the gilding immediately before placing accessories onto the cake for display!
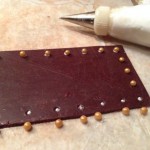 It’s always tricky for elaborate display cakes how to add a birthday message in the same style, but I thought I could make an engraved “brass” plaque from modeling chocolate, and since Vintage Dude was the party theme, I chose Vintage Doug Aged 50 Years for my inscription. I rolled some modeling chocolate, trimmed to a rectangle that should fit either vertically in front or on top of the base layer, then I placed the rivets first to make sure the lettering spacing would look right. I used my super-tiny 000 piping tip with royal icing to prevent too much white from peeking out under the gold edible pearls.
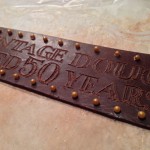 After the pearls were set, I scribbled on some scratch paper to estimate the spacing, then started sketching the letters freehand with a toothpick. You can rub sketches back into the chocolate but you risk marring the nice smooth surface that you rolled. Thankfully I was lucky that my spacing worked out great! All those formative years of fun handlettering projects have paid off I guess!
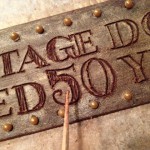 I thought I could gild over the carving and leave the carving dark like had worked with the jewelry molds, but the dry luster dust went everywhere, so I recarved everything again with the same toothpick, being very careful to remove the chocolate scraps as I went along so they wouldn’t fall into the gilding and leave marks.
  I also decided that the lettering needed to stand out more, so I added vertical stripes to all the letters. Once all that was done, it looked like it still needed more variation in the gilding, so I used a smaller brush and rubbed in more dry luster dust between letters and in and open space, without getting too close to the letter edges. This gave it a really lovely aged brass look!
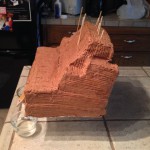 When I arrived from the long drive, I had decided that I would wait until morning to see how much more the cake would settle before attempting any repairs. Thank goodness I couldn’t sleep more than about 4 hours since I needed a full 3 hours in the morning to finish! You can see here how much it settled, since when I put it into the car, the back was completely vertical! Party guests thought the final result was an intentional jaunty angle like a topsy-turvy cake, so thankfully it worked out in the end. I did add several more bracing skewers that I didn’t remove until all the final assembly was completed at the party.
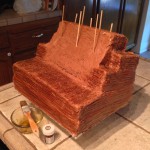 After the minor repairs of smoothing bulging icing from between layers and any corner distress from moving in and out of the transit box, I scored all the buttercream with the long side of my offset spatula to give it a woodgrain texture, then I used brown food coloring and my wide pastry brush to accent the chocolate. This gave it a much more rich woodgrain look than the original chocolate buttercream. I didn’t worry about the very edges since I knew those would be covered by the brass straps, and I still thought the screen would still lean flush against the blank space in the middle, so I didn’t paint that either.
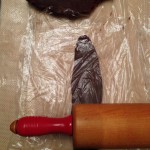 After I had sculpted everything Wednesday night, I was worried I wouldn’t have enough chocolate to roll all the corner straps, so I made another batch, bringing my total up to 28 oz semi-sweet chocolate mixed with 14 Tbsp corn syrup. I’m sure glad I did because I had just barely enough! To roll the straps, I first rolled a long snake, placed it between two sheets of plastic wrap, then used my rolling pin to flatten it. I eyeballed how wide the straps needed to be to wrap around
 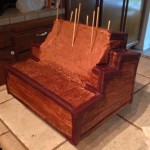 the corners with space for the rivets, and I eyeballed them pretty well matching. I probably should have measured but I was worried about time! The inside corners were only half-width since it looked more in proportion with the rest. All the straps were pre-bent along the edge of the rolling board, then I squirted some royal icing inside the corner before placing them on the cake, overlapping neatly at the corners, trimming with my paring knife as necessary.
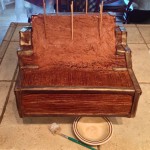 Next was gilding all the corner straps to make them brass. This took two coats of the gold luster dust with water, with time to wait for the first coat to dry, and it still wasn’t quite as bright and shiny as I hoped it would be, but I finished an entire can of luster dust on this cake!
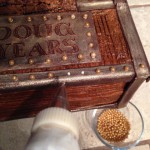 I swear I have been gluing rivets for two months, first for the giant steampunk device for Halloween, then for this cake!
 ![]() I used the super tiny 000 piping tip with royal icing to glue the gold edible pearls onto all the corner straps, even the inside corners. I originally thought the birthday plaque could hang vertically on the front, but not only was it too
I used the super tiny 000 piping tip with royal icing to glue the gold edible pearls onto all the corner straps, even the inside corners. I originally thought the birthday plaque could hang vertically on the front, but not only was it too 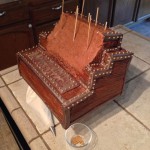 heavy but it would be blocked by the stack of books hiding the projector, so I’m glad it fit perfectly flat under the screen. I didn’t glue rivets anywhere I thought might get knocked off by putting the cake into the transit box or taking it out again, and I was ready to leave even in costume so that I had a full 90 minutes before party start time for final assembly.
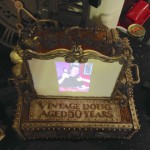 My decision upon arrival was that leaning the screen against the cake as planned was too much of an angle for the projection, so I used the three longest bracing skewers to prop the screen almost completely vertical. This meant you could see the unpainted chocolate buttercream, naked with no straps or anything…ack! The Victrola horn masked one side well, then I was extremely glad I had so many gears and pipes to fill in the space. In the end no one knew it wasn’t planned that way…whew!
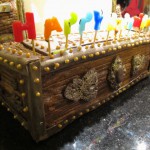
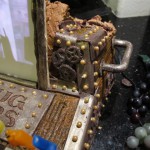
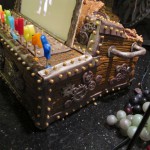
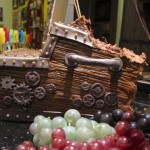
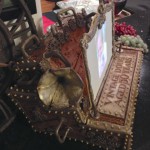 I hadn’t actually planned where all the accessories would go, so I placed them where looked best in the moment. The molded filigree jewelry pieces looked best on the front, but they were so heavy they needed some hidden toothpick support. Most everything stuck well with a dab of royal icing as glue, and I was so glad the pipes and coverplates didn’t need any glue at all. Those toothpicks held the entire party!
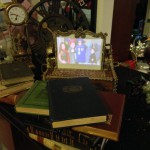
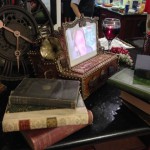
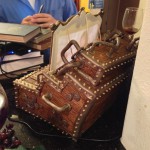 Since this was a “vintage” party, I brought some of my favorite old books and stacked them to hide the projector. Because the projector had to be aimed straight on to the screen for the best display, the stack of books was pretty high to see the cake behind it, but it
 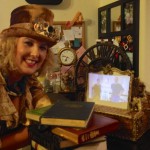 still worked well as an overall display. You can see here the blue light and beam of the projector hiding inside the books. I also discovered from this angle that the gum paste was thin enough we could probably rear-project through it! Duly noted for my next projector cake, since that might be easier to hide the projector! It does need a lot of ventilation space though, since just between books it overheated twice before I gave an extra book of space over the top of the projector.
 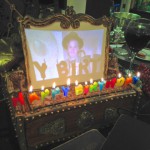 The battery didn’t quite last 2 hours, so the projector was plugged into wall power for the rest of the party, but the proprietary projector iPhone Dock cable didn’t have power pass-through, so my
 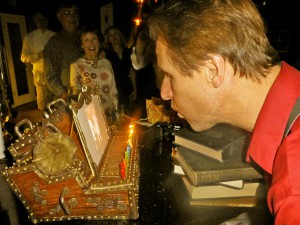 old iPhone4 pooped out just before we wanted to light the candles. I took it in the other room for a power boost for a few minutes so we could light the candles and cut the cake with the projection going on the front…geeky fun and the birthday boy loved it!
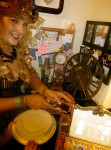 Of course no one else had the heart to cut into the cake, so that task fell to me who had knowingly designed my artwork to be destroyed! I decided to cut from the back so the projection could keep running. Everyone at the party was served and only the top two layers had been cut! I always laugh at cake aftermath photos so here are some for you to enjoy:
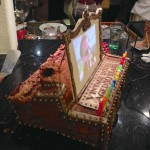
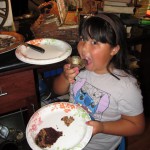
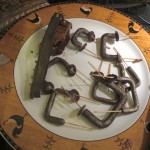
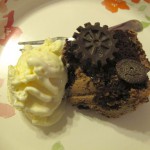
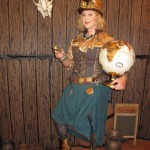
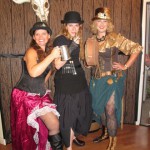
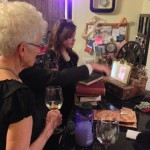
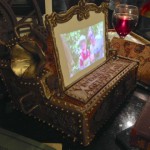
I hope you enjoyed my Story of the Steamcake Cinema! I have several more detail closeups included in the gallery below, along with a few party shots including some fun costumes. The cake also shows very well in the video above, so be sure to watch!

 Subscribe RSS