Clue Mystery Parties

Since I was unable to have a Mardi Gras party this year because I was on my way back from the work cruise, I decided to have a party for which I’ve had a glimmer of an idea for years – Clue! Yes, the Miss Scarlett, Colonel Mustard, Mrs. Peacock board game we all know & love! Not long after I graduated college & had my own place, my mom gave me a pair of large silverplate candlesticks, and I said “These look like the one from Clue!” A few years ago when Melanie was cleaning her closet, she gave me a floor-length red velvet dress and I said “This would be the perfect Miss Scarlet dress!” The idea was percolating in the back of my head along with tons of other ideas, but with my Potter parties and already too many other theme parties each year, I had no idea when I could fit in a Clue party, so didn’t give it much thought. Then last year I had three people on separate occasions and completely independently say to me “You know what you should do? A Clue party!” When I first heard of the schedule for the work cruise conflicting with my Mardi Gras plans, I decided to skip Mardi Gras and try a Clue party later in the spring.
I have seen the Clue movie again recently thanks to Ben’s DVD, and the cast is stellar & hilarious, but it doesn’t fit my personal mental image of Clue. Mine uses the colors with the suspects and is in a bit more vintage setting, earlier in the 20th century than the 50s. Why? Maybe the first game box art that I ever played perhaps? That only affects my own costume, so it shouldn’t stop my guests’ creativity! Anything related to the Clueniverse, which spans over 50 years and many versions, is fair game! We will vote on most original & best costumes before we play a life-size version of Clue, using Brittahytta Mansion as the game board and our winning suspects as the game pieces to move around the house, with the traditional assortment of weapons at hand. Appetizers will be cleverly-themed, but I won’t spoil the surprise for my readers who are lucky enough to be able to attend. 😉 We might also watch the Clue movie if the group feels so inclined.
Party prep was started awhile ago of course, but since I’m not intending this to be as elaborate as far as house decorations, it seems much easier than last year’s craziness! It’s less than a week away and my own costume isn’t even done! I did test one new recipe on friends, which was a success, and I have deemed two other recipes as fine since I already prepped them since they will keep fine in the fridge, so that’s in good shape. Here is what I have been able to do so far:
Across the Clueniverse was a success with 20 people who had lots of fun! The whole point was for my guests to have a chance to be creative and have fun, and I was not disappointed! The costumes were all fabulous, everyone loved my themed food, we watched the Clue movie including all 3 possible endings, and we even played the game on my custom Brittahytta Mansion Special Edition board. I even got all the dishes done by 2am last night and the kitties let me sleep in all the way to 10:45am today, so I’m very glad after the 3 hours sleep Friday night & 5 hours Thursday night!
I had not assigned characters to people, so I was pleasantly surprised that with only 20 people we actually had at least one of every suspect! I was Mrs. Peacock, Galt was Professor Plum, Melanie was Mrs. White, Nat was Mr. Green, and Jack was Colonel Mustard. We only had one double, which was Miss Scarlet (Lyle) & Mr. Scarlet (Ben), so that voting was the only one that mattered for that category, and ended up as a “dead” tie anyway with 7 votes to each Scarlet. Most Original Costume was Robin as the Rope, only beating Chalk Mark Cyd by the final ballot. Other creative costumes were Charles as the Lead Pipe, Amy as a Red Herring, and Jeff J. as the Confidential Envelope where you put the whodunit cards for the Clue game. The nicely-vague Special Award went to Johnathon as Wadsworth the Butler complete with tux & tails, and Best Princess was Galen even though I kept trying to call her Miss Mustard in her yellow Belle dress. The prizes were bragging rights! I had never found silly little prizes that seemed appropriate and didn’t get any medals or certificates printed out. The favorite Suspect Shaken & Stirred cocktail was Black & Blue by Jeff J., but several recipes, including the Red Herring by Amy, were later recreated by other guests who wanted to taste them. I am so pleased everyone was being so creative with the drinks! We should have tried to take a group photo like for a game box cover but I didn’t even think of it, and too much was going on then people were removing costume pieces or already leaving anyway. At least we have everyone’s suspect photos in the gallery album!
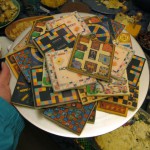
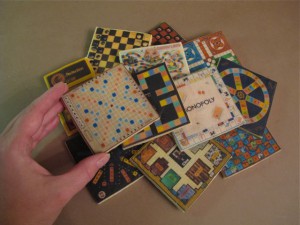 Last night was Robin’s annual game night party, which I have been lucky to attend for about a decade now, so I took another chance to have fun with my edible printer again. I present to you Classic Board Game Cookies, with frosting sheets already available for sale on Etsy too! 🙂
 Before I left my parents’ house after Christmas, my mom and I looked through all our old games, and I took photos of the ones I didn’t inherit on the spot and take home with me. To those I added my personal classics of Trivial Pursuit, Pictionary & Scrabble, taking photos on the floor to avoid camera lens distortion, plus I found a few online that my family has never owned…but boy is it difficult to find a straight-on aerial photo of game boards! Everyone wants to be angled and artistic. 😉 A round dozen games seemed enough, and the three dozen cookies I made were highly appreciated but not all consumed during the party, so that worked out well.
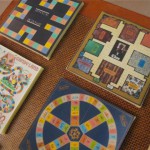
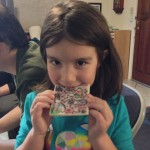
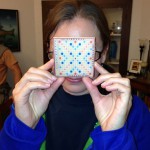
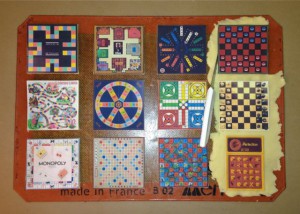 I whipped together the images on my computer, adjusting the sizes to the same scale, and thankfully only had to refill cartridges and run a couple cleaning cycles instead of replacing the entire print head, even though it’s been a whole month since I last printed…whew! Maybe I have finally figured out how best to keep the edible printer happy? 😉 The straight lines were easy enough to cut out the frosting sheets, then the shortbread was plenty chilled to pat into a vertical row of cookies, place the frosting sheets on top, cut around, then keep moving the scrap dough to pat the next row. I think it was about 10 minutes to load one tray of 12, then 20 minutes baking time was only barely enough since these were thicker. I used a double-batch of the recipe below to squeeze out EXACTLY three dozen cookies. 🙂 Ellie enjoyed chomping Candyland on her birthday eve, and our gracious hostess Robin posed with her favorite game too!
Since there are often several people with special dietary needs at Robin’s party, I used my Vegan Gluten-Free Shortbread recipe, adapted from Serious Eats. This recipe plus my Foolproof Sugar Cookies and Simple Shortbread are on the instruction page I include with every frosting sheet order, since I have tested all three well with the frosting sheets. One word of warning is that Nucoa is the best non-dairy margarine I can find to use with frosting sheets since it doesn’t spread or puff. I recently tried Earth Balance when I couldn’t find Nucoa, but it puffs up doubling the height after baking, so if you don’t roll them almost see-through, you will have hairline cracks in your frosting sheet designs. Find Nucoa if you can’t have butter! 🙂
Vegan Gluten-Free Shortbread
7.833 ounces (1 cup + 1/2 cup + 1/3 cup) white rice flour
2 ounces (1/2 cup) cornstarch
1 teaspoon salt
1/4 teaspoon baking powder
7 ounces (14 tablespoons) non-dairy baking margarine, softened
5 1/4 ounces (3/4 cup) granulated sugar
1 teaspoon vanilla extract
Preheat oven to 300°F. In small bowl, whisk together white rice flour, cornstarch, salt, and baking powder. In bowl of stand mixer fitted with paddle attachment, cream butter, sugar, and vanilla extract together, on medium-low speed, until a thick paste forms, about 30 seconds. Shut off stand mixer. Add dry ingredients. Turn on mixer and mix until a dough forms, about three minutes. Chill for 1 hour or more.
Since this dough is often too sticky for rolling, flatten dough with your hands to 1/8 inch thick flat directly onto parchment paper or use a silicone baking mat. Cut into desired shapes, and bake 20 minutes at 300°F.
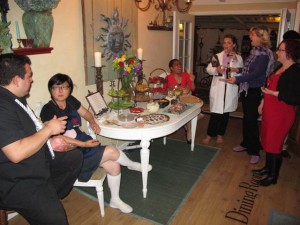 Since I’m on a break from Mardi Gras for awhile, I wanted to do a different spring party this year. I did an Across the Clueniverse Clue party 5 years ago, but several people were disappointed they weren’t able to attend, and even those who did attend voted to have a reprise…so last Saturday night 20 of us enjoyed clever costumed company, fun food & friends, and watched the Clue movie at Cinema Brittahytta!
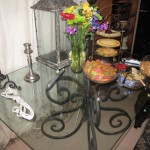 The nice thing about this party is that most of the menu was already planned from last time since it all worked well before, I already had weapon props, and even enough leftover floor tiles. It does help to be a packrat & save everything! However since I have remodeled my house significantly since 2008, and my parents gave away my dad’s childhood toy pool table, I had to redraw the special edition Brittahytta Mansion game board. Of course I didn’t want to wear the same costume again since it’s more fun to design a new one. 😉
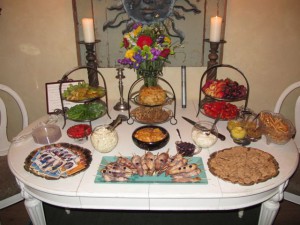 One of my frustrations last time was not being able to find the perfect pipe wrench like the Clue game piece or the movie, not even in my grandmother’s basement, and antique tools online were too expensive. During our Halloween preparations last fall, I discovered that Glen inherited his grandfather’s wrench that was absolutely perfect! He graciously consented to displaying it on loan for the party. I had two revolvers last time, but I recycled one into my steampunk ray gun for Miss Wells for Halloween 2009, so I found another dollar store toy gun playset and did a quick silver spray paint job so I would have a complete set of weapons for each food table, one in the Dining Room and the other in the Lounge by the bar.
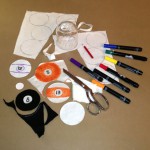 The game of Clue requires 9 rooms, but my house is small, so it was tricky to plan the game board layout. Last time I had the kitties sequestered with my bedroom off-limits, split my living room into the
 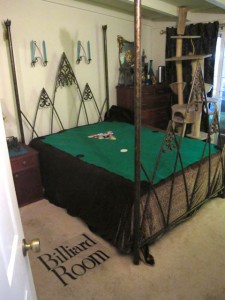 Lounge and Ballroom, and the toy pool table was on the patio near the bar as the Billiard Room. With all the furniture rearranging I’ve done, there was nowhere to fit a new toy pool table, plus I didn’t really want to invest in one, so I decided my bedroom could be the Billiard Room, with a rectangle of green felt on my bed as the pool table. About $10 of 72″ wide craft felt plus scraps from my stash made the table, the 6 “pockets” & the 8-ball were scrap black felt, and the other balls were scrap white velour, hand drawn with craft markers on the smooth side for better detail, and so the velour side would stick to the
 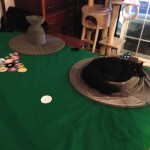 felt. Not sure anyone noticed or looked closely enough, but I even shaded the balls so they would be a more realistic trompe l’oeil effect. I think it turned out decently for a cheap decoration that took a few hours while catching up on TV. I fully expected kitties to snuggle on the pool table, but I didn’t think Onyx would curl up inside my deflated costume! 😉
My custom game board from 5 years ago was my Visio house floor plan printed out, hand sketched with pencil, then scanned to add the text for the floors and secret passages, printed again, then handcolored with pencils since I was running out of time 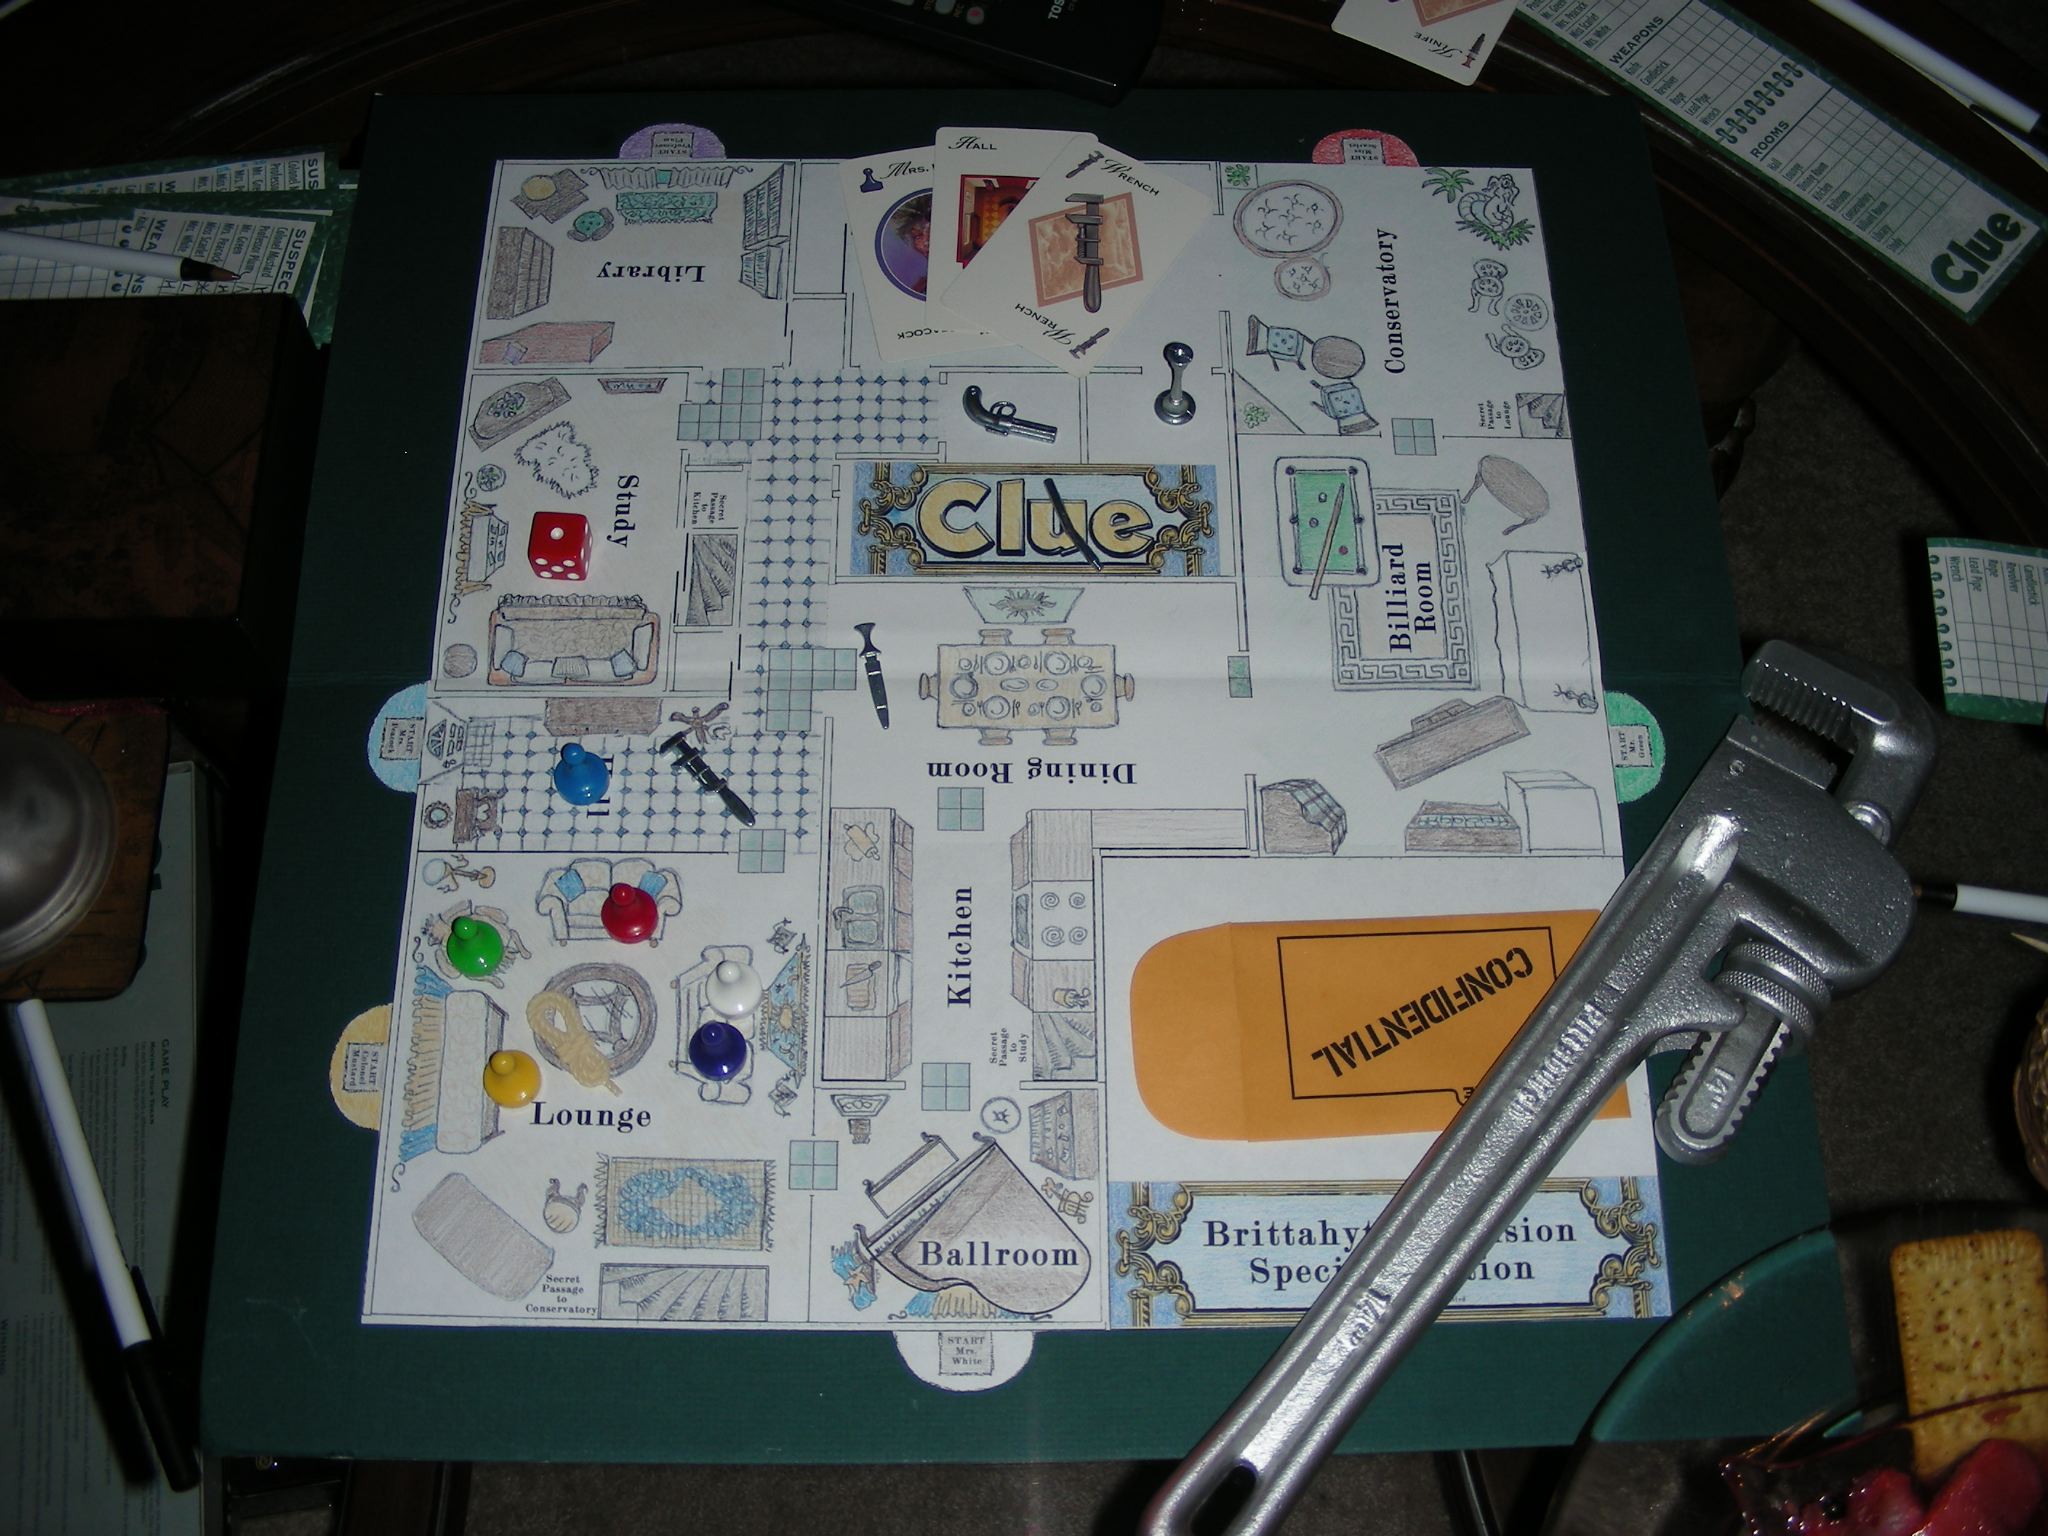 and Photoshop was too unwieldy with a mouse to fill in so many areas with the right colors. It was still funny since it included furniture details that made it obvious, plus the tile floor in the entryway and hallway functioned as game board tiles. When I remodeled my kitchen in 2009, the china cabinet moved from the foyer area out to the patio, where it has stayed for bar glassware, plus I ripped out all the tile flooring and carpet and replaced with laminate wood flooring. All that plus the furniture rearranging, like my old couches & dining table moved to the patios when I bought my new ones, caused me to tweak what I could in Photoshop by rearranging where they were, and I used the updated floor plan to get the pantry & kitchen changes accurate. I even took a photo of one of the floor tiles so I could show
 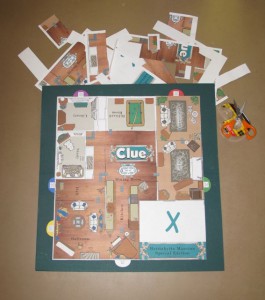 them accurately plus work out the game layout since I only had 26 tiles leftover from last time. After I finally got everything updated possible on the computer, I sent it to my iPad for coloring and adding new items. I was still finishing that part on Friday night before the party! At the last minute I thought of taking a photo of my wood flooring to use instead of handcoloring, and that really finished it off well. Saturday morning I printed it in 9 overlapping sections so I could physically cut & paste it large enough to be the game board. I cut along edges of rooms, so there are 8 separate pieces of paper held in place with double-sided tape on that board, but I thought it looked great!
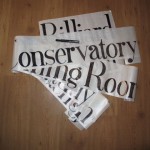 Last time I had access to a plotter so printed out all the room names at size and traced them onto the contact paper. Unfortunately I ran out of time to fill in the letters so they were hard to see, plus all the tile floor I had with dark grout made it really busy to read, and the carpeted areas didn’t stick very well. This time I just hand lettered everything, tracing letters after I drew them the first time so there was as much consistency as possible. You need a permanent marker since water-based pens just bead up and don’t stick, so I was getting a bit of a headache from fumes by the end of the evening, but this was another catching up on
  TV project for a few hours. I didn’t put these on the floors until the day of the party since my housecleaners came the day before. They really worked well, with the clear edges blending into the floor so well some people asked if the words were on the floor all the time or if I had cut out the individual letters! It all depended how the light reflected or not of course, and by the end of the party, shoes had scuffed spot of the black lettering away in high traffic locations, so these aren’t something you can keep for the next party. The only rooms that were a visibility issue were the Conservatory and the Lounge, since my new patio carpets are black fields, so I was sitting on the floor painting white around the lettering with acrylic paint about 1pm the day of the party. 😉
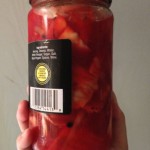 Food prep was mostly fresh on the afternoon of the party, but I dyed the pickled herring red by plopping a couple drops of food coloring in the jar and giving it a good shake a week before the party so the color had a chance to soak into the fish. I
 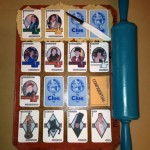 also made Cluekies this time, using costumes from 5 years ago that I had originally designed as card cookies for Robin’s game night party last year, adding my new costume that was ready the week ahead, and including the Clue game board from the Classic Board Game Cookies I did this January.
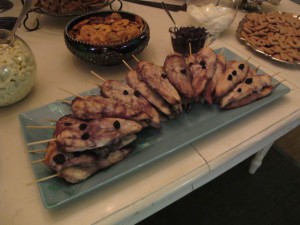 By the time I finished the game board work Friday night, it was 2am and I couldn’t keep my eyes open since I had a bad week for sleeping, so I went to bed & got up about 9:30 for party day prep, the most sleep I’ve ever gotten before a party in years, but I really needed it! The patios thankfully stayed pretty clean from the marathon yardwork the week before and final sweeping on Friday, so after mixing up the blueberry balsamic marinade and soaking the chicken, I arranged the flowers I bought into two Clue-colored bouquets for the tables, I put the floor lettering in place,
 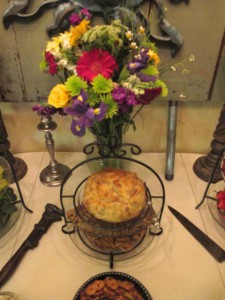 taking photos along the way, painted the outlines on the patio lettering, and assembled the game board. By then I could put my hair in curlers and get my makeup on before putting the chicken on the skewers, prepping the pastry brie, and baking them in shifts. I got my corset on, breaking a nail & scraping my knuckle drawing blood (sheesh!), then it was time to start the fresh food prep, veggies first, then fruit, thankful I felt I had the time to make them look decent. I never set out the crackers, cookies or cheese before my costume goes on because that would leave the food tables unsupervised from kitties, but I had my costume on except for hat before the first guest arrived about 7:15…woohoo! The hat was just too much while I was still bending over setting out food. 😉
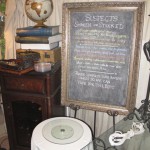 I’m very glad I continued the Suspects Shaken or Stirred idea from last time, since everyone loved creating their own cocktails! It helps to have a very well-stocked bar with a lot of choice available, a veritable adult’s playground, but also plenty of
  mixers for those who don’t drink alcohol. (Don’t worry, the “arsenic” in the underage Professor Plum’s hand wasn’t alcoholic, and her mom was present at the party.) I only got photos of the layered drinks when the creators called me for the camera since most were consumed immediately. 🙂
Everyone was having so much fun socializing that I didn’t start the movie until around 9:30 or so, then some stayed out in the Conservatory talking while the majority got comfy in the Ballroom to watch. Even our youngest guest thought the movie was funnier than she expected for something made back in the mid-80s, “long before you were even thought of” as I put it. 😉 Since people started to leave after the movie was over, we never voted on any costumes or cocktails and we didn’t play the game, but it was already past 11pm so I understand. The last guests left around 1am after even more fun chatting, including some giggle fits at Muppet discussion where you just had to be there. 😉
The full party photo gallery is below, including all 9 rooms, all decorations, and everyone’s complete array of costumes & colors, but first here are some fun highlights!

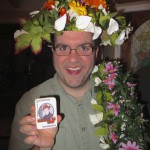

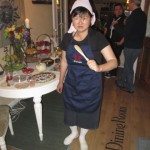
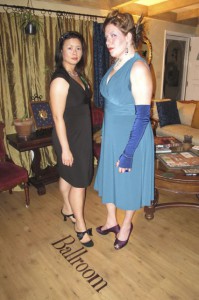
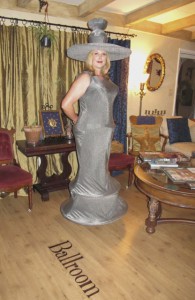
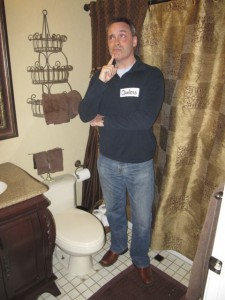
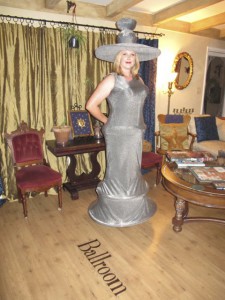
A Plethora of Peacocks, your hostess the Candlestick in the Ballroom, and Mr. Clueless posing in the only room of the house that was not part of the game. 😉


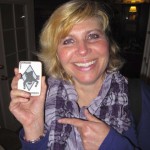
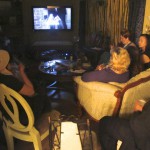
Supects in the Ballroom, Mr. Boddy was killed by the Rope in the Library (see the book?), Plum Cyd with her Miss Boddy Cluekie, watching the movie in the Ballroom…
Huge thanks to everyone who came and enjoyed themselves! I love how creative everyone was! You can click to continue to view the entire photo gallery, and stay tuned for the design & construction of my Candlestick costume in an upcoming post!
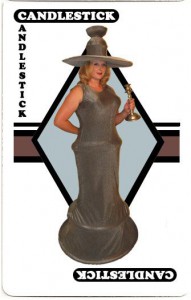 I’m sure you already saw my costume for the Return of Clue party, but did you figure out how I made it? Here is how to make your own Candlestick costume! 🙂
For the first Clue party, I just had to be Mrs. Peacock for the obvious color reasons. I used a bodice I had, plus fabric I had purchased for Britta Skeeter but never used, so I had it on hand as the perfect colors for Mrs. Peacock. That was fun, but I prefer making new costumes than recycling old ones, and I decided against a person just for fun. Last time there was a Rope & two Lead Pipes attending the party, but I thought  maybe it could be fun to try using my height and natural curves to be the Candlestick! Extra bonus is that I had 6 yards of dark sparkly silver spandex I had bought over a decade ago as a possible Invisibility Cloak, so it should be fairly cheap too!
I did a rough sketch based on my own silver candlesticks, and I really loved the hat plus sleeveless column dress idea to de-emphasize my arms. I figured I should be able to use some hula hoops inside casings around the hem, but I didn’t know yet what I could use for the hat. Ideally I wanted it to curve at the edge more like metal than a floppy hat. When I sent the sketch to a couple people asking if they could tell what it was supposed to be, they guessed correctly but suggested less decorative rings, so I continued shopping…
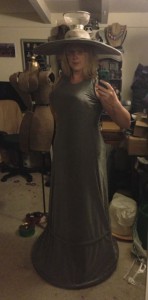 The dollar store had several sizes of paperboard hula hoops, so I bought three different sizes and used two. I decided which ones to use based on how I could fit through doors in my house! I had to untape them to get the pebbles out since I didn’t want to rattle, but the plastic joining plug inside was also a bonus since then I could feed them into the casing later instead of sewing them in permanently. Once the dress was complete, I taped the hula hoops shut inside the dress so they wouldn’t pop open while I walked around. Since I wanted the spandex to stretch outward to the bottom skirt with a few seams as possible, I knew I would need the full width of the fabric at the bottom for the hoops and not as much through the body, but exactly how much was trickier. I had limited fabric, so first I propped my dress form on some boxes (it doesn’t extend as tall as me) so I could fold the fabric over to see how much I had left after the dress height and cut the neck hole to start with. I’ve worked with spandex before for my Seven of Nine jumpsuit, and it’s so hard to fit that I knew it would be easier to suck it up & know I would end up wasting fabric along the sides. To save the largest pieces of fabric possible plus make it easier to sew on the machine, I pinned side seams loosely on the dress form and cut away the large chunks first. After sewing those seams and sewing the back zipper in, I put on the steel-boned corset for closer side fitting, inside out like the photo so I could pin, chalk & sew on the same side, but this is still tricky to do on
  yourself, especially with very stretchy fabric! I was very glad that I could use the dress form to pin the hoops in place, especially for pulling the fabric tightly to create the concave curves between hoops. Even though it was hanging straight until the very last fitting through the legs, I still had issues needing to weight the back bottom hoop by sewing a brass hinge or it would pop up in back, so I think the dressform doesn’t have as much “back” as I do. 😉
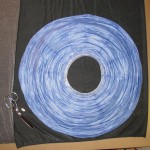
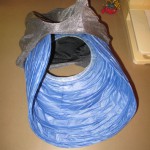 I started working on the hat as soon as I had cut the largest chunk away from the dress form, so at least I knew I had enough for the brim, then I figured I could cover the rest of the hat using the largest side scraps. My mom & I spotted some giant globe paper lanterns for $4 at a party store that were wider than my shoulders and seemed to keep the curve I wanted if kept flat. Nice & cheap! I used that to cut the matching brim fabric, sewing around the outside leaving the head hole to turn inside out and squeeze in the lantern. Unfortunately the weight of the fabric pulled the lantern just enough out of shape it looked more like a floppy hat, so I cut a piece of corrugated cardboard from a scrap box about 1″ smaller radius so the very edge would still curve downwards.
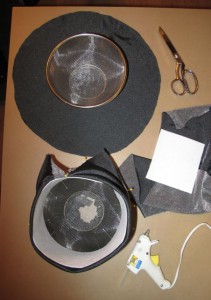 I struggled for a bit trying to figure out what to use for the candle cup for the very top of the hat. Since the spandex shows every imperfection under it, I didn’t think papier-mache would work very well, so I went searching in my garage. I had bought a few mesh bowl strainers from a dollar store a few years ago as possible large dry ice containers for large cauldrons for Halloween and never needed them, but stacked end to end they were a believable candle cup…whew! I was finally out of hat buckram from the Music Man costume this spring, and couldn’t find any at my fabric store, so I got the stiffest iron-on interfacing I could and doubled it for the
 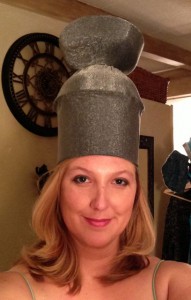 vertical section to meet the bottom bowl. Ironing it to the spandex fabric worked well, then it was a lot of fussy figuring out with hot gluing the interfacing to the bottom bowl, hot gluing the fabric around the outer edge of the bowl, gently pulling it as tightly as possible up to the edge to meet the other bowl. The top bowl I covered with a fabric circle, gathering around the open edge, pulling it tight so no puckers except for inside the bowl, much too tall for anyone to see when I was wearing it. 😉
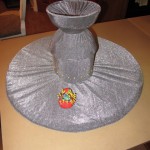 I had left enough fabric unattached so it would be a lining inside, but I just gathered it together. Assembling the top hat pieces together was just hot glue where the bowls met together, then I took a few stitches through where they met, making sure to catch the gathers inside the top bowl and inside the lining. These stitches kept the gathers tight & well inside the top bowl and kept the lining from falling out. Once I knew it fit for sure, I handstitched up the back seam, then copiously pinned it all to the brim.
 I carefully sewed a whipstitch around the inside making sure it caught the brim and vertical hat portion without visible stitches on the outside, and instead of sitting comfortably on the couch like most of my handstitching, due to the brim I had to sit at my table instead. I left the extra fabric past the whipstitch so there would be no risk of fabric coming loose from the stitches after taking the hat on & off many times.
 Sadly I have thinner hips than fit in any corset properly, so the bottom edge of my corset showed as a line all the way around, breaking the smooth curve I wanted. Even though my “design team” had recommended removing the extra lines and rings, I carefully placed a stuffed ring channel exactly to cover the corset edge, which I think helps the overall design too. The very bottom hula hoop was a hem casing, but the higher hoop plus the hip ring were both scrap fabric sewn as a channel on the inside of the dress. I stuffed the hip ring because it was open in back where it met the zipper, and both hoop channels were open at the side seams so I could put the hoops back in after sewing on the machine. I will tell you that wearing a tightly-laced steel-boned corset while sewing for several hours is not the most comfortable, especially trying to
  bend to pick up any pins that drop on the floor! However it was more convenient when I had to keep trying the dress on, adjusting more, sewing again, repeat, etc. Glad my cats don’t care what weird outfits I wear around my house! 😉
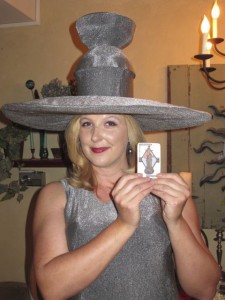
I got the Candlestick costume completed by the Sunday afternoon before the party, so I set up my tripod for some self-portraits so my new costume could be one of the Cluekies! Here is the Candlestick with her matching Cluekie, plus posing in the Ballroom during the actual party. Most people recognized me as the Candlestick right away, so I consider that a success! 🙂