My dad & I got the majority of construction done on my custom litter box cabinet during Project Weekend 2013, but I got it finished & set up in its final location this past weekend!
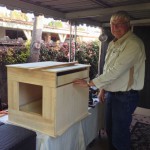 When my parents left, this is how the cabinet looked: unfinished, no trim, no hinges, but everything I needed two hands for or the circular saw was complete. The next day I got the door hinges on & lined up properly, using a shim for bottom swing spacing. Once they were on, I used another shim to space the drawer face, but it was a little wobbly so I used my jigsaw to retrim the drawer face a
 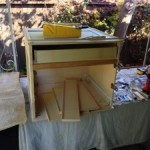 couple times. It wasn’t the cleanest cut, but I knew the trim molding would cover that…whew! After all that was set, I was able to use my little plastic miter box and my hand saw to painstakingly cut all the trim to fit, outlining both doors & drawer face, plus the trickier vertical miter cuts for top edge. I had to stop to attend an Oscar party, then all week after work there wasn’t any daylight so I couldn’t continue until Saturday.
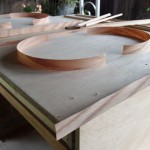 I got everything sanded first, then since I had to let the veneer tape cool against a flat block of wood, I had to do all that before gluing any of the trim molding. The veneer tape was pretty slick, cut a little longer to trim later, which was important since it wanted to slide along with the iron. Using the cotton setting (400F) on the iron, stick it in place. Since the tape was wider than my plywood, I lined up the nicer edge, then trimmed along after it was cool. The best technique was to do the opposite sides first so I could use
 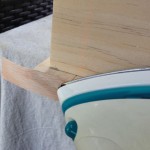 the pressure of ironing the opposite side as the flat cooldown time against scrap plywood on the patio floor. I did that with all the panels, plus around the bottom edge of the cabinet, then I trimmed the cooled edges & added the remaining sides. It really looks quite nice! I used almost the entire $8 roll on this project, but I think it was worth it.
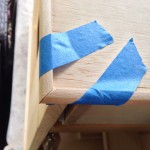 Finally it was time to glue the trim! I used wood glue and gravity since the doors & drawer face were flat enough the trim sat fine, but I stacked them on each other with a hammer on top for a little extra pressure. For the top edge since the bottom edge of the molding was lined up with
 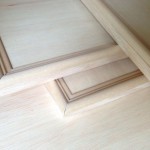 the bottom of the plywood top, creating a lip, I had to use 5 brad nails, along with the glue. Even though I was being as careful as possible, I still mashed some of the molding with hammer moons that I had to sand out. For the front corners, no clamps were the proper angle, so it was painters tape to the rescue!
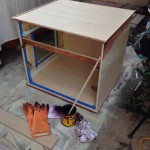 I let the glue dry overnight, then started staining on Sunday morning around 10:30am. I turned it completely upside down first, so I could get around the bottom edges without as much mess, plus get the underside edges of the top lip and anything else that might be a lot harder to reach, especially with my foot still giving me problems. Then right side up, I kept
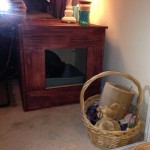
 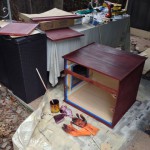 staining & staining until it was finally done around 1:30. My back was sore and my shoulder is still hurting 24 hours later, but it does look nice! It blends well with my solid mahogany dresser and original nightstand. It was dry enough by 5pm that I put the doors back on, added the magnet closure, added the drawer face and brought it inside. Here are the before & after nightstand photos:
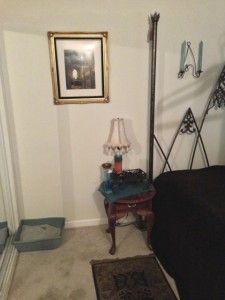
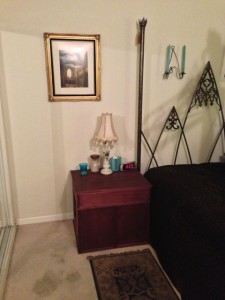
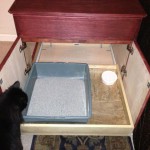
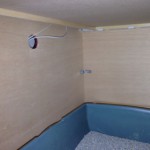
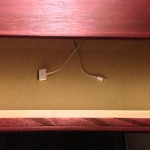
Here you can see the custom features in action! Onyx had to inspect how the bottom drawer pulls out for easier litter access, plus is lined with linoleum with curved edges for easier corner sweeping. The white puck is a pet air freshener I’m hoping will help. I might need to add more ventilation holes later, but I decided to try just one first that doubles as a power cable hole so I can charge my iPhone & iPad hidden in the drawer. The hole is lower than the drawer intentionally so it provides more ventilation for the litter box area. As I was checking my photos sitting on the bed, Siddy crawled right in & was the first customer, so I snapped him covering his business afterwards. Glad there was no issue using it! ![]()

 Subscribe RSS