My mom has been avoiding the Stitches West conference the past couple years because she already owns too much yarn, so my dad & I haven’t had any annual Project Weekends since 2013. They were a fun way to tackle projects and spend quality time with my dad, but I haven’t had as many house or yard projects on my list anyway, so I’ve been able to do things like the lattice garden fence and wetbar dragon faucet by myself. February is still a good time to get non-holiday projects done, so I had my own Project Weekend this week! ![]()
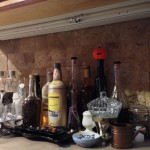
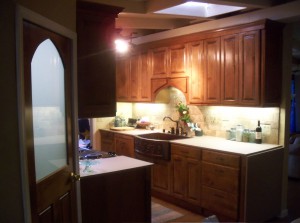 Back in 2009 when I remodeled my kitchen, I wanted LEDs as much as possible, but fixtures and bulbs were still quite expensive, plus my city code hadn’t been updated yet, so my inspection required over 50% of my kitchen lighting to be fluorescent. My electrician said since the wiring would already be in place, I could always change the fixtures later. He installed fluorescent undercabinet lighting for me that was very nice when new, but after one of the fixtures broke so that two brand-new bulbs didn’t function, I decided to let the other bulbs burn out, then decide what to do next. By the 10th anniversary in my house this past December, I was down to only one undercabinet bulb still lit, so in January I started searching Amazon.
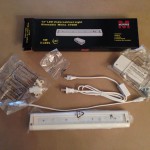
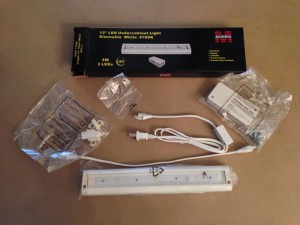 I searched a bit and found these well-reviewed LED undercabinet fixtures from Morris (Morris 71280 LED Under Cabinet Light, White Hardwire/Plug-In Dimmable, 4700K, 12″ Size
) that were not only plugin OR hardwired, but even dimmable! Several contractors wrote reviews that they have used these in several kitchens with great results. They do sell larger than 12″, but when I measured and estimated light spill, I thought spacing out two 12″ fixtures would look better than one long one on both sides of the sink, so I bought 6 of the 12″ models for $45 each, earning Amazon points for future purchases. It was nice to have the plugin to test not only that
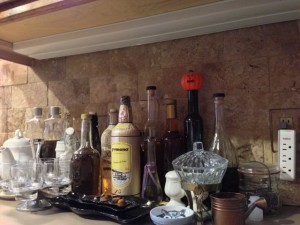 they worked at all, but also that the cool white daylight was still ok for my warm kitchen. It was close enough to what the fluorescents were originally anyway.
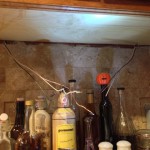
My project for my February Monday holiday was installing them all. It took longer than I expected to take down the fluorescent fixtures since it took me a bit to figure out how to take 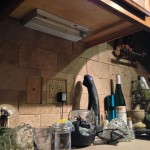 them apart to disconnect the wiring. After I finally got the cover off behind the bulbs, I saw the wire nuts were HUGE! I could have looked for smaller
 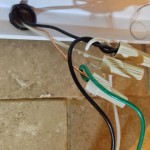 ones in my stash, but I managed to cram all the extra wiring and the gigantic wire nuts into the small plastic junction box provided in the fixture kit. Since the romex was already unsheathed almost to the wall because of how the previous fixtures fit the space with so much wiring and ballast space, I placed the junction
 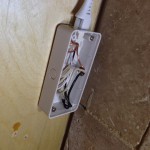 boxes right at the wall so no wiring was exposed. The fluorescent fixtures directed the light out and forward but these LED fixtures pointed directly down, so I placed them in the middle of the cabinet depth to light the counter
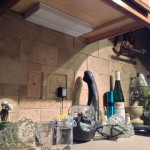
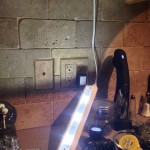
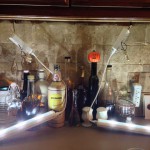
 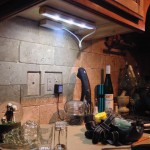 more evenly. First fixture was working and in final position…with cable cleanup still needed of course, but that was easily remedied by the self-adhesive cable clips they provide in the fixture kit.
 ![]()
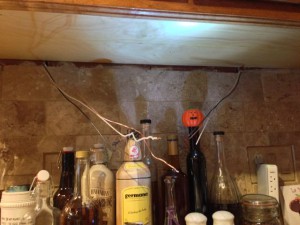 The single 12″ fixtures flanking my stove were easy since they were the same size as the replacements, but the longer fixtures flanking the sink were trickier to take down, not only due to the unwieldy size for a single pair of hands, but I needed to find the perfect rachet bit to take off the wiring covers. The LED fixture kit has special unidirectional connector plugs that connect the junction box to the first fixture, and connect fixtures together in series. The double-length fixture to the left of the sink had just a single feed, and the area was the right size to use the rigid 2″ connector instead of
 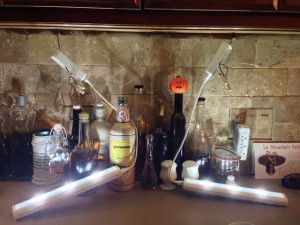 a cable. However, when I got the longest fluorescent fixture apart, there were two wiring feeds! One was not even stripped and just capped off inside with more gigantic wire nuts. I think my electrician planned for two fixtures, then found out he could get a single long fixture when he purchased them. This worked fine for me since I could just connect each fixture to its own feed, but before even placing the junction boxes, I verified that both feeds actually worked on the same switch! It might have been nicer with only one visible power box, but there was no way I could safely get both sets of wires contained in one small plastic junction box, and no bare wires allowed in my kitchen!
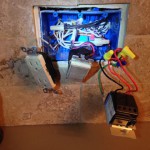 I was already exhausted from so many awkward positions on such a warm February day, but after a break for dinner, I decided I could also tackle rearranging the wall switches. My electrician had installed a slide dimmer for the overhead light, but the LED bulbs I bought when the halogens burned out weren’t dimmable anyway, so I could use the dimmer switch for the undercabinets instead. Since there wasn’t much wiring slack inside the switch box, plus everyone is used to
 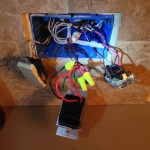 the outside switch as the overhead light, I switched the switches so the dimmer was in the middle. Yes, I shut off my circuit breaker for this box while I was working on it, confirmed by all the lights being on before I shut off the breaker.
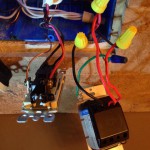
 ![]() Since there was a black to red on each switch and the switches were different configurations, I had to flip the black wires before everything worked, but then all my undercabinet lights could magically dim to nothing!
Since there was a black to red on each switch and the switches were different configurations, I had to flip the black wires before everything worked, but then all my undercabinet lights could magically dim to nothing!
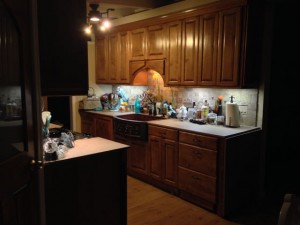
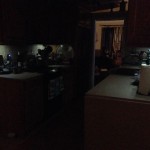
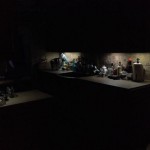
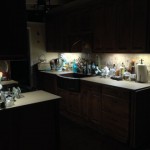
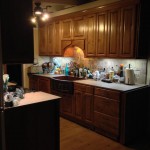
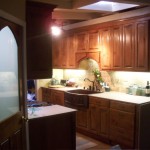
Boy was I sore from all the upside-down hand screwdriver action in very awkward positions, but I got it DONE! It is very nice having the undercabinet lights dimmable now. They never were before as fluorescent fixtures. I am going to love this! The dimmest is pretty low light and the right photo is full-power, but I think my favorite setting is in the middle. This is a slider dimmer to the side of the toggle switch, so flipping the switch turns on to the level the dimmer is set.
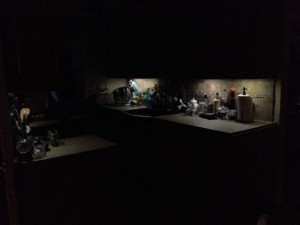
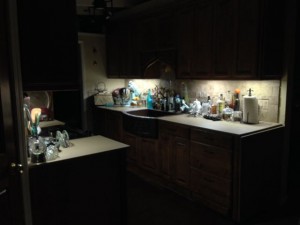
Here’s the comparison of full brightness with 2009 on the left and 2016 on the right, but the 2009 photo was taken in daytime and not with an iPhone using HDR exposure correction. I have also replaced all but the center downlight and one of the 4 bulbs in the overhead light with wide-angle LED bulbs. The sink light is still fluorescent, but I think I can buy an LED fluorescent replacement tube style bulb whenever the sink light finally burns out. Hopefully these will use less energy plus also be cooler in summer and not burn out. I think the new lights are just as bright as before, but now I have the option of dimming the undercabinet lights, which I think will be a classy nightlight for any guests. ![]()


 Subscribe RSS