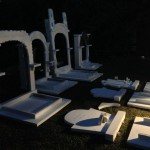
 My artistic vision for this Dia de los Muertos inspired Halloween has a secret plan that requires truly giant gravestones, larger than I have ever made before! Even though I recycled as much of the Spirit Materializer and other foam scraps as possible, those weren’t large enough for the main structures of the seven gravestones for this year, so I tied 6 big sheets of 2″ thick insulation foam to the top of my car and started designing.
Scary Jerry had given me a nice Day of the Dead coffeetable book for Christmas, the movie The Book of Life showed several designs I thought would be appropriate, plus I searched online for actual Mexican graveyard photos in hopes of adding some authenticity to the look. Those inspired my designs for shapes as well as colors. I’ll admit I never saw quite so many vividly-painted gravestones so close together without plain ones between, but I did see all my gravestone colors represented in real graveyard photos…yes, even the turquoise one! ![]()
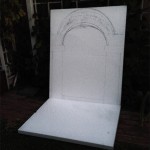
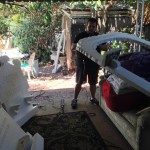
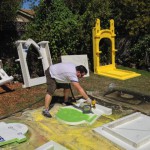
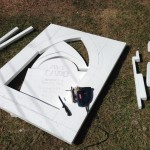 In August, Scary Jerry & I worked on cutting and carving new giant gravestones. I had learned my lesson from previous foam cutting and purchased an extra-long jigsaw blade so I could cut all the way through the 2″ thick foam insulation sheets. I couldn’t find a smooth blade though, so the fine teeth spit fine foam dust everywhere! Sure glad I could use my back lawn for all this mess!
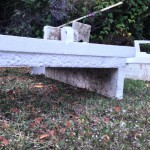
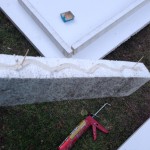
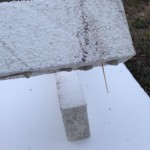
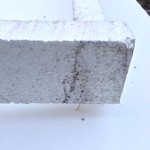
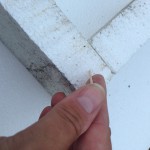
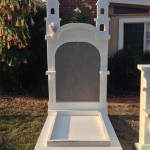
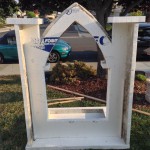
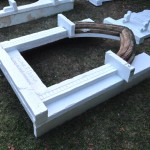 I had planned for levels and shelves to add interest as well as stability, so I used a lot of toothpicks toed in at angles along with glue to assemble all the shapes. For the shelves and brackets, I used scraps of old broken stone walls. Each gravestone also had an altar slab, with the gravestone sitting on the altar slab to hold them in place together. I
  wanted altars with stairstep levels that I had seen on so many authentic Mexican gravestones, but I didn’t want to double my foam cost, so I cut strips to make a vertical inset border that gave the impression of stairsteps. These strips also helped keep the vertical gravestones in position.
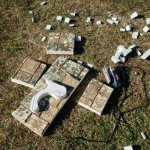
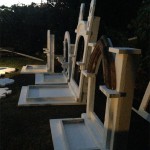
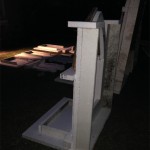
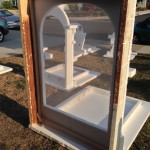
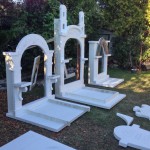 Once I got them all standing, I realized that they were so tall that just rebar in the gravestones wouldn’t be enough, let alone too much of the secret setup in back would be revealed. Luckily I had enough large foam left to cut side panels for each tall gravestone which helped a lot with stability. I had tried drilling the rebar into the foam then inserting PVC, but this pellet foam will all of a sudden compress instead of drill cleanly through, ending up with giant
 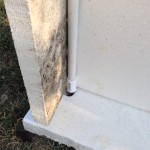 holes, cracks, or even complete breaks. After I repaired those, I used liquid nails to glue the PVC lengths into the inside corner of each side panel. Having that slide over the rebar plus tightly nested with the altar strips has held stable for all seven stones for a month now, even 7ft tall Señor Kilja only barely wiggling in some really gusty wind, so I’d call that a success! Whew!
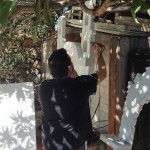
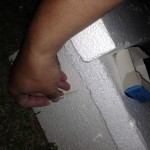
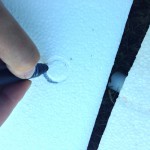
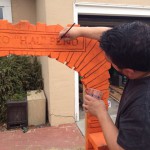
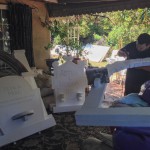 As I finished carving the epitaphs and fine detail, Scary Jerry was using his own woodburning tool as our foam stone texture carver extraordinaire, “chipping” away
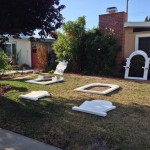
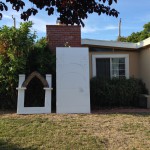
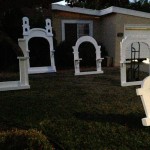
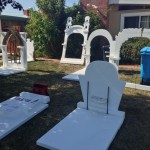
 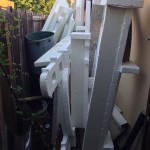 at edges very artistically so they really looked like stone. I had to pack up for the last summer movie night then leave 9 hours later for a work trip to Brazil, so I crammed all the giant gravestones into my side yard to hide them and keep them safe, but it looked really silly!
 ![]()
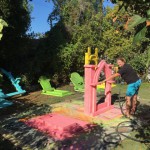 On Saturday of Labor Day weekend we went from plain white gravestones to painted and aged, thankfully using my handy sprayer with custom-mixed colorful Mexican-inspired basecoats from cheap acrylic craft paints. It was hot enough that the basecoats were dry quickly enough for Scary Jerry to try his hand at my water and spray paint aging technique. By Monday evening all the
  gravestones AND skeletons were standing in place so we used some test sombreros to see how the full display might look…exciting to see the potential!
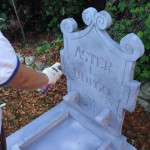 The next weekend we were all working hard again. Scary Jerry was learning to accent paint gravestones Eerie Elegance-style, which means not so dark that it looks like cartoony like you drew with black marker, but dark
 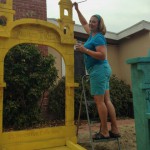 enough to read all the carvings at night. My previous gravestones have been table size at most, so I would accent paint them while I was sitting at my work table. I never thought I would need a stepladder to paint a gravestone!
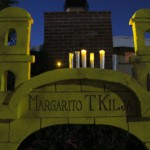 I will save the complete candlemaking details for another post in case anyone else would like to try making some, but the short version is that I finally used all the rest of my old backyard sprinkler system pipe that I’ve been saving since 2006 chopped up into candle sizes. To get enough candles, we had to buy some new PVC, and make sure to get the thinner wall PVC for the best candle glow. We also discovered during our initial graveyard candle testing of the newly-wired flicker LEDs showed that the PVC glue drip candles work best without paint so the translucent glue drips refract the light better, plus that big blobs were best. For the rest of the candles, I sanded the lettering off (nothing else worked!), and since the old PVC was too grungy for sanding to get them clean, I only painted the bottoms, leaving the hot glue drips unpainted for best glow.
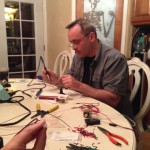 We had a soldering party assembly line at my dining table to configure 80 flicker LEDs with pigtails long enough to run through the foam gravestones for custom-controllable candles. The soldering party assembly line continued until 2am, but we got all 80 flicker LEDs wired, soldered, heat-shrunk, tested & sanded!
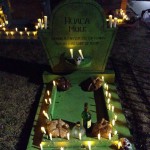
 The candles around the altars are battery strings of 10 small candles meant to clip onto Christmas tree branches. I found them as the perfect size for my La Muerte hat and our resident electrical expert Ghoulish Glen agreed it would be easier to solder strings together and change the power supply than to keep wiring individual LEDs. After a quick soldering lesson, I configured, tested, soldered, heat shrank and tested again for 200 candles on 20 battery strings to be
 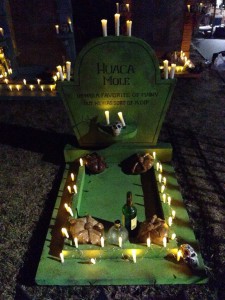 ready to decorate the seven gravestones. Sure glad I can focus on such tiny work!
Some recalculations and a trip to Fry’s electronics store ended with Ghoulish Glen adding inline resistors to the top candles before wiring together with the battery strings. When he flipped the switch at dusk, I literally clapped my hands in joy as I saw all 273 candles flickering in the graveyard! ![]()
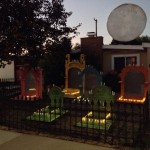
Gravestone decorating is underway with all the loaves of Pan de Muertos I made and sealed with varnish and so many skulls I decorated, and we finally got the graveyard lighting design settled Sunday evening, thanks to our resident lighting expert Scary Jerry! The graveyard is entirely lit by the new indoor-outdoor colored LED spotlights from Spirit, including a color-changing one placed in the tree for some overall light. The skeleton mariachi band is on their decorated 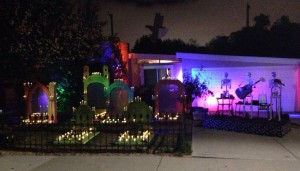 stage in the driveway, ready for programming, hats and jackets! Unfortunately the moon screen fell off Sunday afternoon, so we are building a new one from 1/4″ plywood and hoping to get it hung tomorrow.
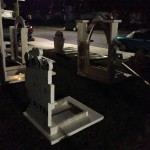
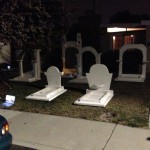
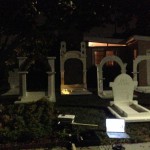
If you click to view the entire gallery of step-by-step photos, you might be able to guess at my secret plan why these are such Giant Gravestones. ![]() I’m very glad I took the next three days off work since there is still too much costume work, decorating and food prep to do for any more posts until after my party is over! Wish us luck getting everything done by Saturday and staying working through Halloween night!
I’m very glad I took the next three days off work since there is still too much costume work, decorating and food prep to do for any more posts until after my party is over! Wish us luck getting everything done by Saturday and staying working through Halloween night!


 Subscribe RSS