Since they had more impact as surprises for my guests, my big secret projects this year were the Gate Ghost (#1) and Castle Brittahytta (#2), but I had trouble keeping them secret since I was so excited! The castle roof foam stone ramparts was an idea last year that I had no time for after coming back from my Ireland trip, plus I needed to coordinate getting the large sheets of foam home. I’ve been wanting to project ghosts for many years, one of the reasons I bought my first projector 5 years ago, but weather last year defeated me as I had finally gotten progress made, and this year I had an enthusiastic helper who egged me on to making it even better than I had originally planned. ![]()
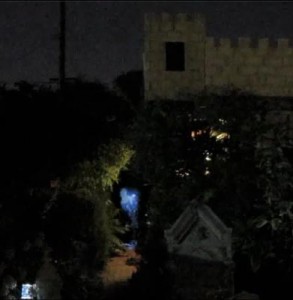
Secret Project #1 – The Gate Ghost
My first projector was a toy and not very powerful, and I did buy it for the dual purpose of movie nights plus Halloween projects, but didn’t get the ghosts working until now since other projects got in the way. Since movie nights improved with a nice screen, I invested in a proper projector a couple years ago, much more expensive, but it isn’t an all-in-one DVD player & speakers combined, so there’s more setup to hide. My original plan was to front project onto my gate and hedge, and I just had a moving slideshow of vintage costumes of myself & friends made ghostly and floating back & forth across the field. I did have that running for trick or treaters a couple years ago but you could only see pale blobs, no detail. When I mentioned projecting ghosts at dinner, my friend Glen, who is an avid video enthusiast with his own movie theatre in his house, really got into researching setups & ideas. He suggested rear-projecting from the backyard onto a scrim across the open gate, so I bought a few test fabrics at Halloween shopping weekend, and filmed some test footage to try.
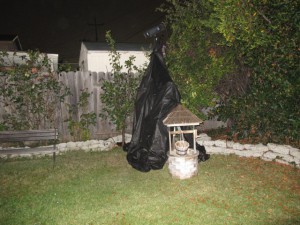 Glen came over to help me figure out projector placement, since with rear projecting, we needed to aim so the bulb wouldn’t be staring the viewer in the face. We ended up having to stand on the top of the ladder & hold the projector about 10 feet up aimed at an angle down at the gate for the bulb to be hidden behind my arbor grape leaves, so then I needed to figure out a platform & tripod to hold it that tall!
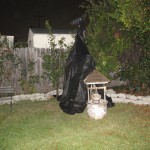
I had used an old heavy-duty tripod for the same projector before for its first summer of movie nights, but it needed to be taller and stable. My old white round plastic table was almost tall enough, just needed to be about 2 ft taller, so I used some scrap wood to make leg insert extensions into the hollow plastic table legs. With some bricks on top of the table that added downward weight, strategically placed to stop the tripod feet from sliding, it was fairly stable but not against a storm or any curious animals. I left the ladder next to it so I could easily access the projector up top at any time, and for the party I covered everything under the projector with black weedblocker fabric to hide it from party guests. It all stayed up just fine well over a week without the projector inside, but it did fall on me during the test run the night before the party! ![]()
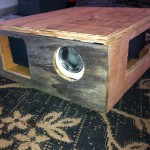
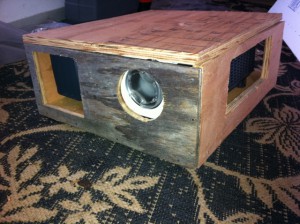 Since the projector had to be at such a downward angle, I couldn’t use the flat shelf I had made for the tripod originally, so I decided to build a box. Glen warned me a box wasn’t a good idea because of ventilation, but I had scrap wood so figured I could try it. The trickiest part was finding the correct machine-threaded nut for the tripod mount and getting that stable inside the floor of the box. I hinged the top since the buttons are on top of the projector, plus to get it in & out easier. Yes, the first box attempt worked to hold the projector, but it overheated in about 5 minutes, so I cut a bunch more ventilation holes out of the front & both sides, then it was fine. I spray painted it flat black to help hide it from view.
For the scrim, a semi-sheer black polyester dress fabric that didn’t stretch worked great. I had researched theatrical scrims and you aim for 50% air vs. fabric for transparency effects. I used one leftover thin metal rod from my previous patio curtains, then bought a second 6 ft rod, sewed rod casings up both sides of the scrim so it would be pulled taut, then used cup hooks screwed into the gate posts to anchor the poles to the gate posts. No top or bottom brace to ruin the illusion, plus it rolls up nicely for storage!
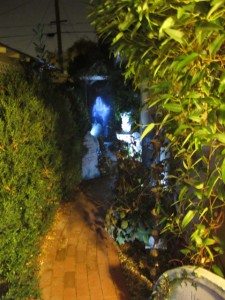
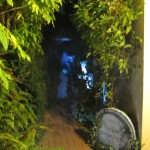
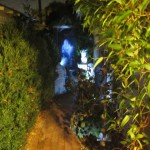
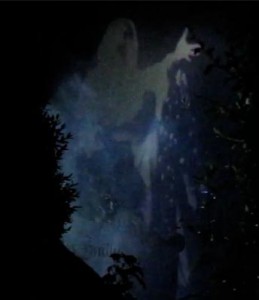 Yes, that is me (click for video!) with darkened eye sockets in my ghost costume & wig from 2003, wandering around my backyard in only clamp light & black light, with plants and garden wall behind me masked black by weedblocker fabric rolls, then the footage heavily masked & filtered in Final Cut Pro, converted to QuickTime, uploaded via media server to my PS3, which could loop it seamlessly, then the PS3 out in the backyard connected via long HDMI cable to the projector. I thought it came out quite well for my first attempt, and it was a lot of trial & error, including last-minute editing the night before the party when I saw that my “climax” transition didn’t read the way I hoped. I filmed first knowing I’d probably need to film again after seeing what worked & what didn’t, which was perfect for testing proof of concept with the rest of the setup. Both Glen & I were surprised it looked so good on the scrim across the gate! After knowing the project was a go, then I dressed up again to film several runs, then selected my favorites, and learned new FCP tricks I had never used before. I faded in & out intentionally, pacing along with the energy she was expending to try to communicate with the living. I really need to learn Motion to do the masking better, but I was only 2 weeks before Halloween at that point, so was feeling rushed to be sure it got done for this year!
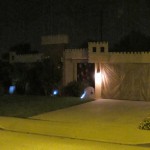
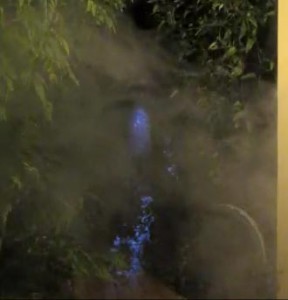 To help hide the light spillage on the pathway plus prevent people from trying to walk through the gate, I placed a large gravestone mostly across the path, plus I had a fog machine running closer to the porch, and I strategically placed lights for the gravestones too. I don’t think anyone noticed the light spillage issue except Glen & me. Placing the fog too close to the scrim just showed the cone of light from the bulb. Another lesson learned is that even though I intentionally made a short 1:30 loop (click the photo to the left to watch the entire loop), with the ghost coming closer across the field of view in several passes to build suspense, that was still too much dead time so many people missed the ghost in their quick walk up to the front porch & into the party. I was asking everyone “did you see the ghost?” so many went back out to see it if they missed it. Glen was doing the same thing, making sure everyone saw the ghost…haha! I already knew I would film new footage after this year, so now I have a better idea how I should film and what my performance should be like. There was also no sound for this year, since I ran out of time to record a soundtrack, so that can be an improvement for next year too. Everyone was impressed, even a “spectacular” was heard at the party, and all my trick or treaters were wowed, or too scared to walk up to the porch! Fantastic reactions & worth a the effort!
 ![]()
Secret Project #2 – Castle Brittahytta
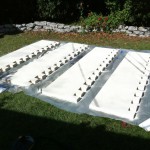
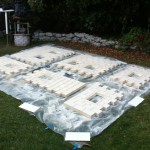
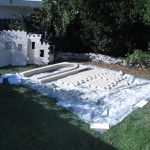
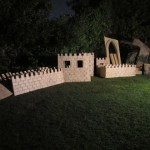
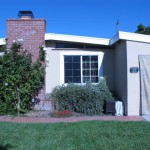
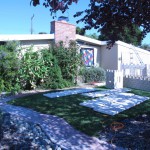
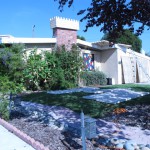
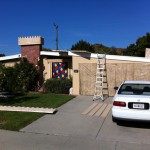
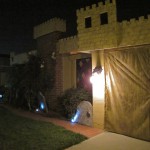
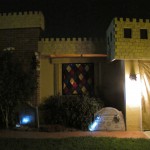
Moving on to Secret Project #2, last year I realized my front landscaping had grown up along my house so much that the walls were mostly hidden already, so perhaps I could just mask the low-slant roofline with castle ramparts. When my dad was here for Stitches Project Weekend in February, we used his van to get 4 sheets of 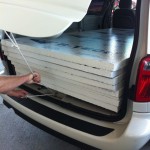 4ftx8ft thick rigid insulation foam, but that was already slated for the new archway and other repairs. I quickly did some drawings & calculations before he came to deliver my new antique chairs in early September, and I convinced him to do a quick store run so I bought 8 more sheets of foam & stashed them in the garage. I wasn’t able to get started on the actual cutting & carving until 2 full weekends before the party, and by then my new paint sprayer had also arrived.
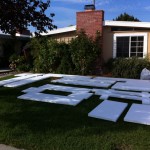
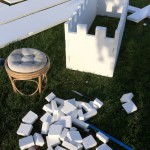
 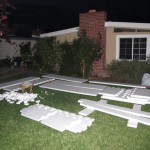 Sadly my trusty garage-sale electric knife died just as I was getting started carving the walls (at least it lasted through carving the new archway!), and my jigsaw blade was just barely not long enough for clean cuts, so I ended up using my kitchen knife by hand…boy was my hand tired by the end! I was carving all this in my front yard, so my neighbors kept asking what I was doing this time. They’re used to seeing me do crazy things from all my remodeling projects.
 ![]() I had to stop when I couldn’t see anymore, but my hand was getting numb from the carving anyway.
I had to stop when I couldn’t see anymore, but my hand was getting numb from the carving anyway.
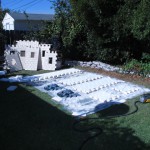 I started painting with the sprayer the next day, since the backs of the already cut pieces weren’t going to be carved with the stone block pattern, and I wanted to paint the backs to protect them, especially from the spray paint aging technique that can eat through the foam. Thank goodness the sprayer worked so well! I had a whole gallon of interior latex leftover from my living room paint project, and that was close enough to the exterior wall color, great as a base coat, especially since it was FREE! (well, already paid years ago & non-returnable counts as free for this project!) As those first panels were drying, I cut the rest of them to final shapes, including the interlocking corners for the towers, but wasn’t able to start the woodburning tool carving for the stone blocks until the following weekend. Good thing too, because Glen reminded me about windows in the towers for some future enhancements, so I was able to cut them before painting or carving.
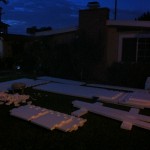
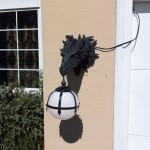
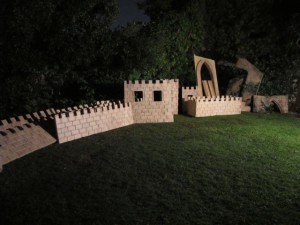 Finally the last full weekend before the party, I kept carving and painting in shifts, first the rest of the backsides while I carved the fronts of the already-painted ones, then carving until I couldn’t see anymore. I also put up the new dragon sconces flanking the garage door & figured out the extension cord issue without strangling myself walking through the garage or getting anything tangled when the garage door opened.
 ![]() Sunday I painted the front base coats on everything carved, including some plastic gargoyles, then when those were dry enough, I continued the spray-paint & garden hose aging technique well into darkness, since I had to keep taking breaks because my trigger finger kept going too numb to continue.
Sunday I painted the front base coats on everything carved, including some plastic gargoyles, then when those were dry enough, I continued the spray-paint & garden hose aging technique well into darkness, since I had to keep taking breaks because my trigger finger kept going too numb to continue.
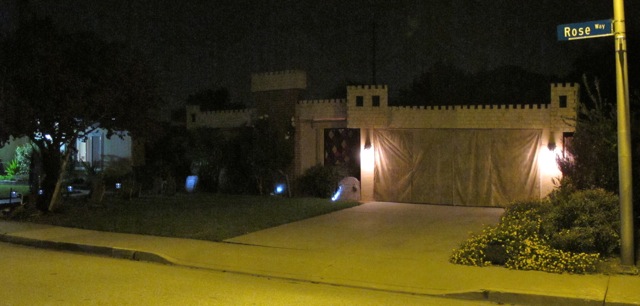
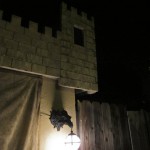
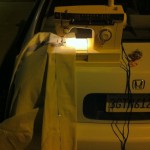 Part of my breaks were cutting, pinning & sewing the garage door curtain out on my driveway, using the back of my Honda as a sewing table directly under the streelight…heehee! I had made my peace with leaving my chimney as brick, since I have seen real castles with a mix of construction materials, but my white modern garage door does not look at all like a castle, so I couldn’t just leave it. This isn’t my final vision yet, since I would love to either add some cool giant strap hinges or a criss-cross portcullis effect, probably out of black felt, but those will be next year.
 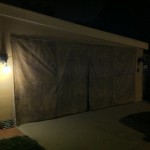 I used leftover patio curtain rods and cuphooks along the top of my garage door jamb, then made two curtains by cutting two large canvas dropcloths so there would be an overlapping opening so I could still get in & out of the garage. After sewing the main shape & rod casing in the canvas, I rolled out 5-ft wide woodgrain gossamer fabric I already had, then pinned & sewed that to look more like a heavy wooden door. Not a perfect illusion, but I could actually back out my Miata through the curtain just fine!
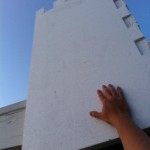
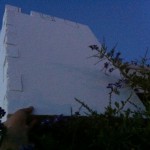
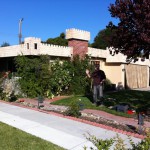
Thankfully by Sunday night I was as done as I could be on this project, so I could work on other projects until Thursday, when I had Glen scheduled to come help me put up the castle walls in daylight when I was off work. I was worried about too much wind against the foam before the party, in case they snapped off, and the timing ended up perfect with the weather this year, since they stayed on great from 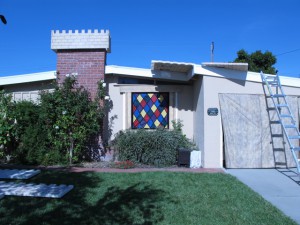 Thursday, through the party and Halloween night, then two pieces blew down on November 1st, so I took everything down on the 2nd to put safely away for next year.
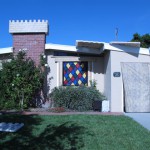
I was finally able to recycle my old fabric stained glass window for this house! I originally made that for my apartment and was able to make a felt wall to block the kitchen at my duplex, but I had never found a use for it yet at this house. It’s a little smaller than my front window opening, but with foam surround to make the window blend in with the castle walls, just cutting it off a bit at the bottom fit perfectly. The normal lighting from inside doesn’t illuminate it enough to see, so perhaps a clamp light near the piano shining out will help it next year.
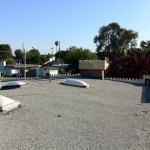
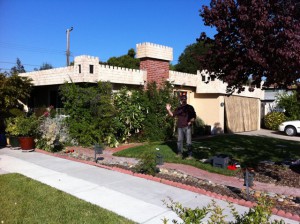 I was able to get all the walls out front, some up on the roof, and the front window put up with the stained glass & foam stone surround before Glen arrived to help on Thursday afternoon. My original plan of wood plank giant washers was foiled by my screws being just barely too short, since when I measured the screws against the foam & wood thickness, I didn’t account for the fact that the wood eaves on my roof taper inward slightly, just enough for the screws not to reach. So instead, I screwed directly through the foam into the eaves, which obviously didn’t hold through decently windy weather since two fell off on November 1st, but they held just fine in good weather, plus I didn’t have to worry about painting the wood planks to blend in with the foam stone. I think it was about an hour or so with Glen on the roof holding the pieces steady while I moved the ladder and manned the screwdriver, then it was done! Hooray!
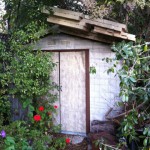 I am extra pleased that the pieces break down for storage well and stack so nicely above my new corner shed in the backyard. I was trying to design this project so the pieces could fit inside the shed, but after I discovered rodents did so much damage, I think roof storage is a better plan. I was able to take down all the pieces by myself in about 30 minutes, mostly moving the ladder to safe locations, since I can’t reach far enough over the crenellations to unscrew anything while kneeling on the roof.
I am so ecstatic that both secret projects were so successful! There are even more photos in the gallery below, so enjoy! ![]()


 Subscribe RSS


You have SERIOUSLY raised the bar!!! Great work!
Halloween 4ever.You are AMAZING!
Sooo impressed!!!! We have a suggestion for your ghost music. What about using some of the music from the late 1960′s Dark Shadows TV show. There are 4 different tracks to choose from. Can’t wait for the 2012 Halloween season to begin! Happy Haunting.