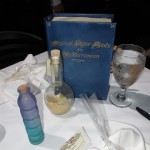
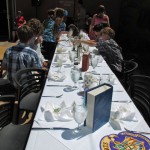
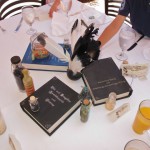
 My longtime friend Debi asked me to help with her daughter’s bat mitzvah party since Piper wanted a Harry Potter theme. Debi’s own bat mitzvah was the first I ever attended, so of course I said yes! I tweaked some of my Potter party designs for the invitation insert, table signs and place cards, and brought some props as centerpieces, but my giant project was agreeing to make the cake to feed 100 guests! It took just over 40 hours of work to make everything for 5 dozen custom Chocolate Frog card cookies for favors plus the giant cake that guests first assumed was just a decoration, not the CAKE!
 ![]()
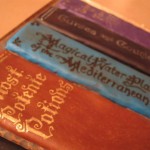
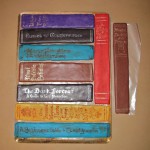
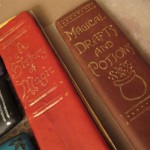
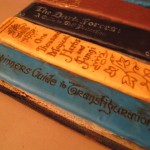
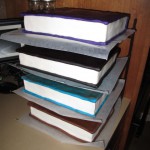
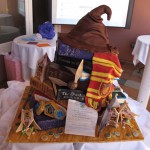
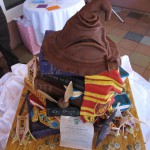
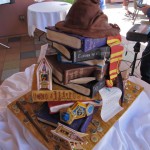
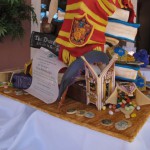
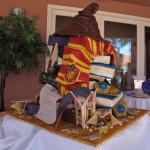
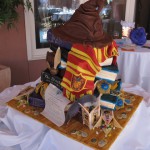
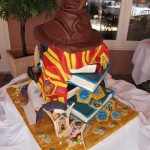
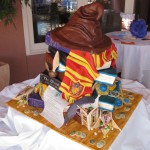
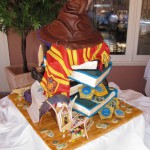
To feed 100 guests, online estimates looked like 10 full 9″x13″ cakes should work, so I thought of making a stack of 10 books, each as one whole cake, separately covered and on its own cake board for stability. I have a rectangle pan 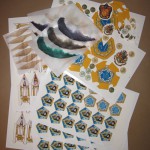 slightly smaller than 9×13 so I made 5 of each size for variety. My vision was a cattywhompus stack of books, with a Gryffindor scarf draping over it, the Sorting Hat perched on top, with other student stuff scattered around, like this was a table or corner of one of the common rooms during a study break.
I had months of advance notice, so I was able to run some tests for possible edible art accessories (remember the wafer paper Marauders Map and candy boxes in the Wizarding World comparisons in the spring?), and even print well in advance while the printer was cooperating. I even cut all the frosting sheets apart during TV watching so thankfully those were all done before baking week began.
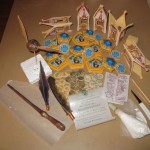
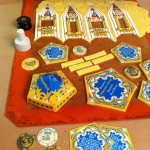
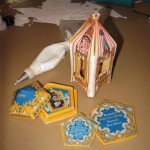
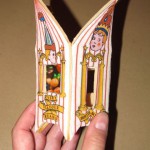
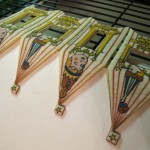 First I tackled the cookies, since I knew they would last awhile, and I would rather bake the cakes closer to the party. The Bertie Botts boxes weren’t bad, since I had my papercraft model to get the proper closed box angle. I used some scrap tagboard, bent it at the same angle so it would hang off the edge of my cooling rack, then immediately after baking I moved the Bertie Box cookies in place to cool in shape. I turned a few upside down while cooling for the opened and spilling boxes. I was very pleased these came out so well for such a relatively easy technique!
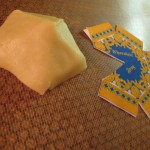
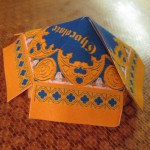
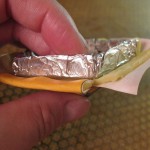
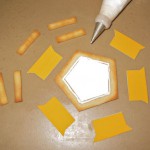
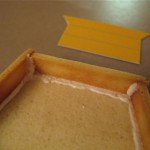
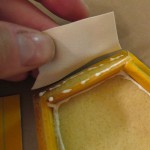
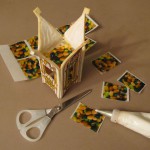
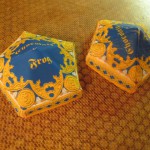
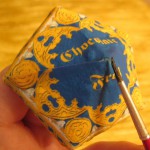
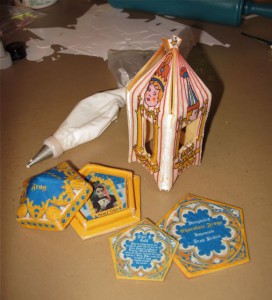 The coin cookies are easy circles, so they went fast squeezed in anywhere there was room between the other cookies on each sheet. I’ve made the flat favor cards before, so those 6 dozen went quickly (5 dozen favors plus 1 dozen for the cake). However, the Chocolate Frog boxes were more challenging. I had thought about modeling chocolate or gum paste, but I decided I could just keep going with cookies instead, at least to try one first. The trick was the pointy pentagon lid. I used a papercraft box lid covered in foil as my mold and cut the dough out but without overlap since that would be too thick. That was little tricky the first time but after the first frosting sheet lid was used, I had the backing paper to cut to the correct dough shape, so I used that as my pattern for the other 5 lids.
 ![]() The base was easy to cut, since it was just the larger back pentagon plus 5 strips and those baked flat.
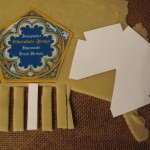
The base was easy to cut, since it was just the larger back pentagon plus 5 strips and those baked flat.
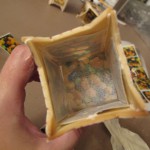
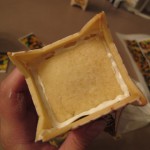
I rolled these as thin as possible in hopes of the cards fitting inside the box bases, so the dough was fragile to move and still keep its shape. The base pieces stayed in place on the silicone mat, but the lid dough had to be carefully lifted and worked into place around the foil mold, sealing the top seam well, but leaving the vertical sides loose until the frosting sheet was in place. After the sheet was arranged properly, hopefully gently enough for no cracks, and the small overlap was sealed, I folded the sheet around the vertical edges, then worked them into place together. This gave a nice finished bottom edge to the lids. You can see here the lids were tricky, but I only made 6 of them, and the end result was worth it!
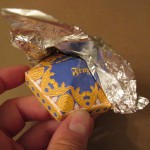
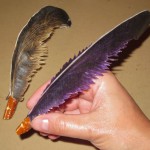
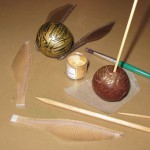
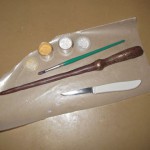
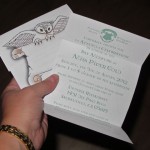
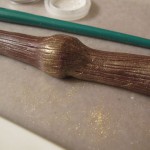
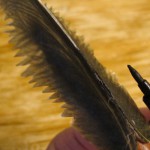
Since the cookies were done with time to spare on Tuesday evening, I whipped out as many other small accessories as I could, like cutting & gluing the ostrich plumes & carving the pretzels into nibs for the edible quills, carving the Snitch from chocolate fondant, gilding it & gluing its wafer paper wings together, and sculpting, carving & sparkling a woodgrain wand. With the other printables that were already done like the Marauders Map and the invitation scroll, I felt very accomplished by the end of that night, and at least there would be cool accessories to put all over the cake if nothing else! ![]()
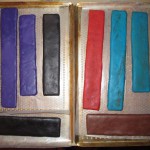
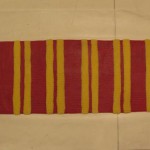
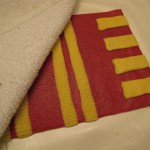 Wednesday evening I started baking cakes, with one mixer, two pans and one oven, and I knew it would go slowly, so I had other major accessories on my list. First was the Gryffindor scarf. No gelatin was allowed for this cake, so I couldn’t use marshmallow fondant, so since I was buying premade fondant anyway, I bought premixed colors! At least that made things easier, but the red was too bright for even the first Gryffindor scarlet, let alone the later Gryffindor maroon in the movies. I got a better scarlet after a lot of handmixing in a little purple, so I left that and rolled the main scarf and transferred to long wax paper. The yellow fondant was rather pale, so I mixed some of my own yellow gel coloring in for a better gold, then
  rolled the strips for the scarf pattern, plus some tassels at the ends. I left the fringe intact to cut during assembly since I was afraid it would be too fragile, and I rolled the finished scarf in doubled wax paper around a tube in hopes it would stay soft enough to drape on the final cake. All my paper towels have weird pattern designs, but one of my clean kitchen washcloths was a perfect texture to look like a knit scarf!
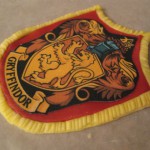
I had printed the Gryffindor badge, but instead of putting it on the scarf by itself, I thought it needed more color, so I put it on a thin layer of the same scarlet, then a layer of gold, but it still needed a rope of gold around the edge which I carved into stitching. I really like how this turned out, even though it is such a small detail.
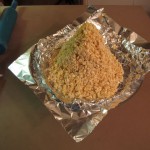
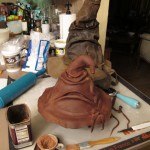
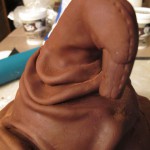
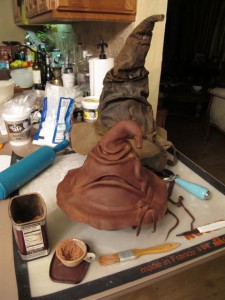 After a few more cakes and some batches of buttercream to prepare for later, I tackled the Sorting Hat. I had made rice cereal treats from marshmallow creme (no gelatin!) and formed them into the basic cone shape on the first night, so that was set well enough, even though I couldn’t get it as tall & skinny as I hoped. Since the cereal treats can be very lumpy, I frosted a layer of buttercream first while I put the cone on a round cake board, rolled the chocolate fondant as large as I could, and started draping. Even with needing some emergency scrap modeling chocolate to assist in the very tip, this went a LOT faster than I expected! In less than an hour I had already carved tiny seam stitches, dusted it with cocoa powder for the aged leather look and taken photos with its leather big brother I was using as a model.
 ![]()
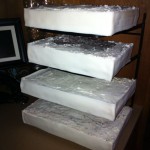
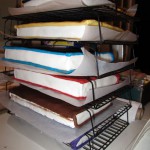
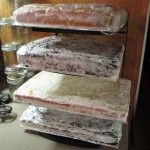
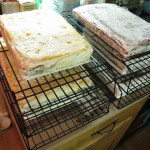 Thursday night while the rest of the cakes were baking, I did all my cake engineering, cutting the right size foam core board, cutting & pre-drilling the 1/2″ dowel for matching screw, large washers to anchor them, and cutting 10 cake boards to correct sizes, covering them with foil, and cutting the dowel holes in each cake board. That took awhile! By the end of that night, finally all 10 cakes were baked, trimmed, and covered with a thin crumb coat of buttercream. I used an entire buttercream batch just as crumb coat for all of these!
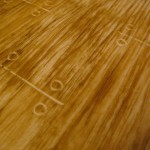
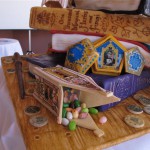
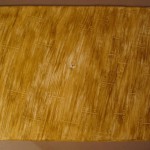
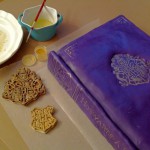
Friday early evening I added enough full buttercream to square all the corners, then added white fondant “pages” around all 10 books, baked matching spine cookies & took a dinner break while the pages set solid, then continued with the colored fondant book covers and covering the cookie spines to match until 2am. Since I knew I had enough fondant left, I covered the cake board with white fondant, scored planks and poked nailhead outlines with a drinking straw, and dry-brushed it with brown woodgrain pattern.
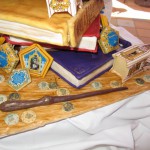
Before I pooped out entirely at 4am, I was able to finish the Bertie Botts boxes. I had two unopened small boxes of real Bertie Botts candy I had saved, so I opened those, poured them into a bowl, took closeup photos, printed those onto wafer paper, and cut them out to glue behind the box windows with royal icing. After the window panels were glued in place, I could glue the bottom panels too. The open boxes got a “lid” panel of wafer paper beans, and I think that was one of the most successful illusions on the final cake! ![]()
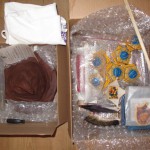
I finally got to sleep closer to 5am, and woke up before my alarm out of paranoia & still too much to do, so I got up 10:15, did some detail touchup on the candy box seams & quills with a fine brush and food coloring or food pens, 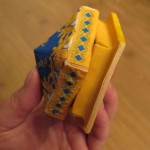 packed up everything I could safely in bubble wrap & recycled boxes, dry-brushed more woodgrain on the cake board, and accented the nailheads, all before getting ready for the wedding I attended Saturday afternoon & evening. Not enough going on this week, eh?
 ![]() I was all ready except my nice clothes, so was able to whip out “Hogwarts: A History” gilded lettering before I changed & ran out the door, wedding gift in hand. I
I was all ready except my nice clothes, so was able to whip out “Hogwarts: A History” gilded lettering before I changed & ran out the door, wedding gift in hand. I 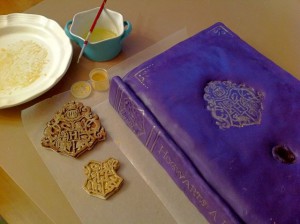 enjoyed the wedding & reception, so glad I could attend two major events for my friends in the same weekend, but left before cake cutting so I could do the final car packing, then spend 2 hours lettering the rest of the book spines to my satisfaction. I pulled out of my driveway at 11:20am, driving very very carefully and slowly around all turns, getting gas along the way, finally arriving at my parents’ house at 2am, getting to sleep by 3am.
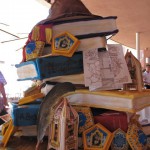
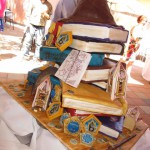
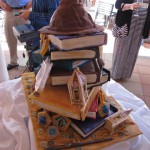
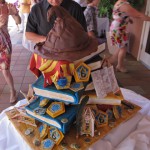
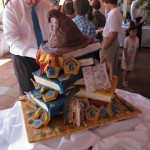
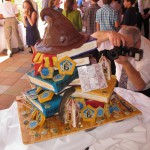
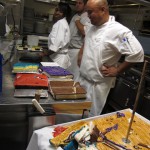
I got up in time, still a bit tired, but I made it to the restaurant 2 minutes before 11am & started unpacking, glad for servers to help me carry everything except the actual cakes that I saved for myself. I had packed them in reverse order on purpose, so taking them out of the trunk I could stack them in the correct order. There was some 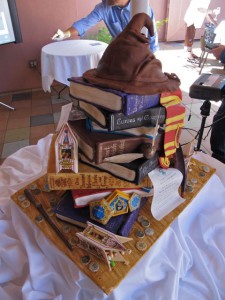 damage to edges as expected, only one cake squished badly, and I had planned the spines to be added as I was stacking so holding them while the royal icing set enough made things to a little more slowly than I had hoped. The stacking seemed to go okay the first few books, but as the stack got higher, it became apparent the weight of the cakes were too much on each other. By the time the stack was 10 books high, I needed to cut off the dowel since I had lost 4″ in expected height! Thankfully a manager found a mini saw, I used a wax paper dropcloth, then the Sorting Hat went on top perfectly. I was rushing but still able to place all the accessories strategically over any rough spots, and I was quite pleased with the final result, thank goodness. I had thought 2 hours assembly time would be plenty, and even with the family of honor helping shove prep supplies back in boxes so the prep table could go away, the crowd of guests was finally allowed into the courtyard 9 minutes after
 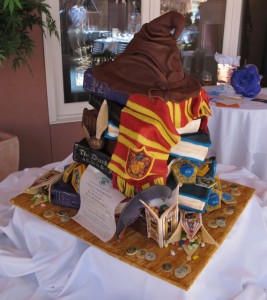 party start time so I was officially late. Hey, but at least that’s still earlier than most of my own parties are ready! haha…
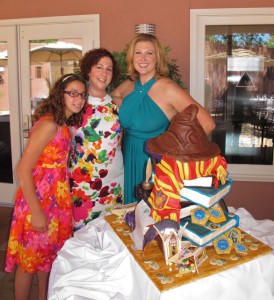
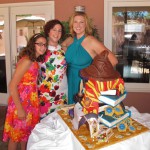
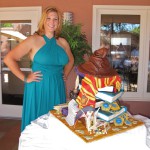
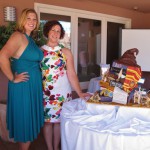
Before the proud mama & bat mitzvah girl were swarmed by happy guests, I grabbed a quick photo with them and the cake, so relieved it was finally done and that THEY loved it! Of course I took a billion photos for posterity, including a 360 video, and then the restaurant hostess offered me a much-needed glass of nice chilled champagne! All the restaurant staff were very helpful and nice which was very appreciated, and they made the whole party run very smoothly. They had valet parking for everyone and moved my car for me as soon as everything was packed so I 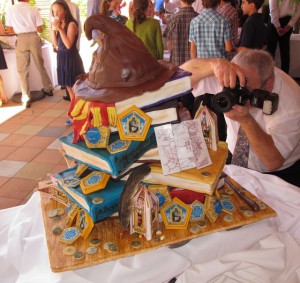 didn’t need to leave my station! Once the guests started flooding in, I didn’t leave the cake area for awhile, since as people realized it was a cake, not just decorations, and were told I made it, they all had to tell me how amazed they were, how I should open a bakery, etc. I was even told “The elder ones are never impressed at anything, and THEY are even raving about it!” Haha! It was extremely gratifying to hear that they all loved it, but after the stress of structural issues that morning, that’s exactly why I’m so afraid of doing cakes for hire! Any non-squishy edible art, like rice cereal treats, cookies, or sculpted edibles are no problem!
 ![]()
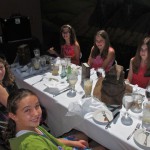
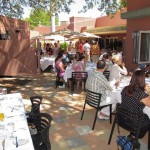
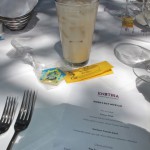
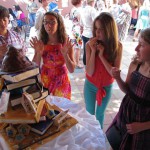
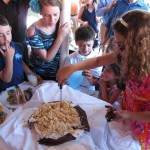
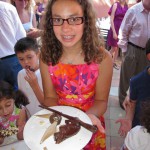
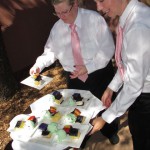
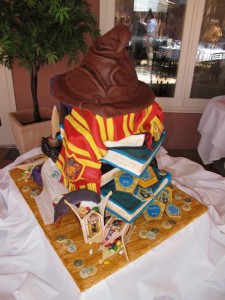 I was able to enjoy the party, which was fantastic, even though it was quite warm in the sunshine in the courtyard. The restaurant served an ice-cream style butterbeer over ice but from a large stockpot bubbling with dry ice smoke, and it was tasty but even more decadent than mine! Piper & her friends were having a great time, and I caught some fun reaction on video as Piper showed them the cake. One of them even bravely tasted a vomit jellybean! When cake time came, they insisted on taking the cake into the kitchen since they were serving with ice cream, so I carefully removed the accessories and the Sorting Hat, helped them lift the cake board onto a cart, then I helped Piper destroy the Sorting Hat for her friends. I am so glad I helped Piper have such a great celebration!
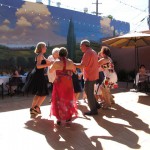
As always, you can click to see the entire photo gallery, where you can see the best of the billion cake photos from all angles, more party decor provided by yours truly, a restaurant butterbeer, a Hava Nagila dance, and for the first time ever, one of my cakes cut in a professional kitchen and served by paid staff!

 Subscribe RSS